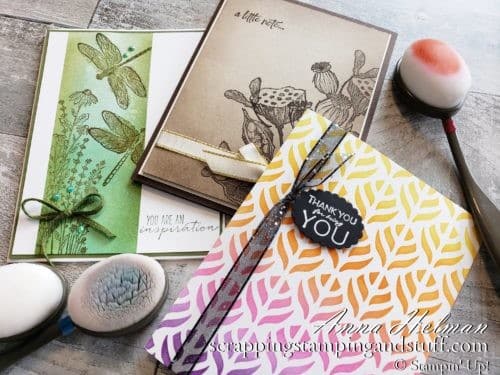
Recently, I’ve had the privilege to order through the Product Purchase Premier offered to Stampin Up demonstrators who attended OnStage@Home conference, so I’m excited to be one of the very first people to see, touch and use our amazing new blending brushes! This tool has become my latest obsession, and I cannot wait for them to be released in the 2021 January-June Mini Catalog. Today I want to share with you everything you need to know about Stampin Up’s new blending brushes to achieve the perfectly blended look on your cards and other paper projects. Aren’t these samples gorgeous?
What Are Blending Brushes
Blending brushes are a high quality blending tool. By picking up ink onto the bristles and then applying it to your projects using a gentle swirling motion, you can achieve soft and even coloring using one or multiple colors. The end result is beautiful.
Features
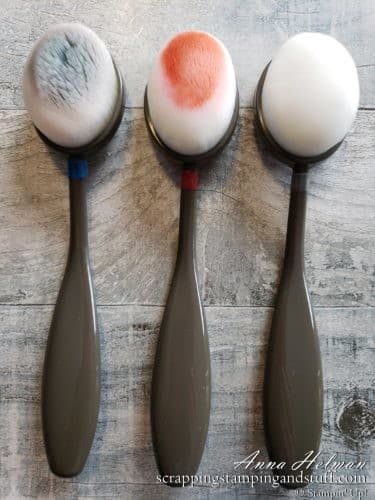
Stampin Up’s Blending Brushes have a sturdy, flexible handle, and a large head with fine tightly-packed bristles that give a really soft touch. It’s the combination of these features that allows this brush to give such a beautiful blend.
Benefits
There are loads of benefits to using these blending brushes. They can be used to create just a touch of color around the edges of a project. Another use is to fully color an area on a project. Combining multiple colors and blending them together is an amazing way to add beautiful elements to your projects. You can also use them with fun techniques. You really can’t beat how beautifully they blend and the uses are endless!
Blending Brush Video Tutorial
Here’s a link to my video where I share everything you need to know about Stampin Up’s blending brushes. Watch along and you’ll see how I used different techniques to achieve multiple blending options.
How to Use Stampin Up Blending Brushes
It’s important to start with a clean ink pad. Any particles or lint picked up by the brush can effect the smooth outcome of the blend.
Apply the blending brush to your ink pad using a swirling motion.
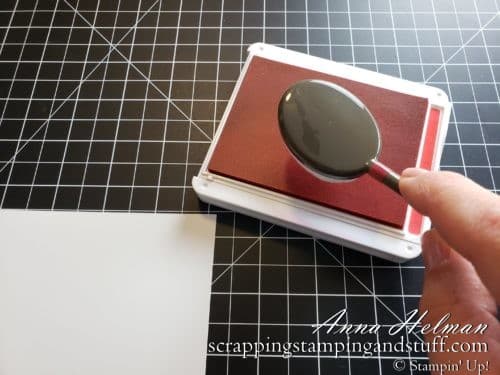
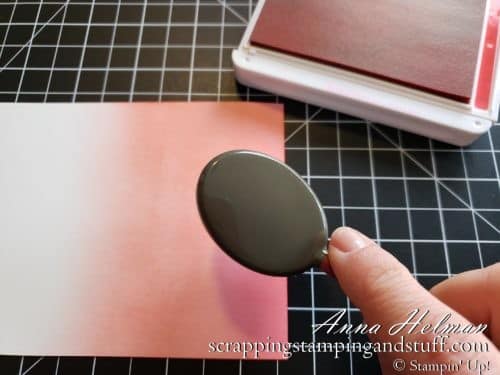
Blot excess ink onto scrap paper, and then move the blending brush towards your project using a swirling motion. Swirl color onto your project in the desired areas. More or less ink and pressure can be used to get lighter or darker results. Repeat the process until you have the look you want.
How To Clean Blending Brushes
You may or may not need to clean your brushes after use depending on your preferences. One option is to keep one brush for each color family, and if you go this route, you don’t necessarily need to clean your brushes.
If you choose to only have one set of three brushes, you will likely need to clean them to prevent mixing of colors. They can be cleaned on the Stampin Up Shammy or a damp microfiber cloth. Using a swirling motion, applying pressure while rubbing the brush onto the shammy or cloth.
Another cleaning option is to run your blending brush under water and let it dry. Be sure to allow your brushes to fully dry before use, as they will not blend properly when damp.
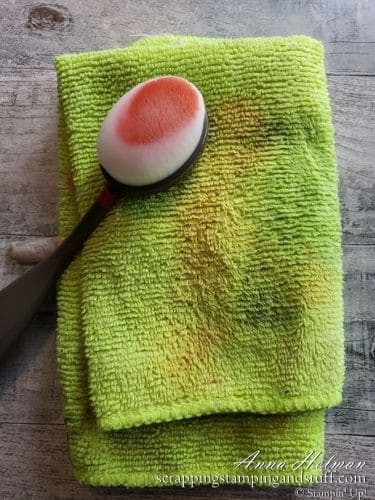
How Many Brushes Do You Need?
Our blending brush set includes three brushes. How many sets will you want to have in your collection? Refer to the section above about cleaning the brushes and decide what’s best for your crafting needs. The more brushes you have, the less you’ll have to worry about mixing colors in the brushes, cleaning them, and waiting for them to dry.
Labels for Your Blending Brushes
If you like to stay organized like I do, here is a tip for labeling the color of your brushes. Flip over your Stampin Up ink pads to where the sticky labels are located. These are designed to label the color of your ink pads, but you will receive extras that can be used for other purposes. Here I describe how to use the strips, but when I’m done applying the labels to my ink pads, I always leave the extras on the bottom of the pad for times like this! To label your blending brushes, trim one of the extra labels in half and wrap the strip around the neck of the blending brush. Done!
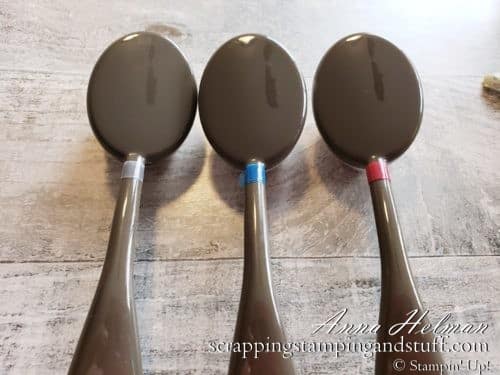
Blending Brush Techniques
Below is a list of techniques that can be used with blending brushes.
Add a Touch of Color Around The Edge
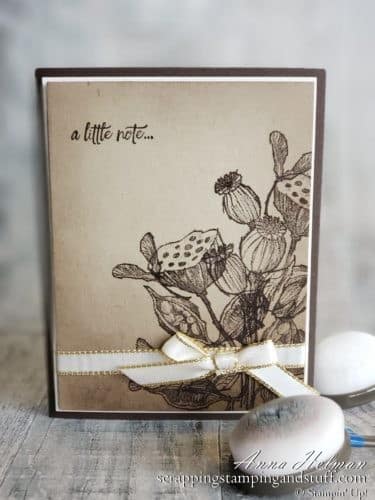
Add color around the outside of your project to give the look of a shadow and to set it off from the base of your card.
Masks & Stencils
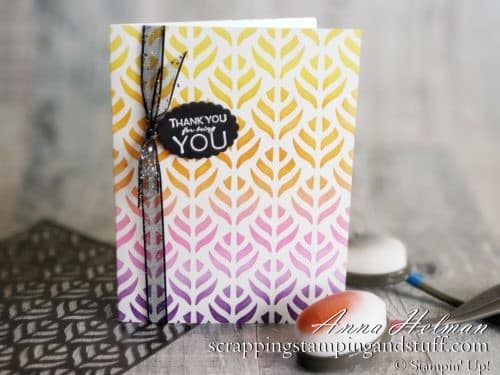
Tape your card to the back of a a mask or stencil and lightly apply color over the top.
Apply Full Color to An Area
Use scrap paper to mask off areas of your project, leaving the area to receive color uncovered. Use a blending brush to apply various colors of ink to achieve the look of your choosing. Then stamp over top if you like!
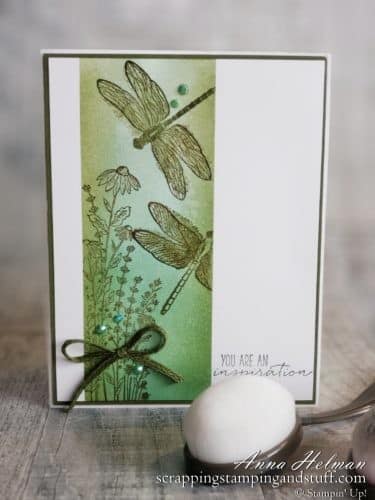
Sponge Around Die Cuts
I didn’t create a sample to show, but another idea is to attach a detailed die cut to your project using temporary adhesive, blend color over the top, then remove the die cut. The area under the die cut will remain uncolored, with a beautiful glow of color surrounding it.
Storing Blending Brushes
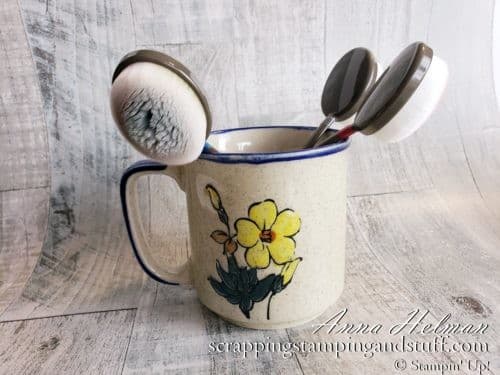
I know I will be using these brushes often, so I decided to store them on my craft table in something as simple as a coffee mug. The particular cup I am using belonged to my grandmother, and it gives me wonderful memories of her, so I loved the idea of keeping it on my craft table. The brushes sit very well inside the mug and allow easy access for me to choose the one I need. Also, the brushes are nicely spread out to keep the bristles from bumping into each other. I plan to store several sets of brushes in this mug.
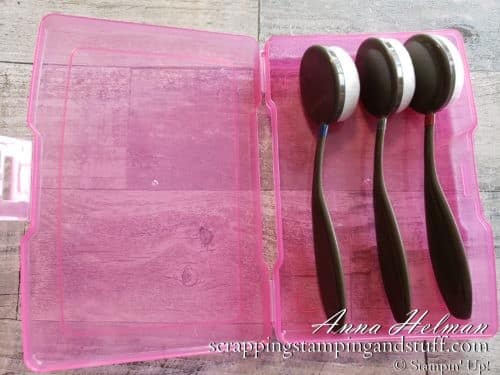
An on-the-go option for taking your brushes to stamping parties and craft events is a simple pencil box like the one below. They fit very well inside the pencil box while also being protected from getting squished. A regular size pencil case should hold two sets of brushes easily.
Thank you for joining in today to learn all about Stampin Up Blending Brushes! They are an amazing tool that I encourage all crafters to try! You may order these brushes beginning January 5, 2021 using the links below, or join my team to get a discount on all of your Stampin Up purchases, and you can pre-order beginning December 1!
Don’t Miss Out!
Please make me your Stampin’ Up! demonstrator! Earn rewards points towards free stamps PLUS a gift when you order using host code: TRZR2FZ6 PLUS, with your first order, you’ll receive free catalogs in your thank you package!
Sign Up For My Upcoming Virtual Card Classes!
Order the products I used and make this project yourself!
You May Also Like:


Elegant stamp. It looks like you had fun with the stamp. Lovely cards.
Great videos explaining the blending brushes and all the ways to use them, clean them and store them! Loved your grammas tea cup too!
Aww thank you so much!