Crafting tools can make or break your crafting experience. Good tools can make your job of crafting quick and easy. Poorly designed or poor quality tools can turn your hobby into a huge frustration! Do you know how many stories I’ve heard about terrible paper trimmers? Do you know how easily bad tools (or just not knowing how to use good tools) can ruin a fun hobby? I want you to avoid this, so let’s get started with this guide to card making tools.
Guide To Card Making Tools Video
Watch along here for details on the card making tools I’ll discuss below, or keep reading for more information. I always talk about life at the end of my videos, and today’s chat is about marriage and a book I recommend called Created To Be His Help Meet by Debi Pearl.
Now let’s start talking about tools!
Most Common Card Making Tools
Acrylic Blocks
I’m not sure if acrylic blocks technically count as a tool, but I didn’t want to share this information without mentioning them. Unless you happen to be using stamps that are mounted to a wood block, which are not very common anymore, you’ll need at least one acrylic block to mount your stamps to.
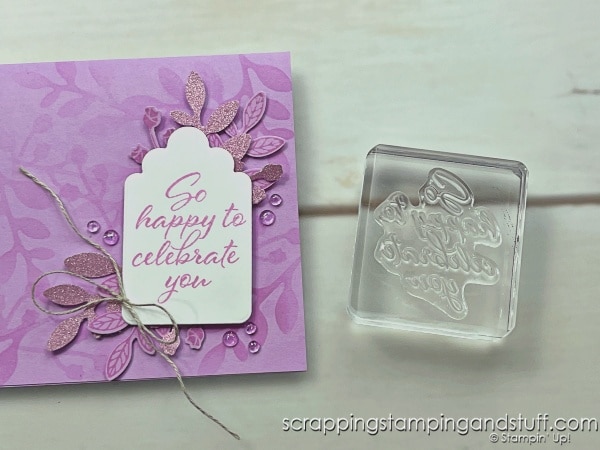
As you begin stamping, you will most likely decide you want more than one block. It’s good to have an assortment of blocks in different shapes and sizes. It’s best to match the size of your stamp to a similar size block, to avoid various problems when you’re stamping.
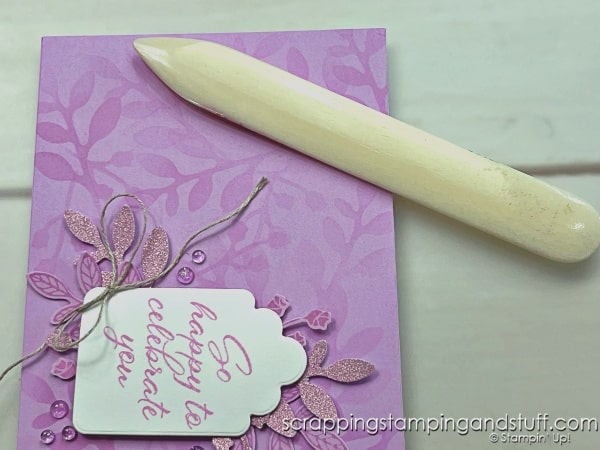
Bone Folder
A bone folder is used to burnish the crease of your card to allow it to lay nice and flat.
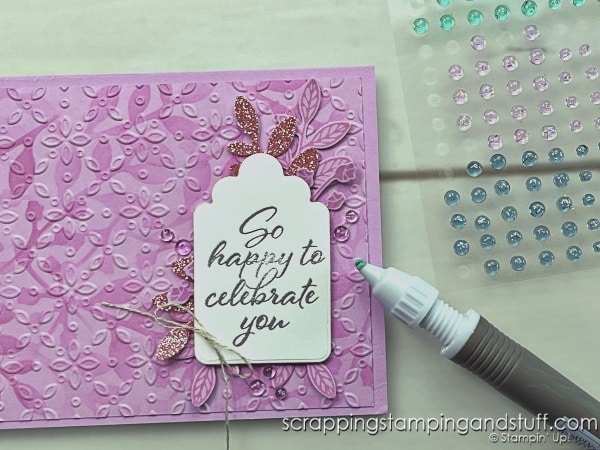
Take Your Pick tool
The Take Your Pick Tool is the Swiss Army Knife of my craft room! It has tips on both ends to be used for various tasks, and one of the ends has another piece that can be switched out, giving it five separate tips. They include:
- A sticky tip that can be used to pick up small pieces of paper, sequins, or to apply gems
- A piercing tip for creating holes in a project or applying foam dimensionals
- A spatula tip for removing pieces from a cutting plate or lifting pieces applied in the wrong place on a project
- Two sizes of stylus to use for scoring
Trimmer
A good paper trimmer is possibly the most important paper crafting tool! You’ll want a trimmer that is large enough to handle full sheets of paper, and one that makes it easy to make straight cuts. Believe it or not, there are a lot of trimmers on the market that do not make it easy to make straight cuts.
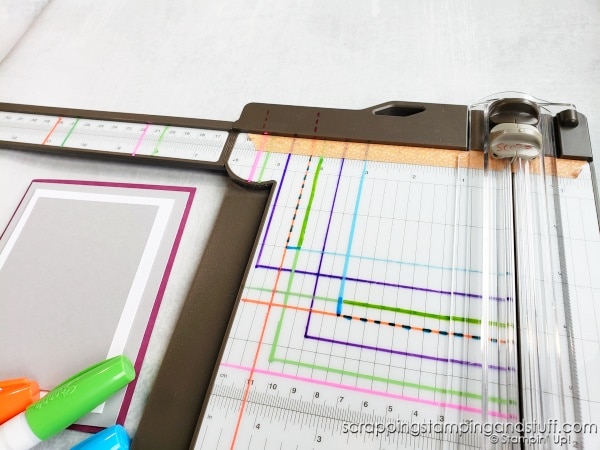
A few features of the trimmer that I use include an extending arm to allow cutting sheets up to 12” in width, both cutting and scoring blades which make it easy to create card bases, clear gridlines across the full surface, and a transparent cutting arm with a marked ruler for precise cuts.
Punches
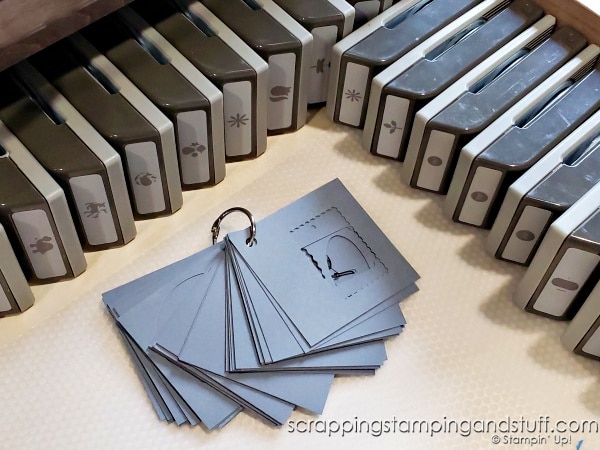
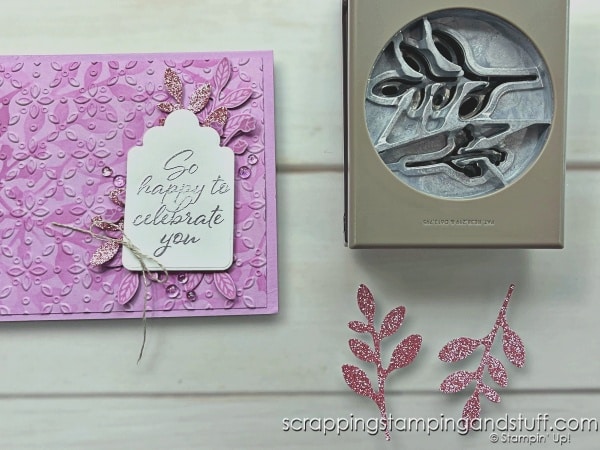
Punches are my favorite paper crafting tool for ease of creating cards. While I love the next tool I’ll share for creating detailed card elements, I love punches because they are quick and easy, and they allow you to create perfect and professional shapes for your projects.
Die Cutting & Embossing Machine
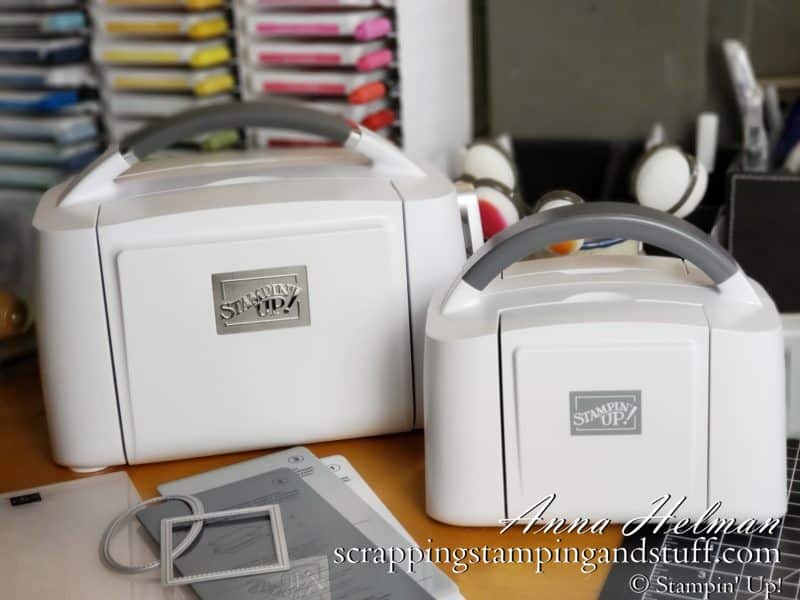
This amazing machine allows you to do detailed die cutting and dry embossing, which gives paper a unique texture. I’ll share more information about die cutting and embossing below.
Dies
Die cutting requires the use of the machine I mentioned above plus metal dies in various shapes. By placing paper and a die between the cutting plates, and running it through the machine, you’ll end up with a perfect and beautiful paper die cut in the shape of your die. Learn more about die cutting here.
Embossing Folders
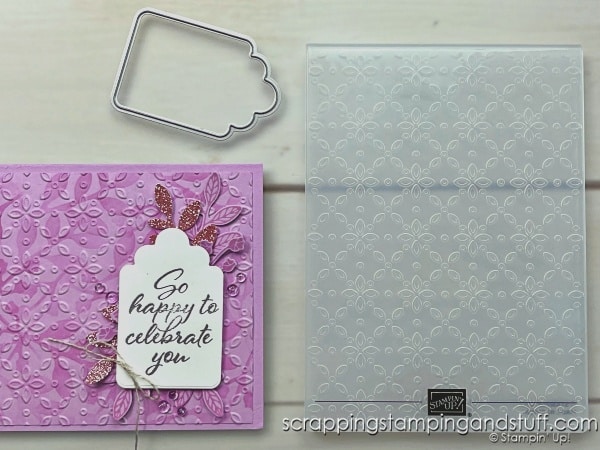
Embossing folders are similar to a manilla folder, but they’re smaller and made of plastic with texture imprints. By putting a piece of paper in the center, folding it shut, and running it through the machine, you’ll end up with a beautifully embossed piece of paper. For more details about embossing, take a look here.
Blending Brushes
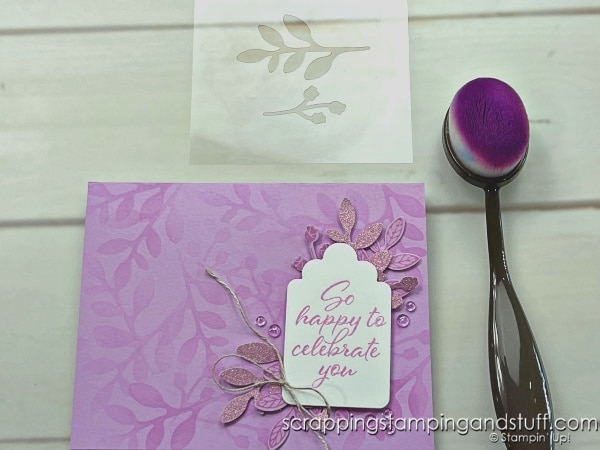
Blending brushes allow you to blend ink softly onto a project. They’re available in multiple sizes and can be used to create many different effects. Learn more about blending brushes here.
Heat Tool
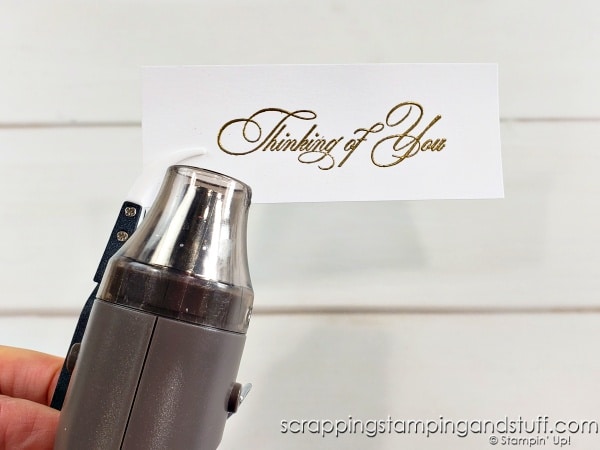
A heat tool can be used to heat or dry a project for various techniques, but the main use for a heat tool in card making is to do heat embossing. Above I talked about dry embossing, but heat embossing is a different process. It is done by stamping with a special ink, and applying embossing powder to the stamped area, then the powder is heated until it melts. The end result is the stamped image is visible with raised, glossy accents. Learn how to heat emboss here.
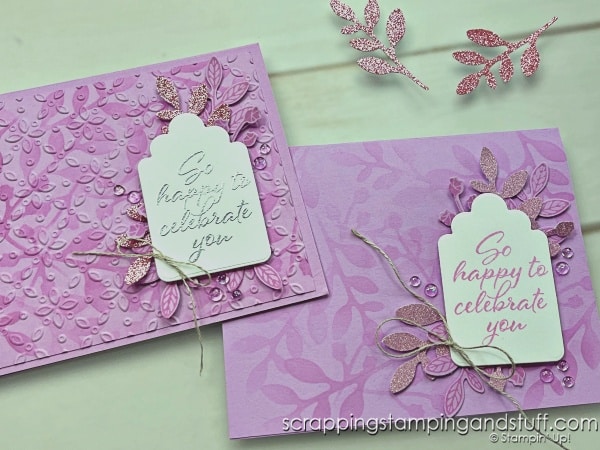
There are other tools on the market for card making, but this covers the most popular ones. Below you can see the cards I created in my video, using the tools we discussed. In the video I share basics of how to use each tool. Make sure to watch along using the link at the top of this page!
Would you like more information on any of these tools? Take a look at any of the items I mentioned using the links below.
Supplies
Product List Learn To Make Cards
Shop Supplies
Rewards Program
Join My Amazing Team
Hopefully this guide to card making tools helps give you an introduction and know how to use these tools on your projects!


Great summary of crafting tools, Anna!! Important information for beginners.
Enjoy your July 4th holiday. May God Bless America!!