Welcome to Part 5 of my series introducing you to the Stampin Cut And Emboss Machine. I have been having a wonderful time using this new machine, and I wanted to take the opportunity to teach you all about the two things this machine is great at – die cutting and embossing. Today we will discuss embossing and in my next post I’ll cover die cutting in detail. Embossing is an amazing technique that still delights my heart when I used it on projects, even though I’ve been doing it for years. Let’s get started and talk about how to emboss paper!
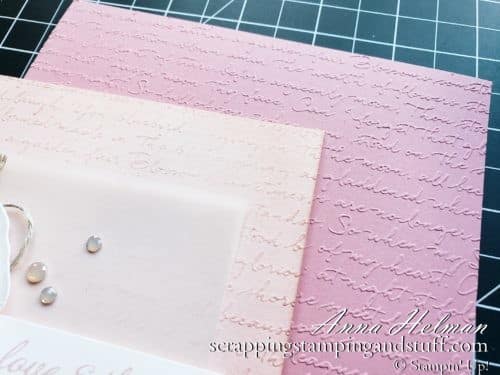
Video Overview
If you want to cut to the chase and learn about embossing using my video tutorial, take a look at this video…
…or keep reading for more info!
What Is Embossing?
Embossing is a beautiful technique often used in papercrafting, which involves raising certain portions of the paper vertically to create texture in a particular design.
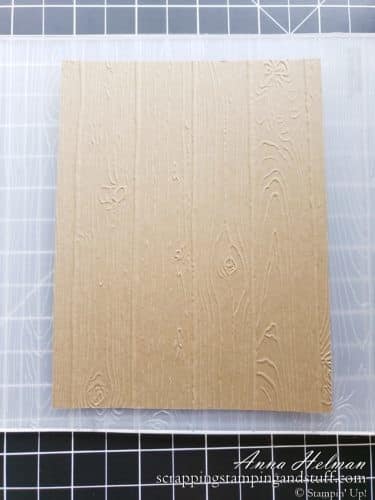
To clarify, this procedure is known as dry embossing. Heat embossing is a different technique used for card making that I will discuss in a different post.
Supplies Needed
When discussing how to emboss paper, we need to mention the supplies we will use, which include the Stampin Cut And Emboss Machine, embossing folders, and paper.
Embossing Folders
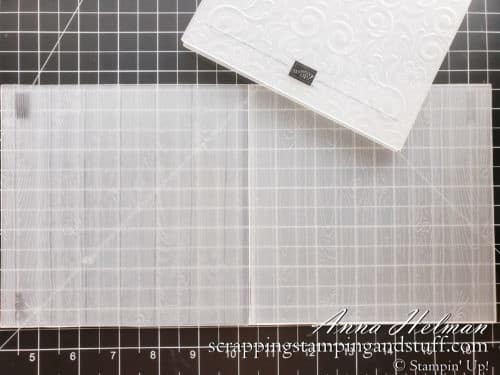
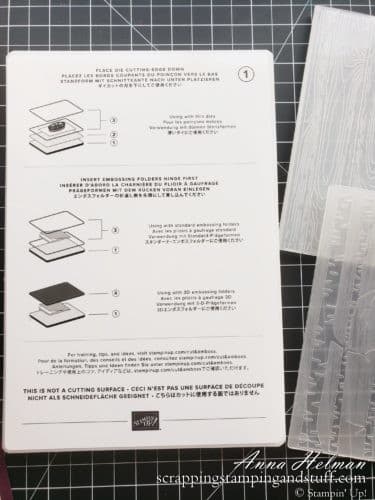
Embossing folders are plastic ‘folders’ that open up to reveal a textured pattern on the inside. One side of the folder will have a raised pattern, and the other side will have a mirror image of the pattern recessed into the surface, as you can see in the photo below.
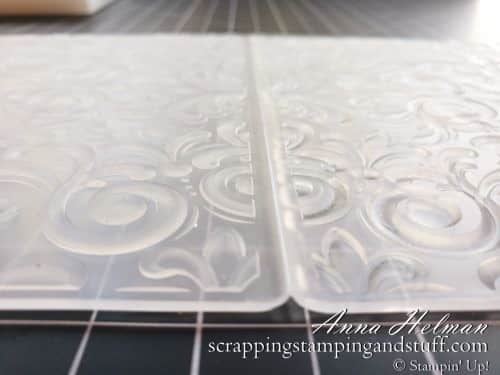
By placing a piece of paper into the folder, closing it, and running it through the machine, the pattern will be imprinted into the paper.
Stampin Up offers standard embossing folders as well as 3D folders, which are thicker and give a more dynamic impression.
Instructions
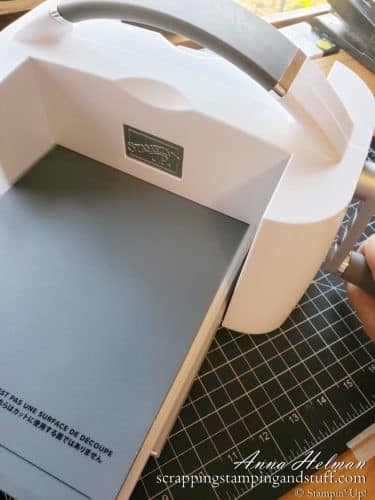
Let’s talk about how to do this beautiful technique! The Stampin Cut And Emboss Machine includes plates that will need to be arranged in a particular order, and then cranked through the machine. The base plate, shown below, includes diagrams to explain how to stack up the correct plates.
Standard Embossing Folders
Build your ‘sandwich’ to run through your machine from the bottom up:
- Base Plate 1
- Clear Plate 3
- Embossing folder with paper inside, laying with the hinge at the top.
- Clear Plate 3
Align the plates, crank them through the machine, and then remove the paper to see your beautiful results!
3D Folders
Build your ‘sandwich’ to run through your machine from the bottom up:
- Base Plate 1
- Embossing folder with paper inside, laying with the hinge at the top.
- Specialty Plate 4
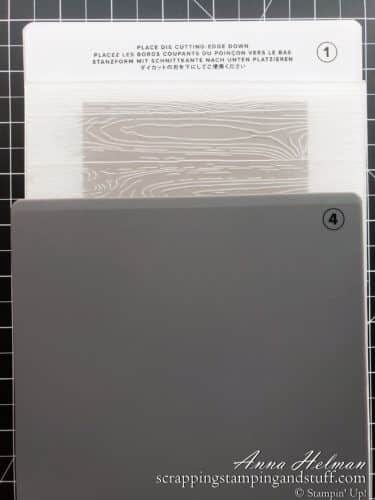
Align the plates, crank them through the machine, and then remove the paper to see your beautiful results!
Ways To Use On Projects
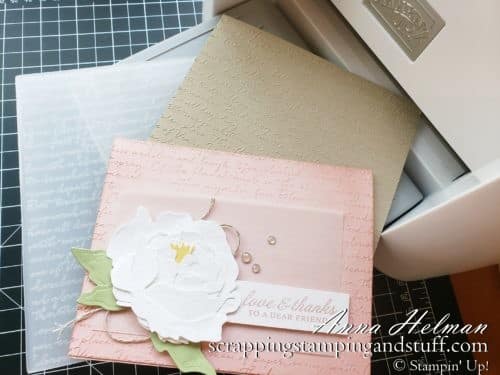
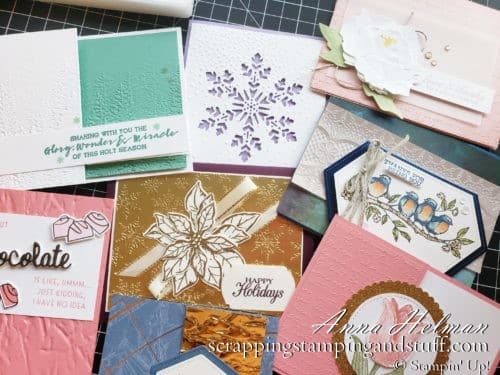
Embossing can be used on card backgrounds, the card base itself, small portions of the card, or…
…even on the envelope! Make sure to watch the video, because I show how to emboss your card base and the envelope flap!
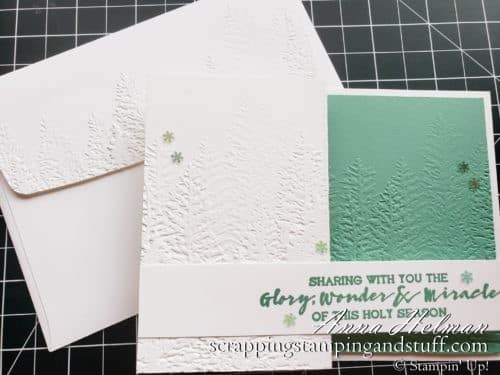
Thanks for joining in today to discuss how to emboss paper. Stop back for my next post when I’ll be talking all about die cutting!
Don’t Miss Out!
Please make me your Stampin’ Up! demonstrator! Earn rewards points towards free stamps PLUS a gift when you order using August host code: P7URKZUU. PLUS, with your first order, you’ll receive free catalogs in your thank you package!

Sign Up For My Upcoming Virtual Card Classes!
Order the products I used and make this project yourself!
[…] I’ll mention that there is another type of embossing in papercrafting, and that is dry embossing. This type of embossing uses a plastic folder and the Stampin Cut And Emboss Machine to add texture to the paper. Learn more about dry embossing here. […]