Hello and welcome to Cardmaking 101 Lesson #11: Things To Look For In A Paper Trimmer! If you’re looking to learn how to make cards, then you’re in the right place! If you would like to begin with Lesson 1, you can do that here. Keep reading and we’ll talk all about trimmers!
First I will mention that Stampin’ Up! released a new trimmer last week and I talked all about it here. This is the trimmer I’m going to be showing you today while I discuss things you want to look for in a trimmer. Let’s get started!
Things To Look For In A Paper Trimmer
1. A Grid with Clear Numbers
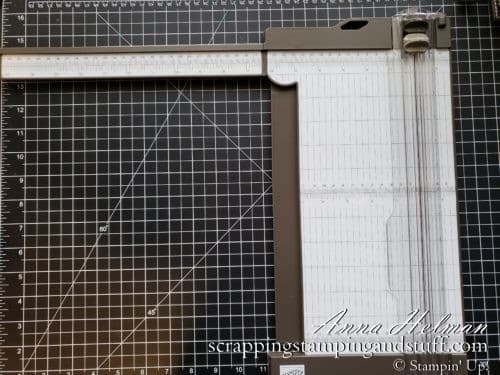
You want the measurements on your trimmer to be easy to read, and you want a clear grid that goes from top to bottom. This will allow you to make sure your paper is straight, and not crooked for some reason.
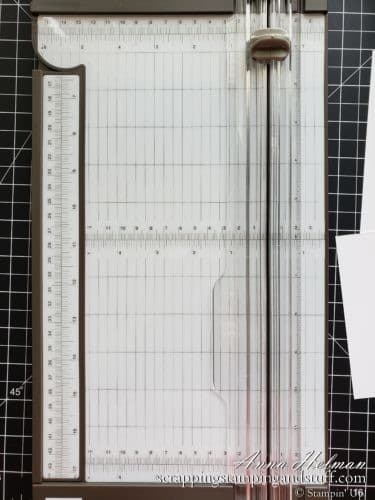
Sometimes you’ll want to line up the paper to measure it on the right side of the cut, and for that you will need measurements on the right side of the blade. Usually this would be if you’re cutting a fairly narrow strip. Below you can see the numbers and grid continue to the right of where the blade cuts.
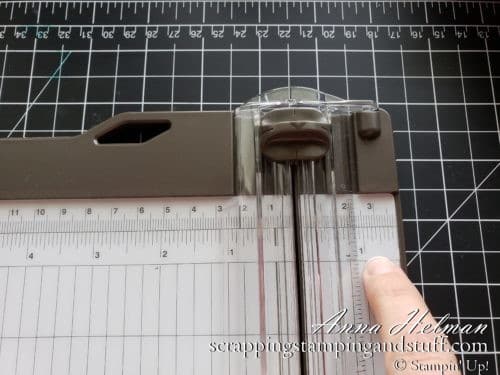
Most of the time though, you’ll want to cut wider pieces, and you’ll use the grid on the left side of the blade to line up your paper.
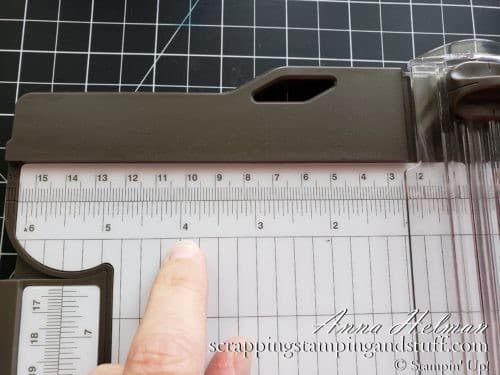
2. A Straight, Sturdy Edge at Top and Bottom
It should be very easy to push your paper to the straight edge at the top to make sure the cut will be straight. Believe it or not, I have had trimmers where even if the paper was pushed to the top, it did not cut a straight line. Not ok. When you push your paper to the top, it should catch on the lip easily (not slide over the top or be hard to adjust), making it easy to make a perfectly straight cut.
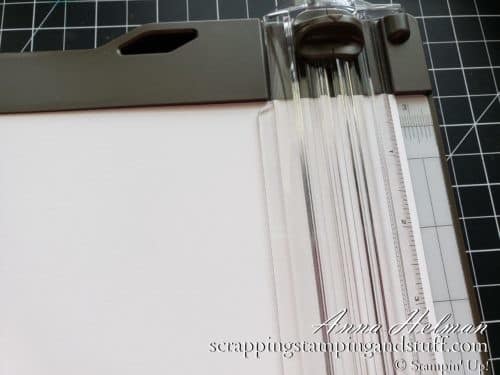
There may also be times you will want to line the paper up at the bottom of the trimmer. You want a nice straight edge at the bottom as well.
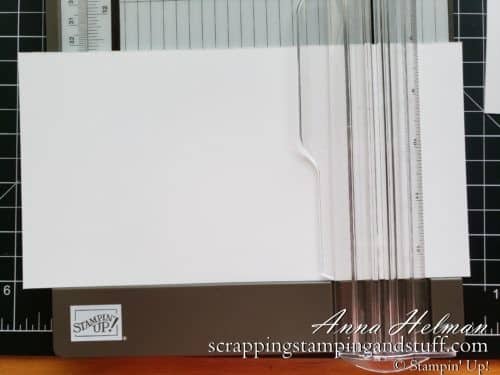
3. Quality Cutting Blades
A quality blade is very important for your trimmer. If you do much crafting, you will be using your trimmer A LOT. You want a blade that will hold up for a long time. Since our trimmer is fairly new, I haven’t been using mine for a long time, but I heard of another demonstrator who has done 1200 cuts with one blade and it’s still cutting well!
4. This one is IMPORTANT – Replacement Blades!
You WILL need replacement blades at some point, and you want to make sure you can get them. Believe it or not, I tried to help a customer once with a trimmer from which the blade could not be removed. Seriously? It was probably a good buy originally, but not when she had to replace it with a completely new trimmer because the blade could not be replaced. I show more about replacing the blades on this trimmer here.
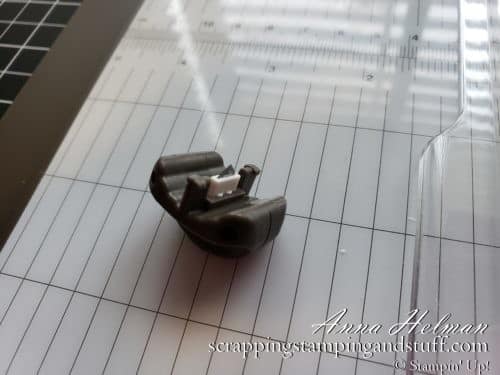
5. A Scoring Blade
If you are a cardmaker, you NEED a scoring tool. If your scoring tool and trimmer are the same tool, it will save you time, money, and space in your craft area. Our trimmer has both blades included on the arm, to make it quick and easy to cut and score your projects.
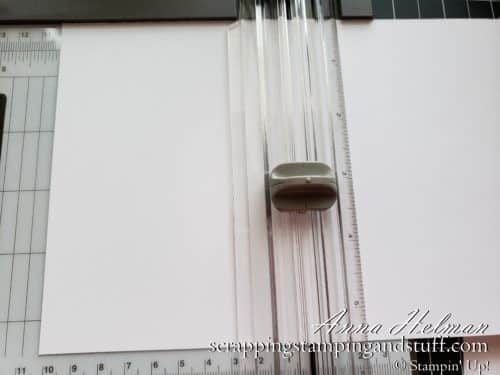
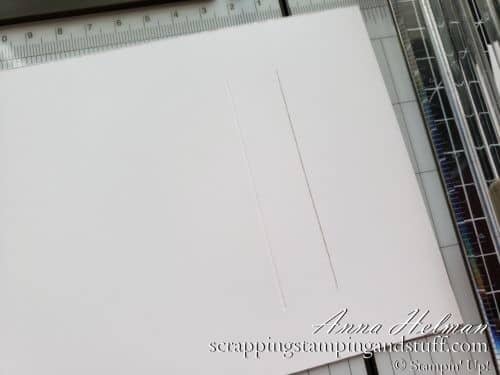
If you look carefully below, you can see that I have scored this card base to be able to fold it in half.
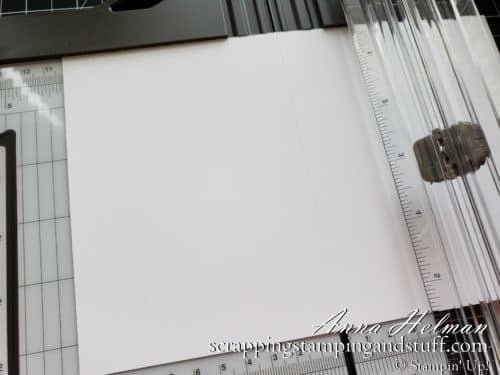
6. A Grid On The Cutting Arm
If you get into special card folds or techniques, there may be times you want to make partial cuts or scores on a piece of paper as shown below. Having clear measurements on the cutting arm (the piece that raises up on the right side) is very important for this.
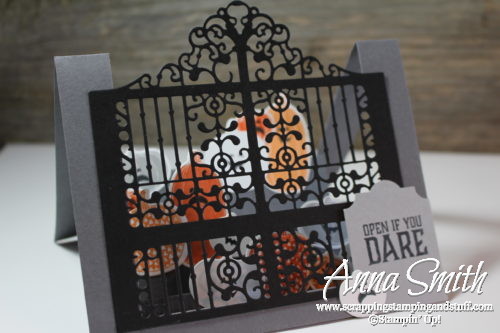
This Halloween card below is an example of a card requiring these types of cuts and score lines.
Here you can see the measurements on the arm, which allow you to cut or score precisely to the desired measurement.

7. Extendable Arm
If you scrapbook, you will frequently need an extendable arm to make cuts on wider pieces of paper. For cardmaking, you’ll also need this to cut 8 1/2″ x 11″ cardstock in half for your card bases. An extendable arm is a must!
8. Price Point
Trimmers can come in at many different price points. Don’t make your decision on price alone, but it’s definitely something you need to consider. Our trimmer is a very reasonable $25! A great buy for all that you get included!
There are other factors you may want to consider as well such as size and ease of packing if you will be traveling with your trimmer. Another thing to consider is how many pieces of paper you can cut at one time. With this trimmer, you can cut up to five sheets of cardstock at one time (if you swipe the blade twice) or several pieces of designer paper as well. This is definitely not possible on all trimmers!
Whatever you do, DON’T just buy the cheapest trimmer you find because you will regret it! Carefully consider the features of your trimmer before purchase! If our trimmer is the one you think meets your needs, use the link at the bottom to order!
Thanks for reading along to learn more about things to look for in a paper trimmer! Please make me your Stampin’ Up! demonstrator and order from me using the product links at the bottom! Earn the free gifts shown below when you order using the current hostess code. PLUS, with your first order, you’ll receive free catalogs in your thank you package!
- Sample all of the papers, ribbons, and embellishments that Stampin Up has to offer with Product Shares.
- Check out my current Project in the Mail, Tags Tags Tags (shown below)!

Order this trimmer and have wonderful cutting enjoyment yourself!


[…] trimmer can also be paired with a bone folder to create a scored line. Simply line up the paper over the […]