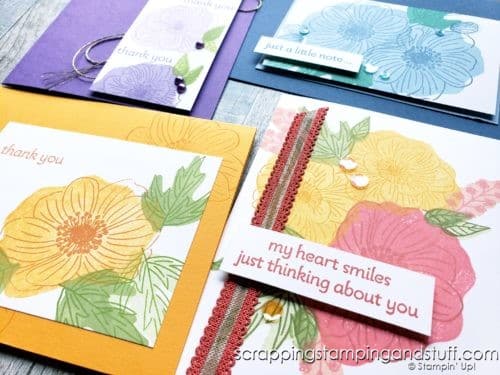
Greetings! I hope you are having a wonderful day so far. I can’t believe January is almost over, and pretty soon (maybe not soon enough!) we will have flowers blooming and birds chirping again — I cannot wait! Speaking of flowers blooming, I have an amazing stamp set to share with you today. The Stampin Up Back to Back Blooms is a unique set that I think you are really going to like. Instead of just using one side of the stamp, this set is reversible so you can actually stamp with both sides of each individual stamp. Let’s take a look at how I used this stamp set to create beautiful, simple cards.
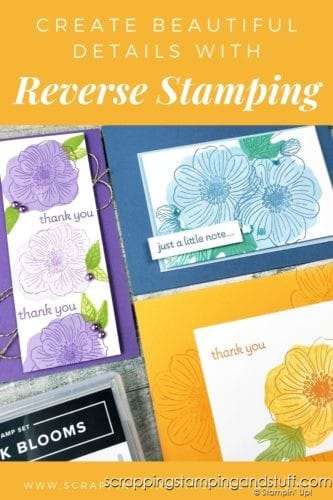
Stampin Up Back to Back Blooms Stamp Set
This stamp set is a fun and airy flower stamp set containing several sizes of blooms and leaves. But that’s not even the best part. As I said earlier, the Stampin Up Back to Back Blooms stamp set is a reversible stamp set. So what does that mean? A reversible stamp set means you can use both sides of the same stamp. Essentially it acts like a 2-step stamp set, allowing you to stamp details with one side of the stamp and a color fill with the other side of the same stamp. How great is that?

How to Use the Back to Back Blooms Stamp Set
This set is easy to use and is perfect for creating quick and beautiful cards. As you’ll see in my video below, first stamp with the detailed side of the stamp. Next clean your stamp, flip the stamp over, reattach it to your block or Stamparatus, and stamp again with a lighter color to fill in the shape.
*Quick Tip*
I’ve found when stamping the fill of the flower, I like to use the stamping off technique to get a nice light and faded color like in the cards below.
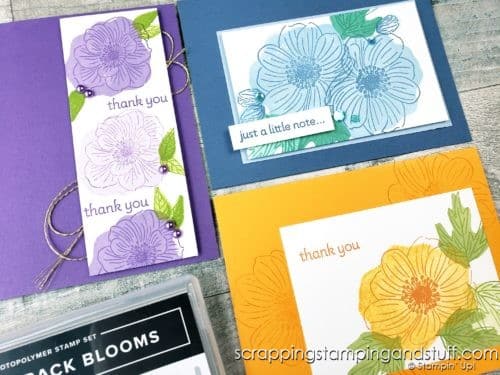
Back To Back Blooms Card Ideas Video
Check out my video below to see how I used this fun stamp set — and keep watching to see how I used a fun Stamparatus technique with this set!
Next is a list of materials you’ll need to make the orange card featured in this video.
Materials
- 8 1/2″ x 5 1/2″ Pumpkin Pie Card Base
- 3″ x 4″ White Whisper Cardstock
- Back To Back Blooms Stamp Set
- Ink (Pumpkin Pie, Mango Melody, Granny Apple Green)
- Adhesive
Instructions
To make the card featured in the video, first reach for the 3″ x 4″ white cardstock. With the detailed side of the large flower stamp, stamp towards the bottom right in Pumpkin Pie. Wipe off the ink and flip the stamp over to create the fill of the flower in Mango Medley ink. Use the stamping off technique to create a light and faded fill. Next, add leaves using this same technique in Granny Apple Green.
Next, reach for the Pumpkin Pie card base. In Mango Medley, stamp some flowers with the large flower stamp across the front. Adhere the white cardstock to the front of the card base. Add a “Thank You” sentiment in Pumpkin Pie to your card.
And there you have it! A super easy card using the Stampin Up Back To Back Blooms reversible stamp set.
Check out my other card ideas below!
Other Card Ideas
Here are some other nice cards I’ve made using this set.

I love the beautiful colors of this card.
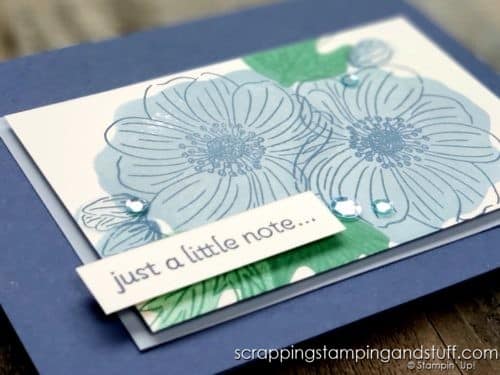
This card was created using the Stamparatus.
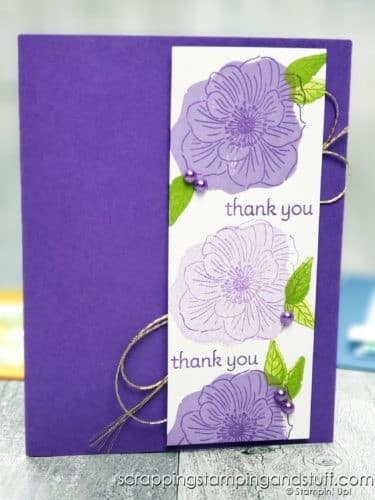
I hope you’ve enjoyed seeing these fun samples. Stop back again soon!
Don’t Miss Out!
Please make me your Stampin’ Up! demonstrator! Earn rewards points towards free stamps PLUS a gift when you order. Use host code: JGJR9MZD PLUS, with your first order, you’ll receive free catalogs in your thank you package!

Order the products I used and make this project yourself!
You Might Also Like:
Stampin Up Hydrangea Haven And Big Beautiful Blooms Card Ideas
Introducing Stampin Up Sand & Sea For Beautiful Coastal Projects


Thank you for all the beautiful cards that you have sent to me, I just love each and every one and enjoy hearing from you, you are such a blessing to me!
That is so very sweet of you! This makes my day ❤
Wow Anna these cards are gorgeous!