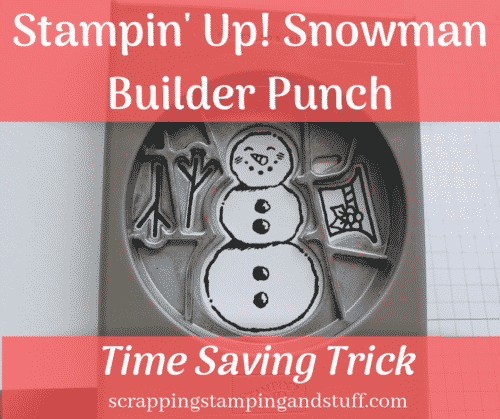
Time-saving tricks can be a lifesaver sometimes. When it comes to cooking, cleaning, and crafting, learning ways to save time can be pretty exciting! Today’s quick tip is a time-saving trick for how to use the Snowman Builder Punch. Yesterday I made this really neat card using the Snowman Season stamp set and Snowman Builder Punch, and today I wanted to share my handy trick with you to save lots of time! Keep in mind this trick can be used for all of Stampin Up’s builder punches, which are the ones with multiple cutouts.
First, get a scrap piece of paper and punch through it using the snowman builder.
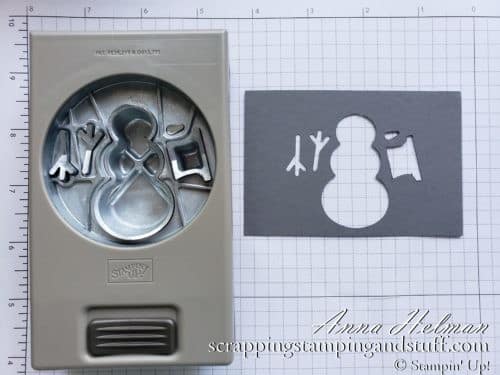
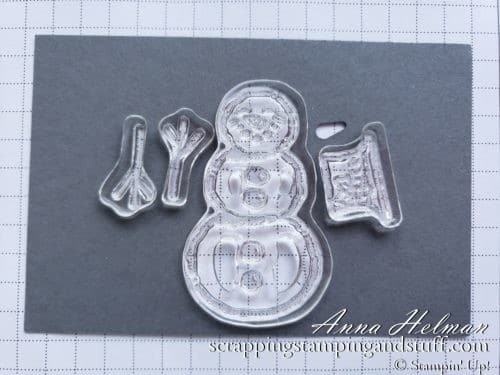
Next, lay the stamps on top of the punched cardstock, being careful to center the stamps in the openings. Make sure the side that will adhere to the acrylic block is face up.
Lay the stamping block on top and press down to cling to the stamps.
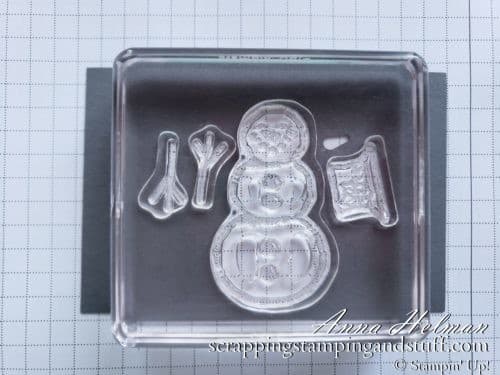
Ink the stamps with your ink of choice, and stamp them onto cardstock. In this case I used Memento black ink.
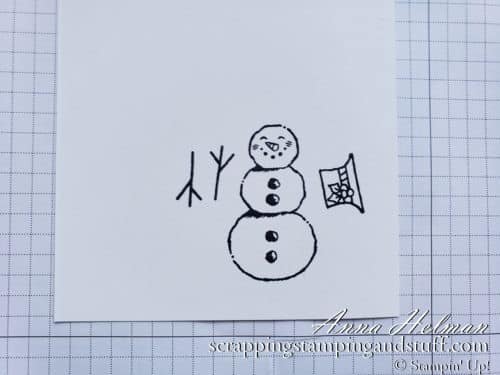
If you’re going to do any coloring, I suggest doing so now. Then after you’re done coloring, line up the stamped images with the punch, and punch them out!
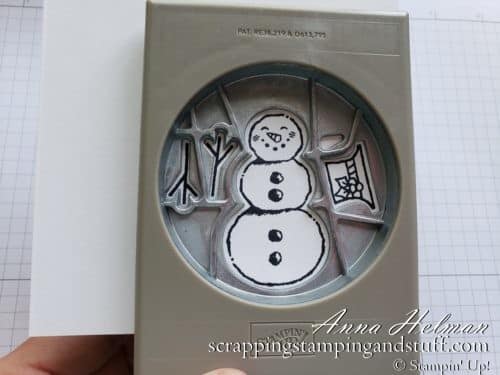
This is sooooo much better than trying to punch out the arms, snowman, and hat separately. I hope this helps you with how to use the Snowman Builder Punch! If you didn’t check out yesterday’s card made with one of these cute little guys, make sure you do!
Please make me your Stampin’ Up! demonstrator!
- With your first order, you’ll receive a FREE annual catalog from me! Seasonal catalogs are also mailed to regular customers.
- Please use hostess code GJNKWZVN when you order.
- Keep track of your Stampin’ Rewards and earn free stamps from me!
- When you order $150 or more, you’ll earn hostess credit through Stampin’ Up!
- Check out my current Project in the Mail, Pressed Petals (shown below)!
Order the products I used and make this project yourself!

Leave a Reply