Are you ready for a punch trick you’ve (most likely) never seen before? I just discovered this neat punch hack, and I just had to share it with you! Instead of using punches to punch all the way through paper, we’re only going to punch partway so all the pieces stay attached, and then we will fold them to reveal the back side of the paper. Let’s get started and I’ll share more!
Punch Hack
Here’s how to try this technique.
- Choose one of the punches I’m using, or another one of your choice.
- Punch PART way through the paper, but not all the way.
- Remove the paper from the punch.
- Fold back the corners where it punched through.
- Leave the design as is, punch it out using a circle punch or die, or weave ribbon through it!
Next let’s look at my three favorite punches for this technique.
Which Punches To Use?
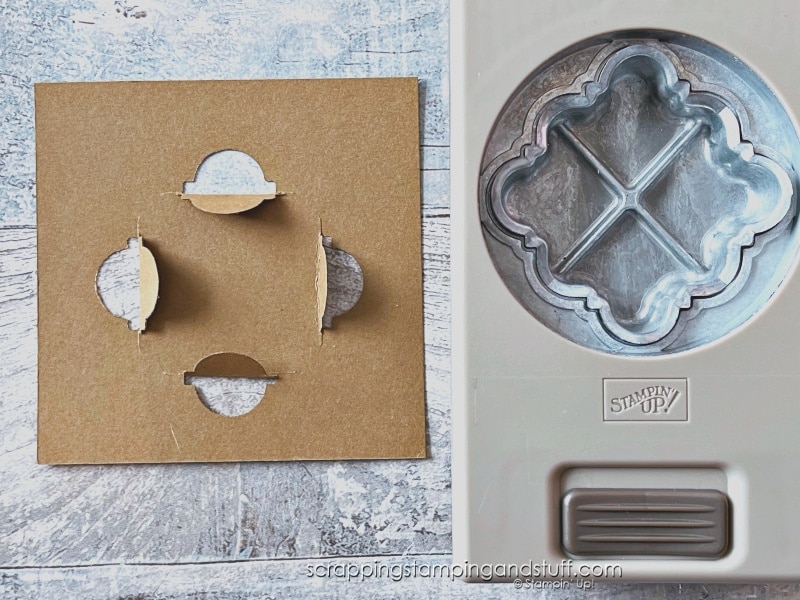
I made the sample below using the Handmade Tag Punch.
These next two samples were made using the two punches in the Inked & Tiled Punch Pack.
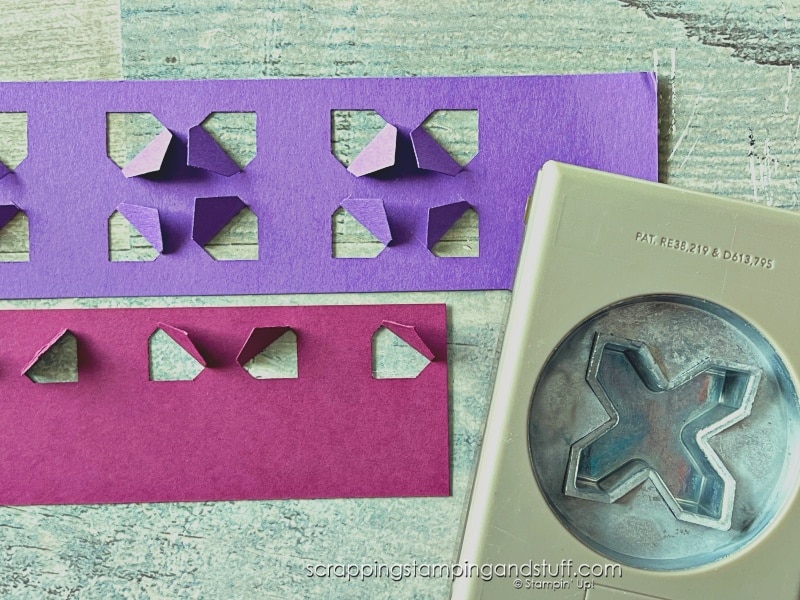

As you can see in the samples above, you can play around with making these into strips, borders, or doing a single punch and then using a circle punch or die to cut it out.
Now let’s look at some card samples.
Punch Trick Card Samples
Inked & Tiled Punch Pack
I created this first card by punching the Star Punch from the Inked & Tiled Punch Pack, three times to create a strip.
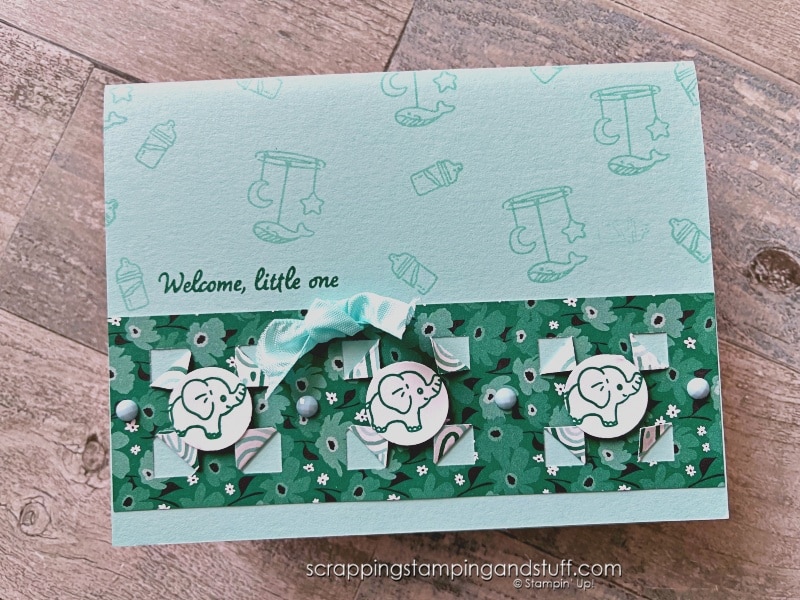
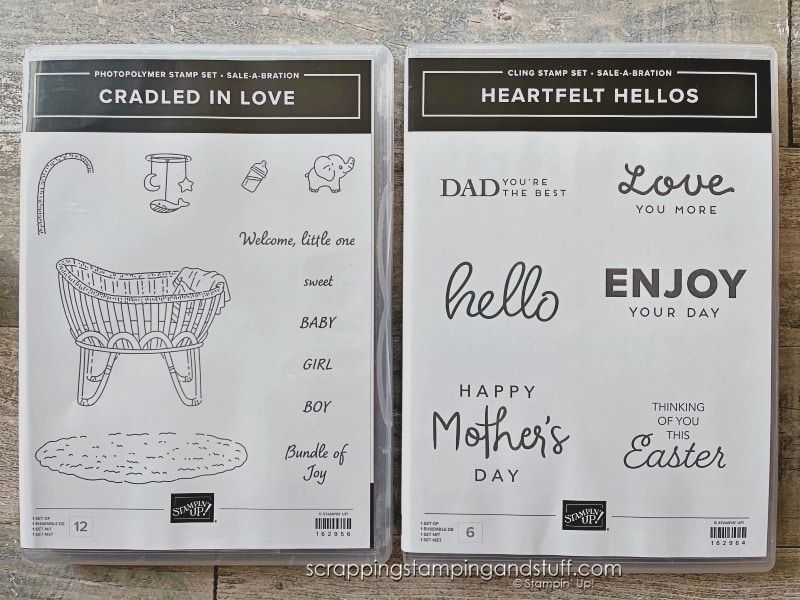
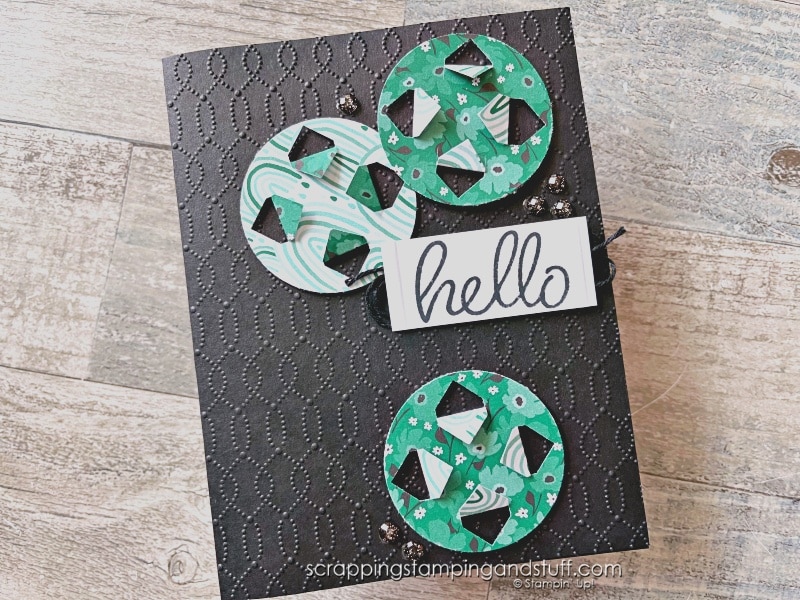
I decorated the card above using the Cradled In Love stamp set, which is free with a $50 purchase right now during Sale-a-bration. The Heartfelt Hellos set, also shown below, is another free option that I used on the black card coming up.
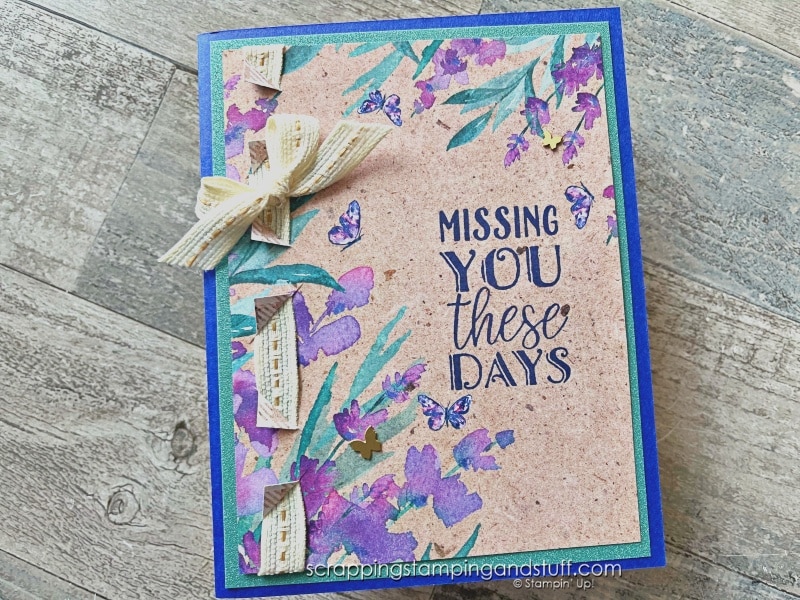
For this card, I held half of the punch off the edge of my paper to create a single row of punches. Then I wove ribbon through the openings. Isn’t this paper gorgeous? I used the Perennial Lavender designer paper pack and Vertical Blooms stamp set for the greeting.
I used the X Punch from the Inked & Tiled Punch Pack for this card, along with the Softly Sophisticated embossing folder (another free Sale-a-bration item!).
Handmade Tag Punch
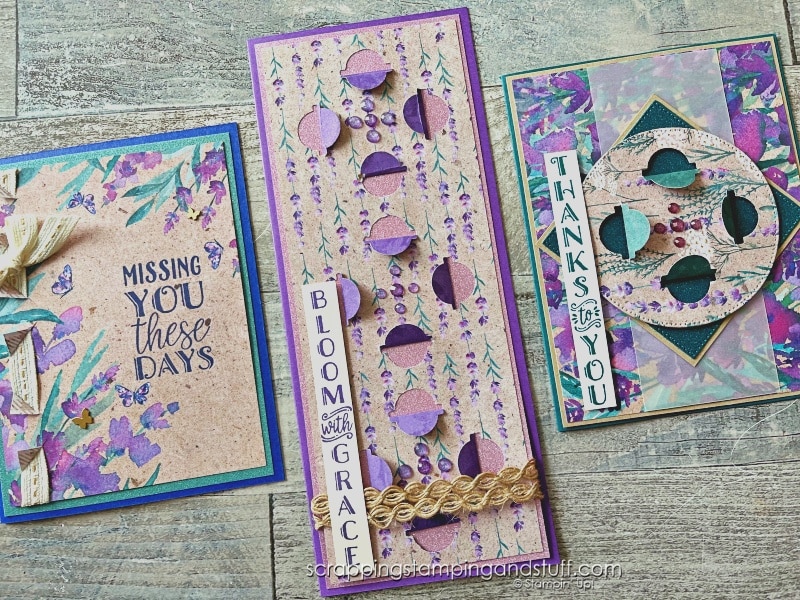
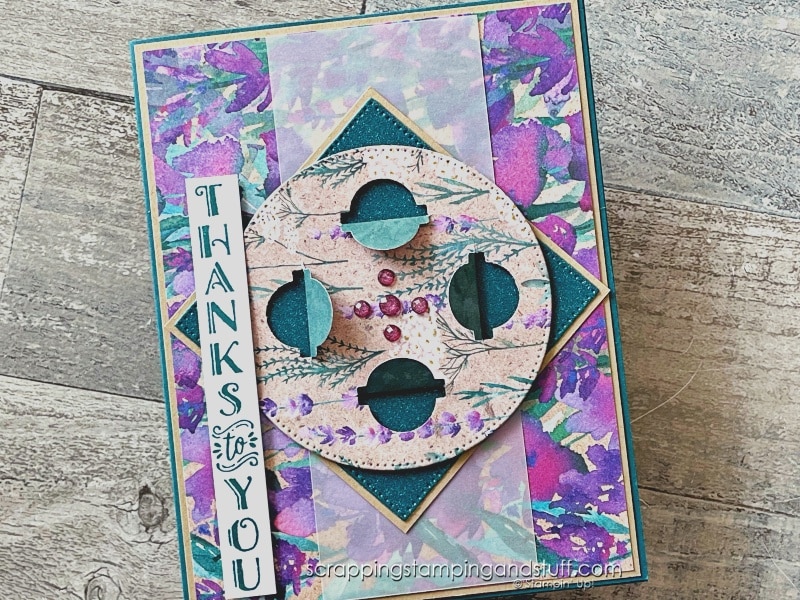
The Handmade Tag Punch creates a very different look. For this card, I punched once, then cut the motif out using the Stylish Shapes die set. Isn’t it gorgeous?! I used the Perennial Lavender paper and Vertical Blooms stamp set again.
I also used the Handmade Tag Punch to create the card shown in the center below. I punched the design three separate times to create this lovely slimline card. I just love how those greetings from the Vertical Blooms set look on these cards.

Punch Hack Video
These punch tricks will make a lot more sense when you watch along while I’m creating. I’m also sharing a verse from Psalms that I read recently. Watch along here!
Materials List
Take a look at the supplies I’ve used here:
Product List Learn To Make Cards
Shop Supplies
Rewards Program
Join My Amazing Team
Thanks for visiting to see this neat punch hack you’ve never seen!


Leave a Reply