Embossing is such a stunning technique to include on cards. Texture adds so much, and when it’s it a uniform design from an embossing folder, the effect is just amazing. If you’re not experienced with embossing, I’ll include information to get you up to speed because after you see today’s sample projects, you’re going to want to try them! We’ll be inking embossing folders in several different ways to get really unique results. Let’s take a look.
Intro To Embossing
Embossing involves layering paper between a plastic, two-sided folder, and running it through a machine to give it a really good press. The folder includes a design on the inside, so that when removing the paper, it will have the texture imprinted on it from the folder.
Embossing is amazing and you have to try it if you haven’t! Learn all about embossing here, and learn about the Cut & Emboss Machine and Mini Cut & Emboss Machine here.
Inking Embossing Folders
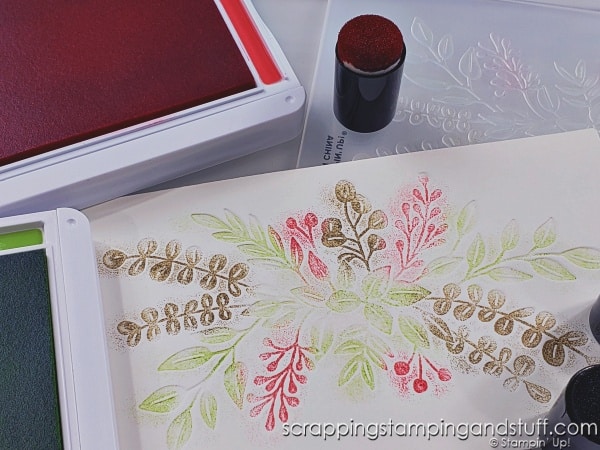
Have you ever applied ink to an embossing folder before running it through the machine? There are several ways to do this. Let’s look at four of them. Keep in mind you will get different results depending on if you apply ink to the ’emboss’ side of the folder or the ‘deboss’ side. Watch along with my video for more information about this.
1. Ink Directly With An Ink Pad
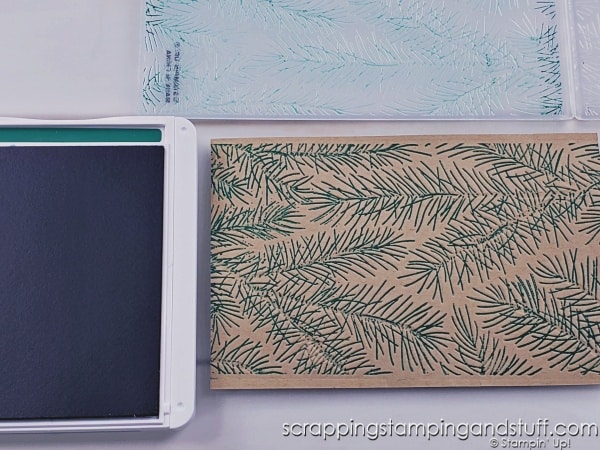
For this technique, just press an ink pad directly against the embossing folder until one side of the folder is covered in ink. Lay your paper on the un-inked side, carefully close it, and run it through the machine.
2. Apply Ink With A Blending Brush
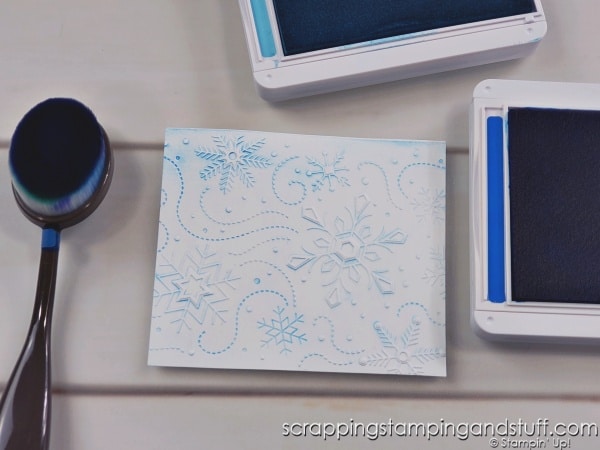
For this technique, gently swirl ink into the desired parts of the folder with a blending brush. You can apply one color, blend two colors, create a rainbow, do an ombre effect…the sky is the limit. Learn more about blending brushes here.
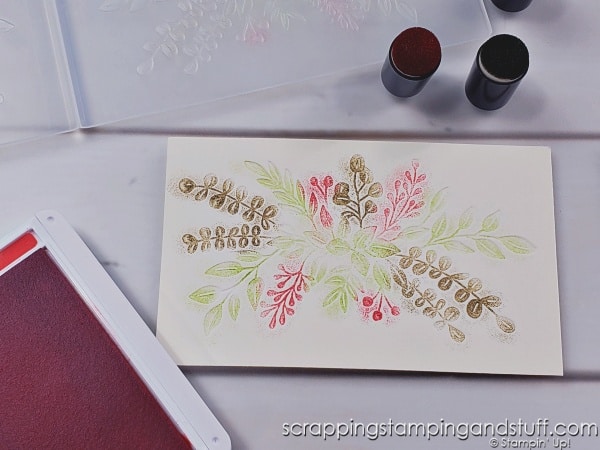
3. Use Sponge Daubers
This might be my favorite effect! Blot ink onto the folder with sponge daubers. What a lovely result!
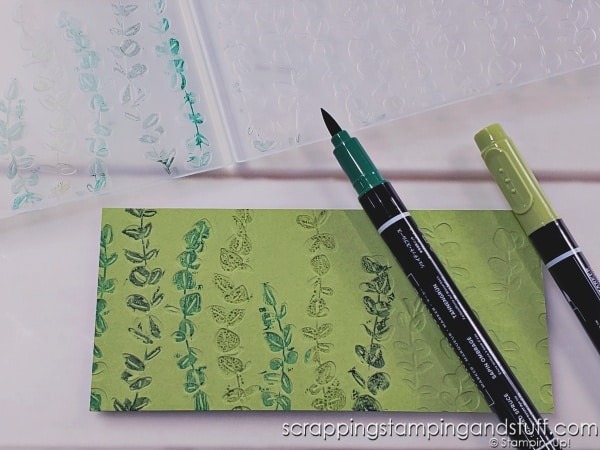
4. Add Ink With Markers
For this technique, hold your marker horizontally so the flat edge of your marker can brush across the raised portions of the folder. Work as quickly as possible because ink likes to pool up into beads on the folder.
Ink & Embossing Folders Samples
Let’s take a look at some finished cards using these techniques.
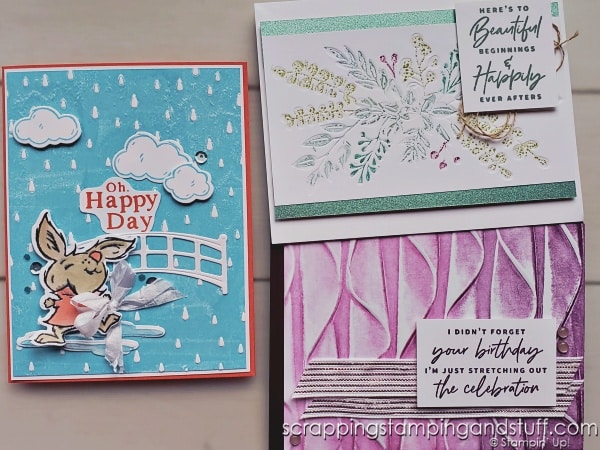
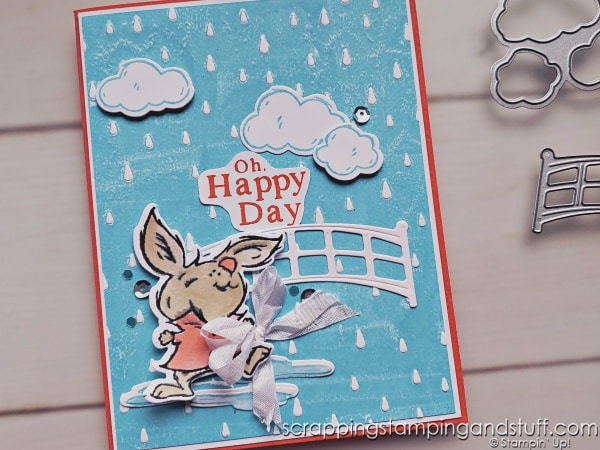
Here’s one where I inked the Raindrops embossing folder directly with an ink pad. I finished this one using the Playing In The Rain bundle.
For the next card, I added color to the embossing folder with markers. I created the greeting using the Something Fancy stamp set.
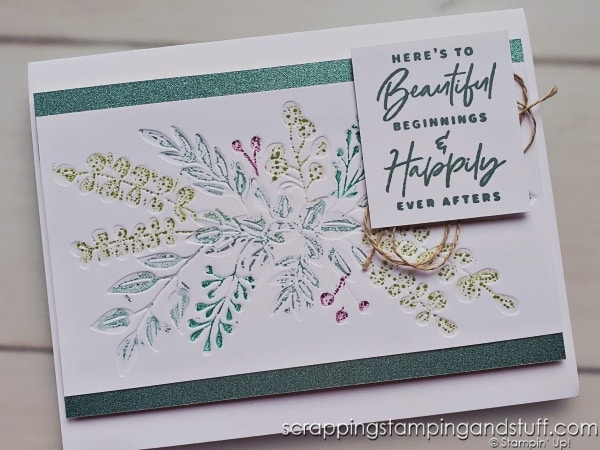
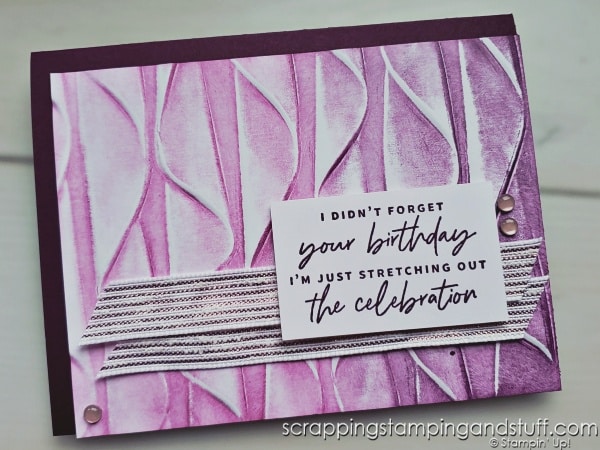
Isn’t this one lovely?! I applied Rich Razzleberry and Blackberry Bliss inks to the Cascading Ruffles embossing folder using blending brushes. I finished this card with the Something Fancy stamp set.
Inking Embossing Folders Video
Watch along here to see these neat techniques in action!
Supply List
Product List Learn To Make Cards
Shop Supplies
Rewards Program
Join My Amazing Team
Thanks for visiting to learn more about inking embossing folders!


Love watching your videos. And am glad you are part of my SU family.
Thank you Cathey!!