Can you believe that it’s time to retire the 2021-2022 Stampin Up Annual Catalog? There will be a lot happening over the next month, so I wanted to mention this briefly before sharing today’s lovely card projects. Keep reading for details on this and also how to make beautiful cards using just one piece of cardstock, blending brushes, stamps and ink.
Catalog Details
Here’s a quick overview of catalog change details that you’ll want to know. The retiring product list from the current catalog was shared a few days ago. All retiring products are now available while supplies last. That means when Stampin Up’s current supply on hand is gone, they won’t be replacing them, and some items have already sold out. I encourage you to check out the retiring list as soon as possible and order the items you love. They may not be there the next time you look!
Later in April, new Annual Catalogs will be arriving to those of you who have purchased from me during the last six months. Ordering for the current catalog ends May 2 and ordering for the new catalog begins May 3. Hopefully these details will help you not miss out on ordering products you want to add to your collection!
Now that we’ve covered the ‘business,’ let’s talk fun stuff…crafting!
One-Layer Blended Cards Video
To see how I created today’s blended beauties, watch along with this video.
Blending Brushes
Blending brushes are a key tool for today’s projects. To learn all about blending brushes, use this link.
How To Create Blended One-Layer Cards
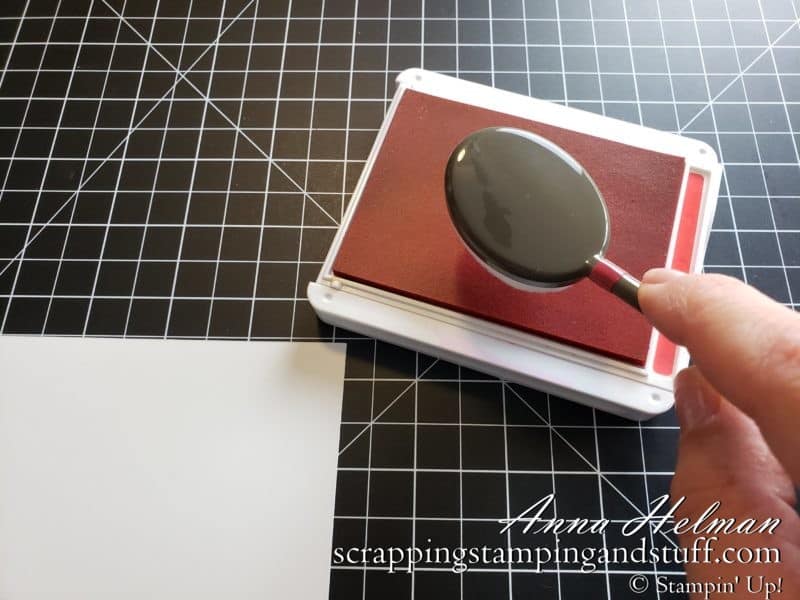
Here’s how to create this type of card.
1. Mask your card to create an opening on the front, while the rest of the card is covered. You can do this with removeable tape, large post it notes, printer paper held in place with washi tape, or masking strips made with multipurpose glue like I made in the video.
2. Use a blending brush to swirl color into the opening. You can add color just around the edges, fill in the area completely, have a color or shade variation, or just play around and see what you create.
3. Stamp over the area.
4. Remove masking strips to reveal your stamped work of art.
Watch along with the video to see exactly how I created the cards shown below.
One Layer Card Samples
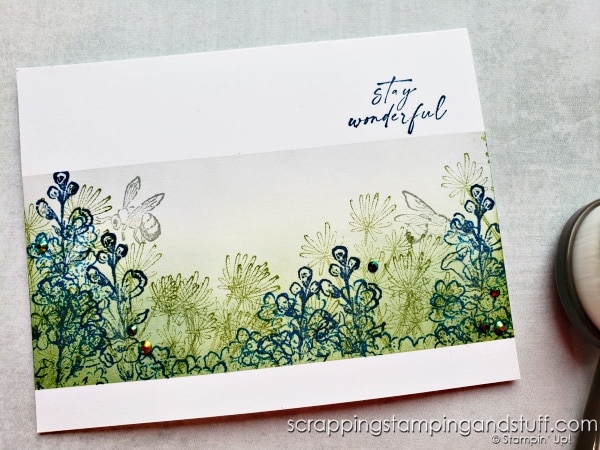
Honeybee Home Card
I created this card exactly how I described above. The colors I used for blending were Smoky Slate, Old Olive and Evening Evergreen. I stamped using the Honeybee Home stamp set with Misty Moonlight, Pacific Point, Mossy Meadow and Smoky Slate. Isn’t it pretty? I just love using this technique, because it’s so simple to create gorgeous cards!

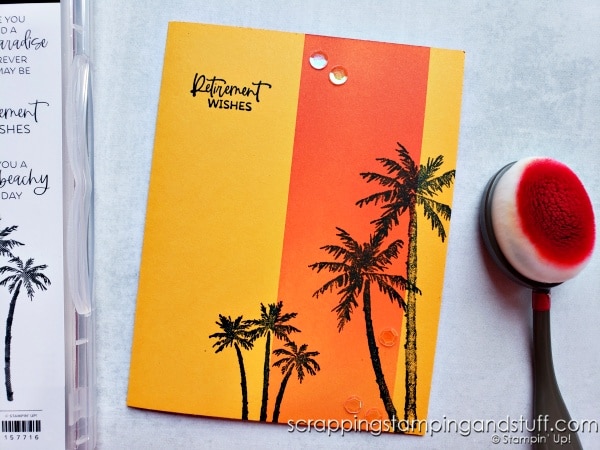
Paradise Palms
For my second card, I blended with Calypso Coral ink at the bottom, Poppy Parade in the center and Cherry Cobbler at the top. I stamped with the Paradise Palms stamp set and my Stamparatus, so that I could stamp several times to get a deep black. For this card, you can see that I removed the masking strips before stamping, so the palm trees would hang over the edge of the blended area.
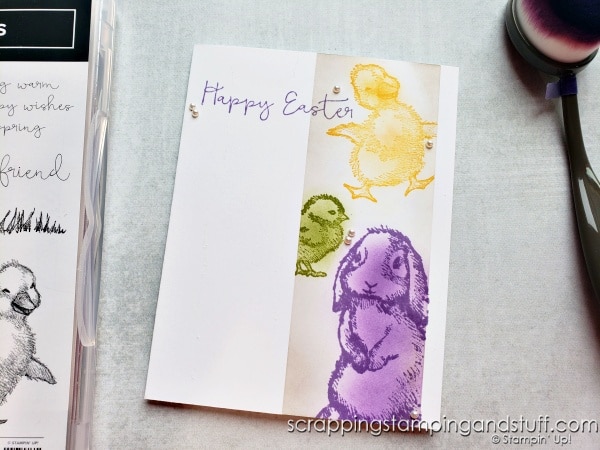
Easter Friends
For this cute card, I blended with Sahara Sand, then stamped with the Easter Friends stamp set and So Saffron, Pear Pizzazz, and Highland Heather inks. Then I used blending brushes to add color to the center of each animal.
Flower Cluster
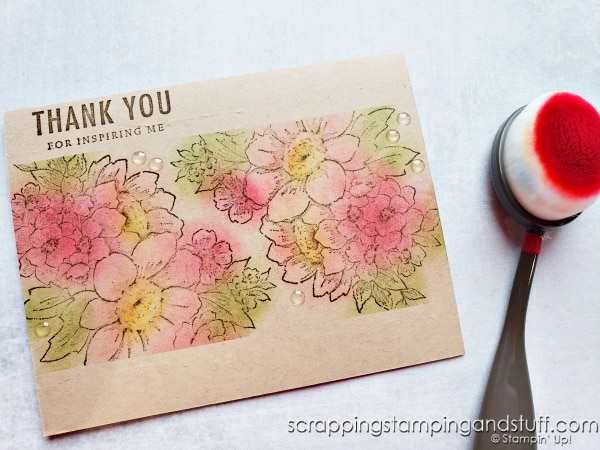
For my fourth card, I masked the card, then stamped the flower clusters from the Blessings of Home stamp set with Soft Suede ink. I used blending brushes to apply color to the specific areas of the flower. The colors I used include Old Olive, So Saffron, Flirty Flamingo, and Polished Pink.
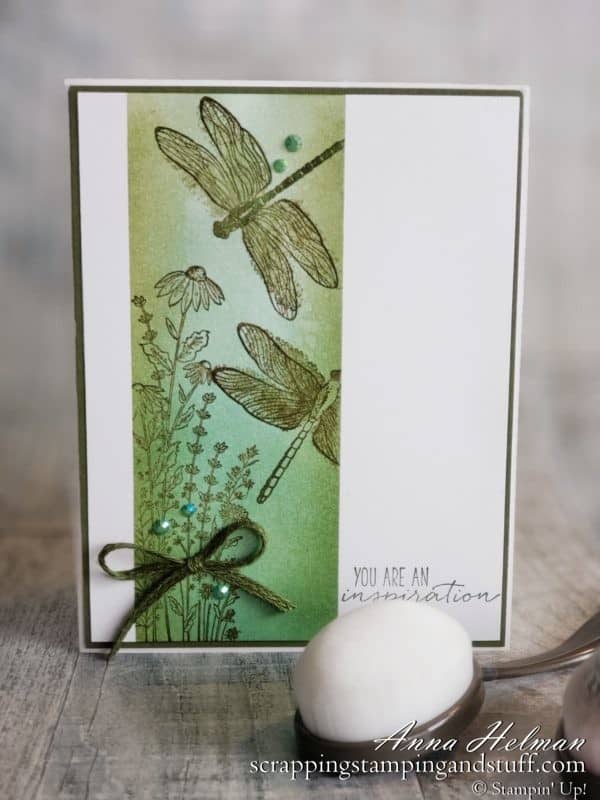
I’ve created other cards in the past using this same technique. Here’s one of my favorites.
Supply List
Here are the materials I used on these cards, along with ordering links if you’re interested.
Product List Learn To Make Cards
Shop Supplies
Rewards Program
Join My Amazing Team
Thanks for visiting. I hope you’ll try creating blended one-layer cards soon!


Leave a Reply