If you follow along regularly, you know I recently moved into a new craft room. I’ve been getting organized so that 1. I can find things and 2. I can share my new space with you! I have a long way to go, but I wanted to share a quick welcome to my new craft room.
New Craft Room Tour Video
Watch along here for a tour around my craft area. Please don’t judge at the things I haven’t completed!!
Let’s start touring my new space!
Island
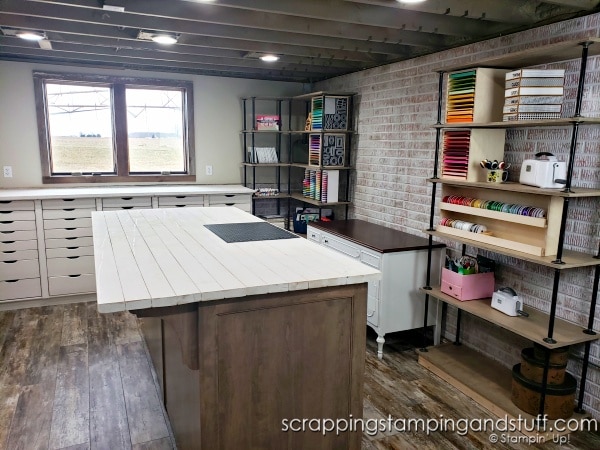
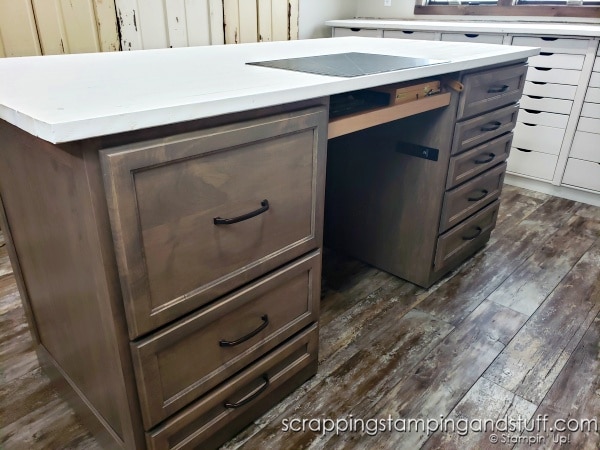
The centerpiece of my craft room is the island. I like to work standing up most of the time, and I like to face the center of a room instead of a wall, which is why I chose this island. I planned and planned and planned to create the sizes of drawers I would need to store my most-used supplies. They still need a LOT of organizing, but I’ll show them to you anyway.
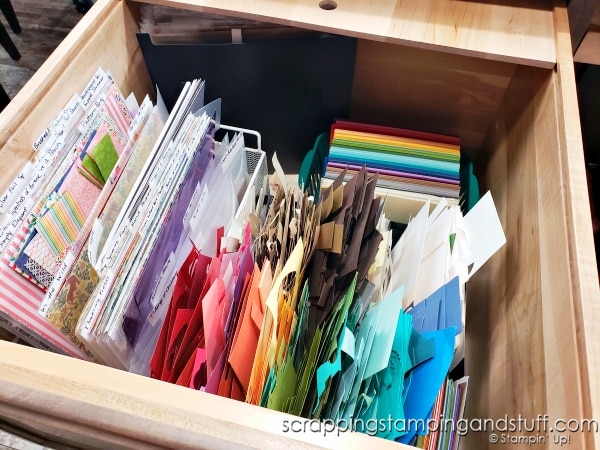
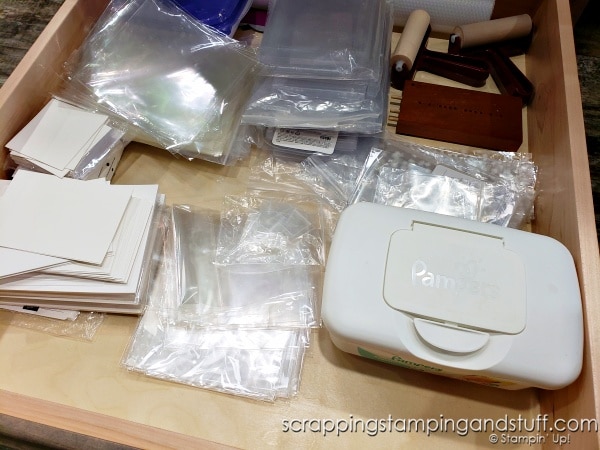
Left Top – Paper
In this drawer, I can store my 12×12 paper standing up (using these plastic sleeves), my scrap organizer, and my card bases. Love this! The top of the drawer has a sliding wooden top that I thought I would use as an extra work top, but it’s not turning out that way. I might remove it.
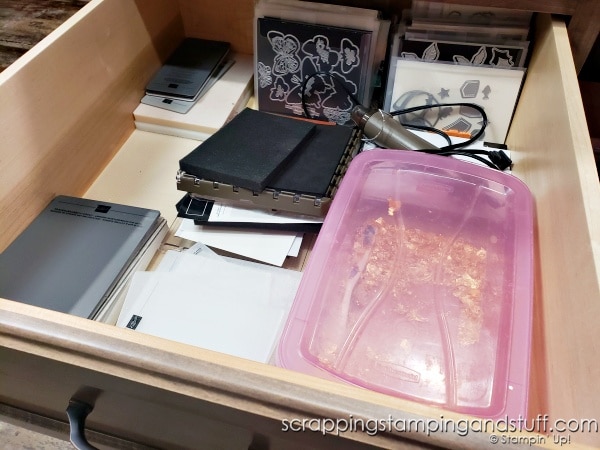
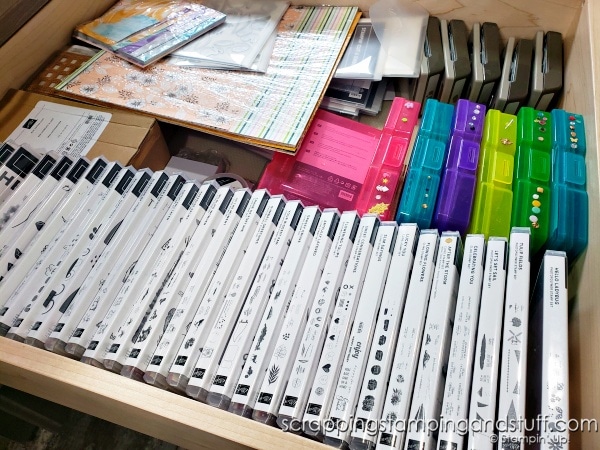
Left Middle – Dies
This drawer has a messy collection of dies, plates for my Cut & Emboss Machine and Mini Machine, embossing folders, gilded leafing, and a few other items. Over the years I’ve played around with different ways to store my dies, and I’ve finally found a solution I’m happy with. I use these magnet cards (the BEST I’ve seen) with these plastic sleeves.
Left Bottom – Assorted
This is well…stuff. Everyone needs a catch-all drawer, right?
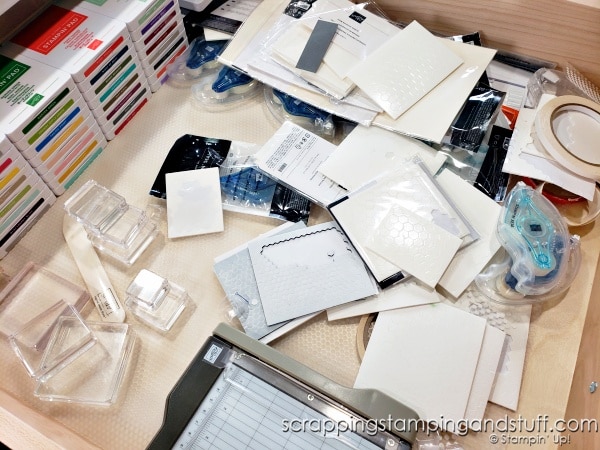
Right Top – Essentials
This drawer needs a ton of help. I’m using it to store my ink pads, blocks, and adhesives.
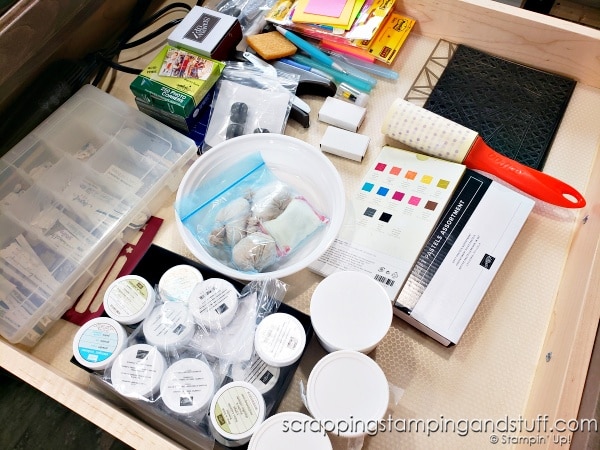
Right Second – Accessories
Odds & ends are in this drawer – my tackle box full of prepared sentiment tags, chalk pastels, watercolor pencils, heat embossing supplies, stencils, embossing paste, and a few other odds and ends.
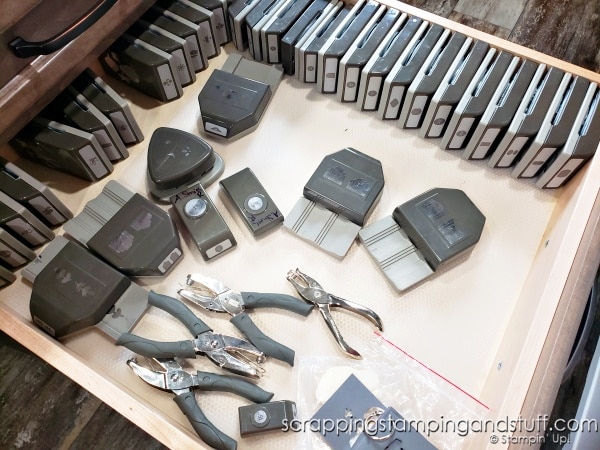
Right Middle – Punches
This might be my favorite drawer. All of my punches are in one place!
Right Fourth – New Products
My newer products and embellishments are in this drawer. I like to keep them here until I’ve used them a few times – then I move them into my regular collection.
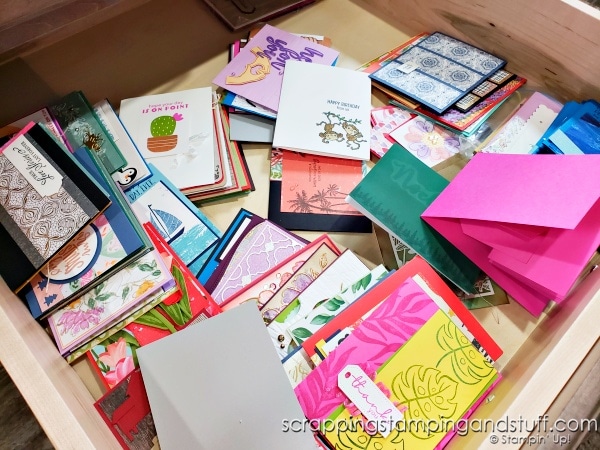
Right Bottom – Cards
This drawer is tall enough to hold cards vertically with dividers between them for categories. I’ll use it to store card designs for future inspiration. As you can see, it’s not quite organized yet!
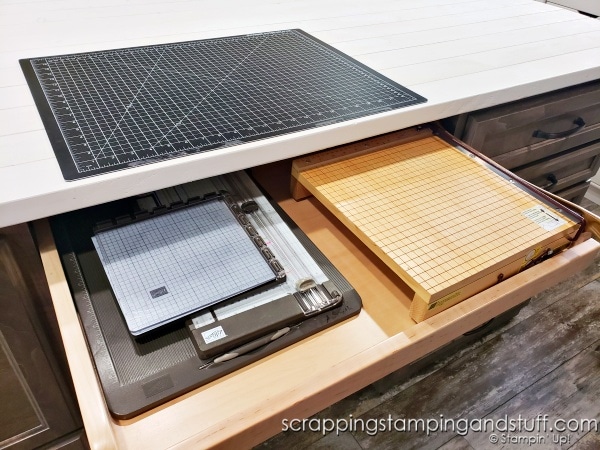
Center Pull Out
I have a pull out drawer in the center that holds my trimmers, Stamparatus and scoring board. I hope to attach some cubbies down below to hold each item so they aren’t piled on top of each other.
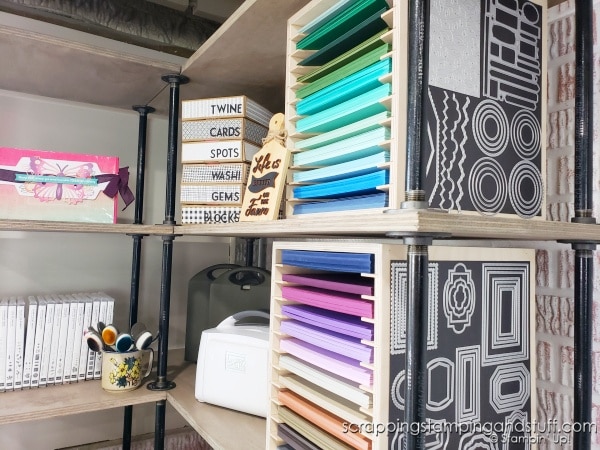
Shelving
The shelving behind my island holds a collection of both useful and decorative items including my paper cubes, second set of ink pads that I use for classes, ribbon rack, Cut & Emboss Machine, blending brushes, acrylic block storage caddies, and pink essentials tote that I grab and put on the island when I’m crafting.
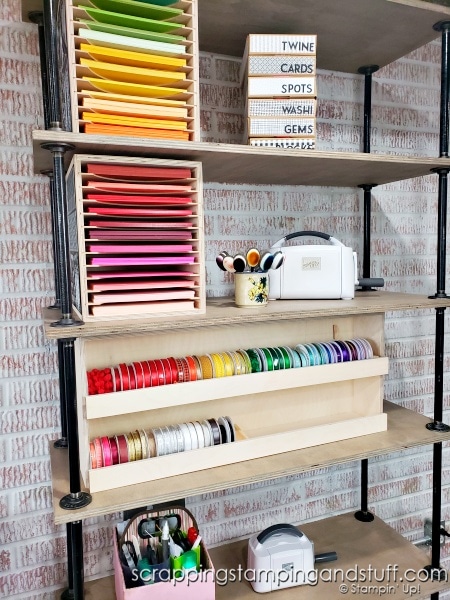
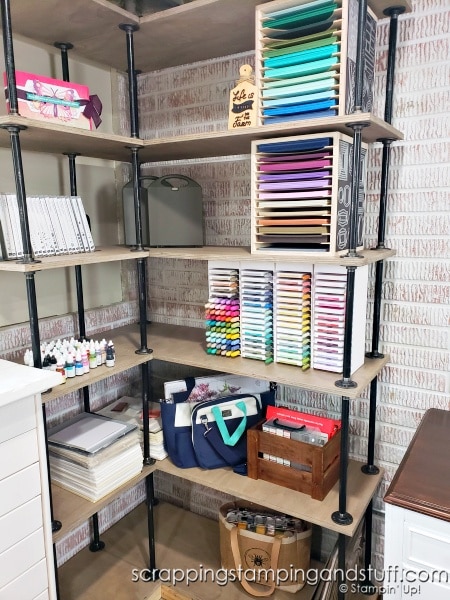
On the sides of my paper cubes, you can see the magnet sheets I’m using to store my commonly used dies. I LOVE having them easy to access. It makes it so quick and easy to grab one, use it, and put it away.
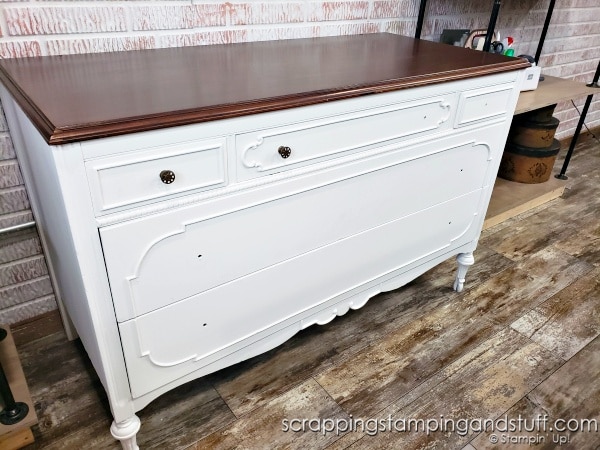
Dresser
Directly behind my island sits this dresser. I refinished it to hold my stamps. The top left drawer holds acrylic blocks, the middle drawer is for odds & ends for classes, and the right drawer holds extra ribbon. The large drawers hold stamps, and I’m amazed how many I can fit inside. As you can see, I didn’t even have the knobs back on when I took this picture!
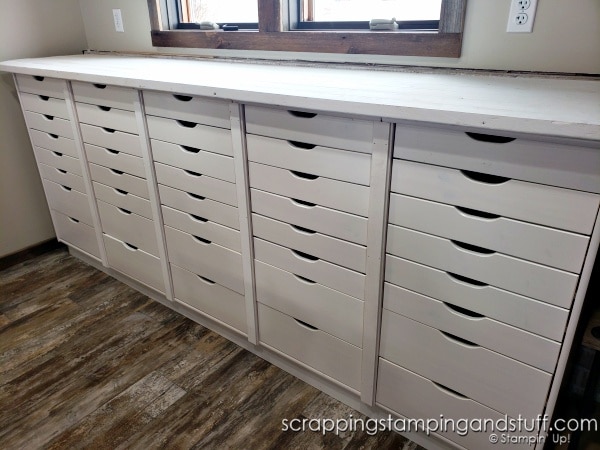
Drawers
I really wanted to maximize storage space, so I purchased these drawer units to line the wall. The countertop is perfect for more horizontal space to spread out my projects (and messes!).
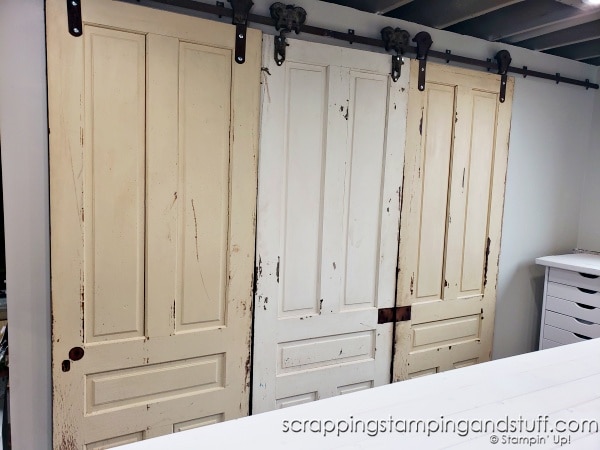
Built In Shelving
I wanted a storage area for larger items like boxes and tubs, so we created this built in shelving with sliding doors. I used old doors and rollers that have been in my family. I could repaint them, but then they wouldn’t have the same character 🙂
Now that you’ve seen my messy drawers and far-from-complete organization, I promise that I’ll share another tour when I am completely organized. Well…when I’m mostly completely organized because I’ll probably never be completely organized!
I mentioned in the video that I won’t be answering all questions right now about what brands of organizers I have or where I purchased different items. I will share a full list when my official organization video is released later on. I do have a few links below for certain items:
Affiliate links below may be used to order products at no cost to you:
Ink and marker storage: https://bit.ly/3CBw0Td
Paper cubes: https://bit.ly/3CARH5x
Ribbon storage: https://bit.ly/3tMeiIp
Paper Sleeves: https://bit.ly/3JadnrN
Magnet Sheets for Die Storage: https://bit.ly/35NtJYQ
Magnet Cards For Dies: https://bit.ly/3t3F3co
Die Storage Sleeves: https://bit.ly/3pXVCo6
Learn To Make Cards
Shop Supplies
Rewards Program
Join My Amazing Team
What do you see in my new craft room that can help in your craft space? Comment and let me know!
So Happy for you. I know you will enjoy it and have fun arranging and rearranging.
Love the Old Doors. Thank you for sharing your post and ideas. Have Fun.
Thanks so much Barbara!
It looks like a wonderful room, with lots of fabulous storage space. I recently purchased white tool chests from Harbor Freight to get my punches out of my “wood drawers” as it seemed the weight was just too much, and my drawers were having problems. Don’t know if you have had this problem with your wood drawer storage of punches? (I do have some other punches on a heavy duty office cabinet with wood punch holders and those do okay, its just ones I had in a drawer didn’t help wood of drawer due to weight of punches). Note: I’m not trying to sell anyone on tool chests etc. Feel free to black out if I have anything in here that shouldn’t be.
Great space. Have tons of fun.
Thank you Ronda!
Love it! I just moved and will be following you for ideas. Wanted to mention that I like the way you create your videos – great voice, very clear instructions.
Thanks so much Liana! I appreciate you following along!
where did you get the drawerts along the wall? thanks for the ideas
where did you get the drawerts along the wall? thanks for the ideas
So glad you “re”shared this video of your space. I was up from 2 to 3 a.m. this morning moving a shelf off of my work table! I am so glad we found each other, you are so easy to talk to and so understanding when you have to explain things for an older woman to understand. The only advanced technology I had was a transistor radio with a 9 volt battery! Love and thanks Anna.
where did you purchase the drawer wall units…and what is the brand please?