‘Tis the season to be thankful, and because we’re thankful to give gifts of appreciation to our loved ones. I’m so glad you’ve joined in our Inspire Create Share Blog Hop for this month – Perfectly Packaged. We have some great projects in store that will hopefully help you with gift giving ideas as well as beautiful ways to package those gifts this season! So let’s get on with it!
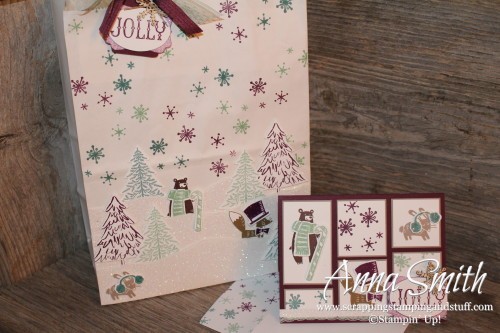
Here is the gift packaging that I made – a matching card and gift bag.
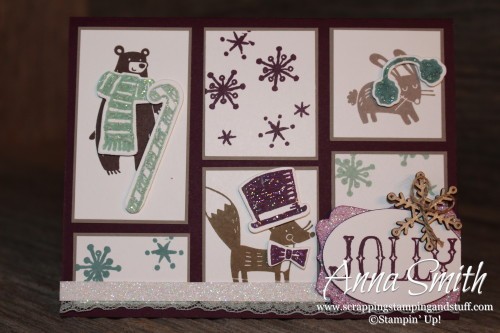
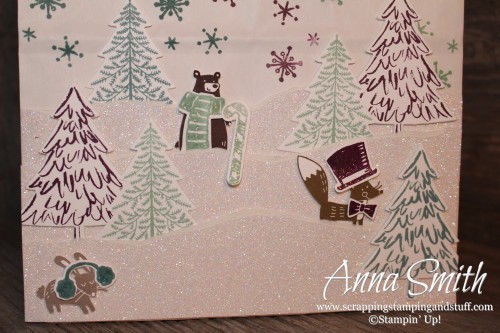
As some of you know, the Stampin’ Up! Snow Place stamp set includes snowmen, a penguin, and tons of accessories like hats, ties and scarves. These are the accessories that I used for my project. Rather than using the snowmen or penguin, I decided to use our Thankful Forest Friends set instead, which includes a bear, fox and rabbit. I stamped these animals onto my project and then added the accessories from the Snow Place stamp set which I cut out using the coordinating Snow Friends framelits dies. The scarf, candy cane and ear muffs were a little large for the animals that I used, so I trimmed them down by hand to make them fit.
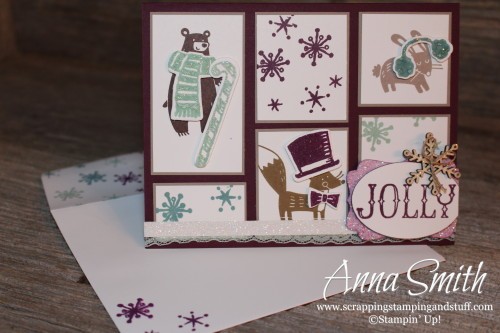
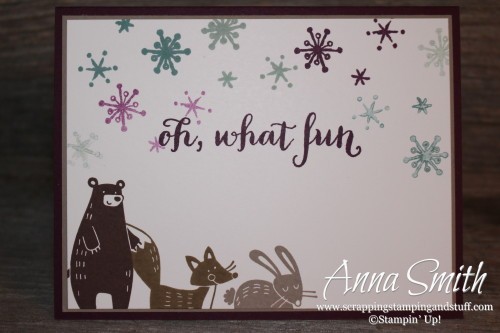
Let’s take a look at the card. Recently I saw a card similar to this with a lot of panels on the front and I loved the look. This was my version – jolly forest friends bundled up for wintertime!
I stamped snowflakes on the envelope too. A card just isn’t complete without a matching envelope! My colors of choice were Blackberry Bliss, Mint Macaron, Island Indigo and Tip Top Taupe. I also used Chocolate Chip for the bear and Soft Suede for the fox. I love how the color combo turned out.
This is the inside of the card. This greeting as well as ‘Jolly’ on the front of the card are from the Oh What Fun stamp set. I agree, the greetings in this stamp set are very fun!
Now let’s take a look at the gift bag.
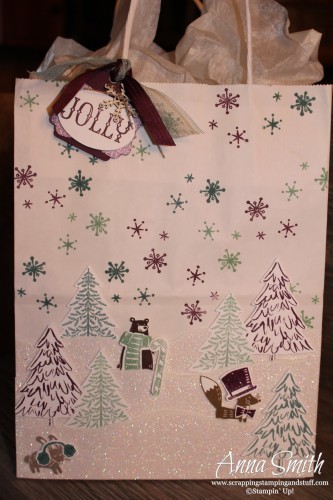
As you can see, I used many of the same images from the card with the addition of Christmas trees. I used the Peaceful Pines stamp set and coordinating dies to make the trees.
If you have ever tried stamping on a gift bag, you know it is more complicated than you might think. All of the layers and folds when the bag is laying flat make it challenging to get a good stamped image. I cut a piece of cardboard slightly smaller than the bag and slid it inside just below the top layer of the bag. That gave me a fairly flat surface to stamp on. I still had to be creative where the handles are attached, but it worked fairly well with the cardboard inside.
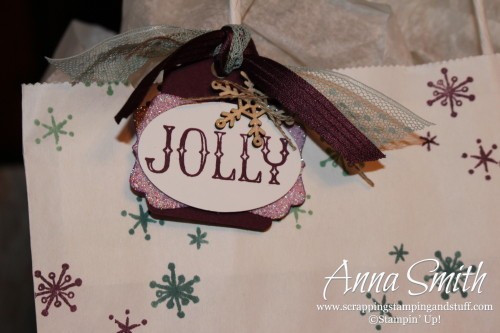
Here is the tag that matches the tag on the card. I punched the piece of glimmer paper using the decorative label punch and then used an aqua painter and Blackberry Bliss ink to color it. I love how the wooden snowflake elements coordinate with the snowflake stamp I used.
You can’t give a gift bag with nothing inside, so here is the gift that goes inside.
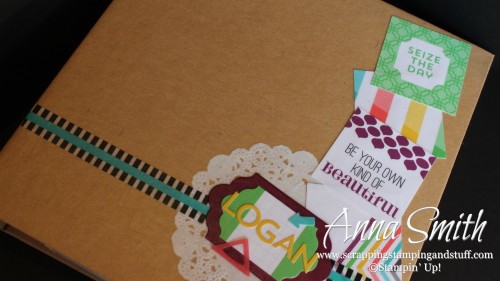
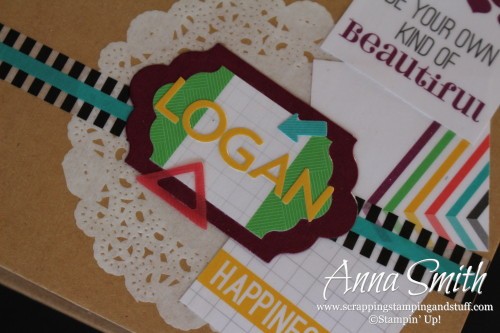
This personalized Project Life album is a gift for my three-year-old niece. I decorated the cover with items from the This Is the Life accessory pack. I attached them to the cover of the 6 x 8″ Project Life Kraft Album using Modge Podge, but afterward realized that I probably could have tried using Crystal Effects. Here is a little tip I have learned over the years. If you’re attaching paper to another surface with Modge Podge (or probably with Crystal Effects too), you will want to cover both surfaces with Modge Podge before attaching them together. This helps reduce bubbling. If you only cover the back of the paper with Modge Podge, you will get a lot more bubbling and it will make you grouchy. Apply it to both surfaces and you will be more merry and bright this holiday season!
After I got the front cover decorated, I covered the entire surface with 3 or 4 coats of Modge Podge. I wanted to make sure those pieces weren’t going to come loose!
I almost made this entire album with just four products – the album, 6×8 Project Life pages, the This Is the Life card collection and the coordinating accessory pack. I did add a doily on the cover, and you’ll see in the next picture that I used a few additional supplies, but for the most part the entire album was made with those four products.
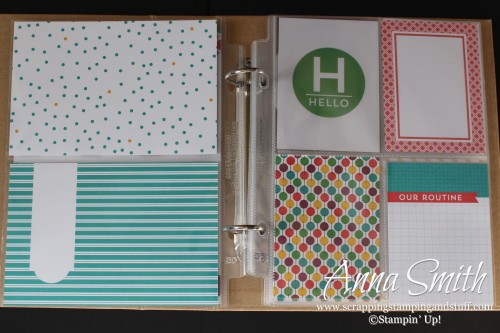
The inside cover page is where I branched out from the four main products I used. I dug into my stash to make this page.
For the rest of the pages in the album, I alternated photos of my niece’s family and friends with the Project Life cards. I added the photos after I took these pictures in case people didn’t want their pictures on my blog 🙂
I hope you liked my project! Thanks for visiting! Click on the links below to order the products I used or contact your demonstrator to order. And use the next button below to continue on to Nichole’s blog to see what she has in store for us!

very cute!
Oh my gosh! Your card and bag are just adorable! I love the scene you created. The personalized album is fabulous too!
Your talent shines in your work!
Anna, I love it all! So cute!
Love your sweet card and bag and that personalized project life album is fabulous!
Such cute projects! Love the personalized album.
very fun & “woodsy”! lol love it!!
Love how you combined sets to make the scene!
Anna your projects are always so nice! What a great share!
Love the blocked card and matching bag.
Your projects are fantastic. I can take you took so much time and love to make them!
Wow a beautiful bag and card! Nice Job!