Today we will be talking about how to tie a bow for cards, scrapbook pages, crafts, gifts and more. I hear from many of you who struggle with tying bows, and I’m here with some of the best tips and tricks to help you tie a perfect bow every time. Let’s get started!
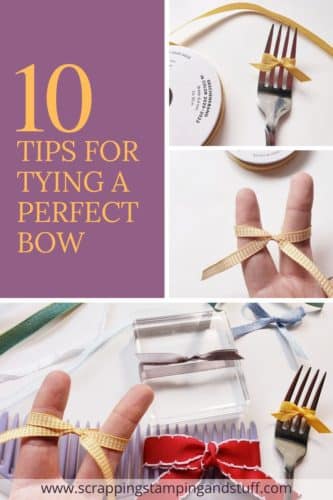
10 Tips For How To Tie A Perfect Bow Every Single Time
- Choose Your Ribbon Carefully
- Use a Dryer Sheet For Hard To Work With Ribbon
- Traditional Method For Tying Bows
- Two Loops Method For Tying Bows
- How To Tie A Bow On A Fork, Comb, or Other Tool
- How To Tie A Bow Around Your Fingers
- A Faux Bow For Your Craft Projects
- Tie Around A Block Trick
- Working With One-Sided Ribbon
- When All Else Fails, Tie A Knot!
- Bonus Tips – Use Good Scissors and Adhere Bows With Glue Dots
How To Tie A Bow Video Tutorial
The best way to learn what I’m sharing today is by watching along while I’m demonstrating these techniques. Take a look at this video, or keep reading below for a written explanation with photos.
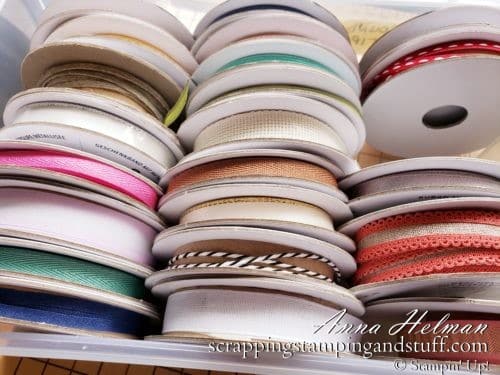
Tip 1 – Choose Your Ribbon Carefully
The type of ribbon you’re working with can make or break your bow. I recommend a soft ribbon with just a little bit of stiffness, because stiffness allows you to manipulate the bow when you’re done. Slick ribbon causes problems, as does very thick or stiff ribbons. You probably want to avoid these types of ribbon until you are fairly comfortable tying bows.
Tip 2 – Use a Dryer Sheet For Hard To Work With Ribbon
Speaking of stiff ribbon, would you like to make it easier to work with? Use a dryer sheet to rub along the length of the ribbon a few times. This does wonders to soften it and make it easier to work with!
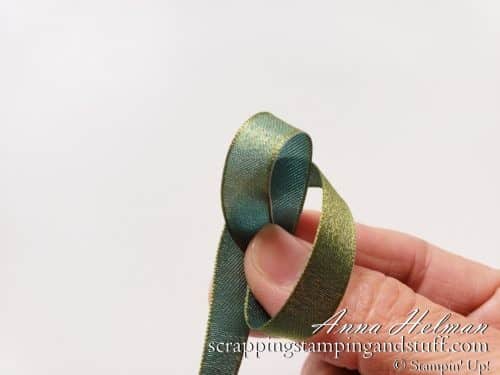
Tip 3 – Traditional Method For Tying Bows
My third tip for how to tie a bow for cards or other crafts is my traditional method. Begin with a loop held between the thumb and index finger of your right hand. Bring the tail up and over the loop, then insert through the loop in the center. Pull upward and to the right to create the second loop. With this method, you always want to be pulling the second loop upwards to create a nice-looking bow.
Here is an extra tip – fidget with your bow to make it look nice after you tie it! Pull, adjust, and twist if needed until it looks nice.
Tip 4 – Two Loops Method For Tying Bows
This is my go-to method for teaching new crafters to tie a bow. Begin with two fairly large loops. Hold one in your right hand and one in your left. Then tie the two loops together, creating a knot. It will look very messy, but once you straighten it, it should look very nice!

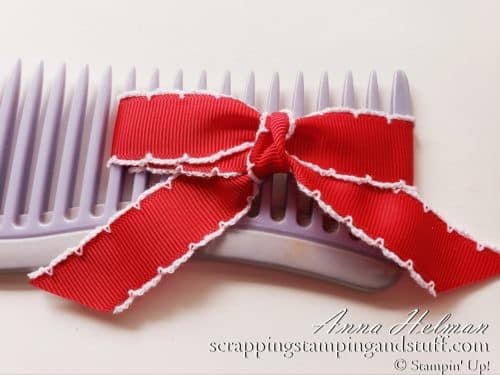
Tip 5 – How To Tie A Bow On A Fork, Comb, or Other Tool
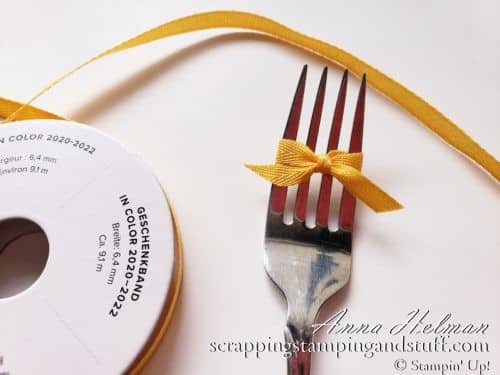
This trick for tying a bow is life-changing! Begin with ribbon laying in front of the fork and a small tail sticking out from the left side. Wrap the ribbon around the fork to the back side, then bring it around front again. Put the end through the center of the fork (below the ribbon) and pull it through to the back. Bring it upward and back to the front by going up and over the center of the fork. Put the tail through the loop near your thumb, going from left to right. Pull the right tail to tighten the bow.
If I haven’t already said this, your best bet is to watch the video 😉
You can do this same trick with a comb or handmade tool to make larger bows.
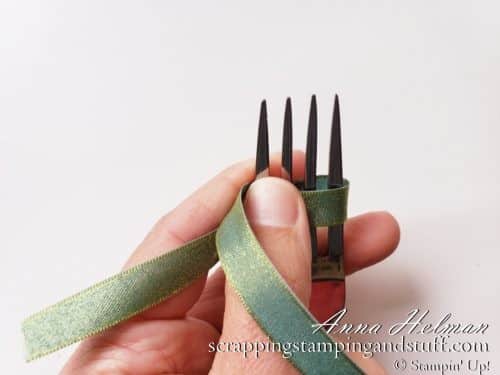
Tip 6 – How To Tie A Bow Around Your Fingers
This method works exactly the same as Tip #5 for the fork method, except you are using your fingers in place of a fork. This allows you to make larger bows than when using a fork, and it requires zero materials besides you, your fingers, and some ribbon.

Tip 7 – A Faux Bow For Your Craft Projects
Have you ever wondered how to tie a bow around a card and get it to look so nice? The easiest way to get this look is to tie your bow using Tip 4, 5 or 6, then place it on top of a separate piece of ribbon that you laid flat and wrapped around to the backside of the project.
Tip 8 – Tie Around A Block Trick
If you really do want to tie all the way around your project but you struggle to tie bows around a piece of paper, tie your bow around an acrylic block instead (a knotted version is shown below). This gives a much sturdier item to tie around so that you can really pull the ribbon tight. After the bow is tied, cut the ribbon on the back side of the block, then lay it on your project and loop the ends around the back side to adhere.

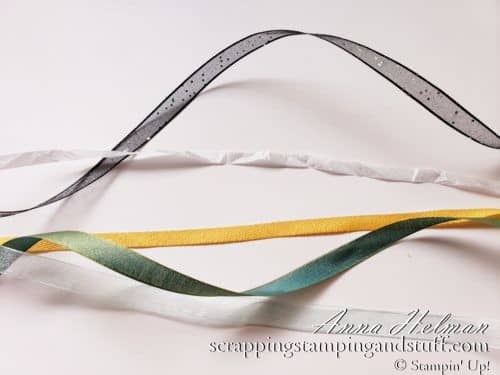
Tip 9 – Working With One-Sided Ribbon
I have a few tips for working with one-sided ribbon. You’ll definitely want to watch the video for a visual explanation.
Tip 10 – When All Else Fails, Tie A Knot!
Let’s say you’re not having luck with tying a bow, or you just aren’t in the mood to do so. A knot is a very nice alternative! When tying a knot, you need to wrap the tails left over right the first time, and right over left the second (or vice versa, just make sure the second time is opposite what you did first). Pull the ends straight as you’re tightening, and you’ll have a perfect square knot!
Bonus Tips – Use Good Scissors and Adhere Bows With Glue Dots
When working with ribbon, you must have a good pair of scissors to work with. There’s nothing more annoying than trying to cut ribbon, struggling with it, then ending up with frayed edges. You just worked hard on that bow…give it pretty tails with good scissors! Stampin Up’s paper snips are the absolute best.
Just make sure to make them off-limits for anyone who won’t properly care for your amazing new scissors! I say this from experience. I have more than one pair that children got ahold of and cut who knows what with, and now they’re not quite as amazing anymore 🙁
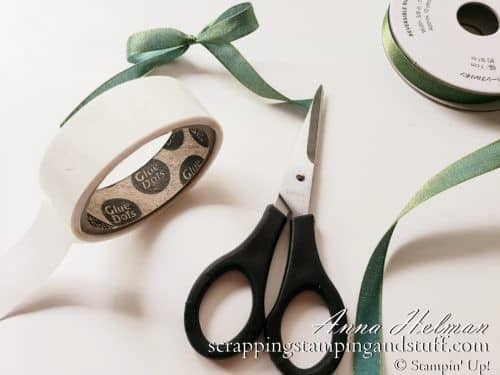
When adhering your bows, you have to try using Glue Dots. They are pre-dried sticky dots that make it quick and easy to attach a bow to your project. No more waiting for glue to dry!
In Conclusion…
In review, I highly suggest that you watch the video to see visuals for all of these tips. I guarantee that one of these bow-tying tricks will work for you if you practice a few times. Give it a try…I know you can tie a beautiful bow!
Please make me your Stampin’ Up! demonstrator! Order from me using the product links at the bottom! Earn rewards points towards free stamps PLUS a gift when you order using July host code: 6XFARQP4. PLUS, with your first order, you’ll receive free catalogs in your thank you package!
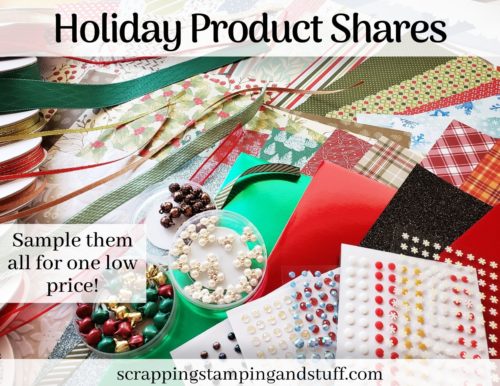
Holiday Catalog Product Shares Available For A Limited Time Only!
Sign Up For My Upcoming Virtual Card Classes!
[…] it looks, add 6 or 7 more leaves on the very top using foam dimensionals to pop them up. Add a bow (handy tip for tying it here) and a greeting, and you’re […]