Hello & welcome 🙂 I hope you’ve been enjoying my butterfly projects this week. We had an unseasonably warm weekend here in Northern Indiana this past weekend, and now I’ve got spring on the brain. These projects are definitely getting me in the spirit for warmer days ahead — hopefully sooner rather than later! For today’s butterfly project, I have a really neat technique to share with you called the Joseph’s Coat technique. Let’s take a look.

Watercolor Butterfly Video
If you’d like to see exactly how I made today’s card, follow along with my video below. Otherwise, keep reading for more info!
Butterfly Brilliance Bundle
If you haven’t had a chance to take a look at this beautiful collection. Here’s a picture of everything that’s included in the set. My first post about the Butterfly Brilliance bundle talks a little more in detail about what’s included, click here to read that post.
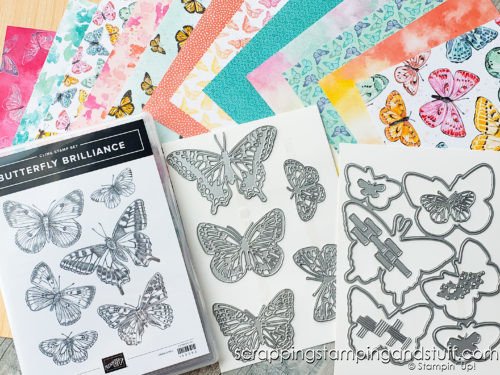
Next, let’s take a look at some of the projects you can make with this set.
Butterfly Brilliance Projects
Here’s a few cards I’ve created using this bundle so far. I’ve also included links on how you can make these projects for yourself.
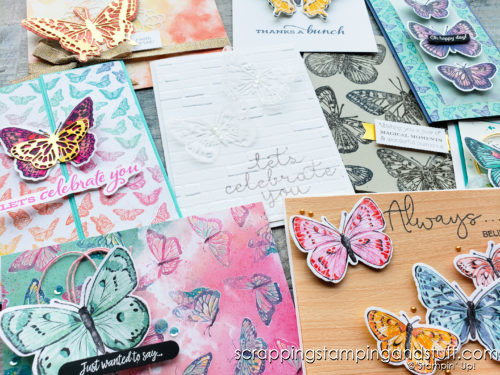
The cards in the photo below are from the first post of this series. If you haven’t read it, I highly encourage you to check it out. In it, I highlight several different ways you can use all of the parts of this collection together.
These cards below are from my Watercolor Technique post. In it, I share several techniques I used to create these beautiful cards.
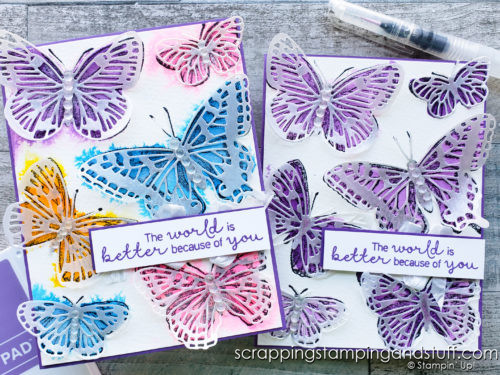
If you’re interested in purchasing the Butterfly Brilliance collection, scroll to the bottom for ordering links. Next, let’s take a look at how you can achieve the Joseph’s Coat Technique like I used on today’s card project.
How to Achieve the Joseph’s Coat Technique
This technique is a really beautiful technique. It allow some color from a paper or stamped image to show through while covering the rest with a dark color of ink. Take a look at the picture below to see what I mean. You’ll see how the butterflies are bright and colorful (that’s the designer paper showing through) while the rest has been covered in black ink.
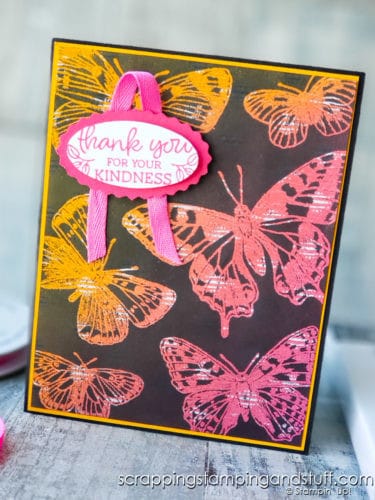
Before beginning this project, here are some things you can prepare in advance:
Measurements:
- 5 1/2″ x 8 1/2″ Black Card Base
- 4 1/8″ x 5 3/8″ Mango Melody Cardstock
- 5″ x 6″ Artistry Blooms Designer Paper
Instructions:
Begin by heat embossing the butterflies onto the designer paper. Don’t forget to use your embossing buddy first! Next, stamp the butterflies using Versamark ink and sprinkle clear embossing powder over top of the wet ink, then heat set using your heat tool.
Now you’re ready to apply black ink over the entire piece using your blending brushes or sponges. Once the black is as dark as you like, use a tissue or paper towel to wipe any ink residue off of the embossed areas. Now you’re ready to assemble the rest of the card.
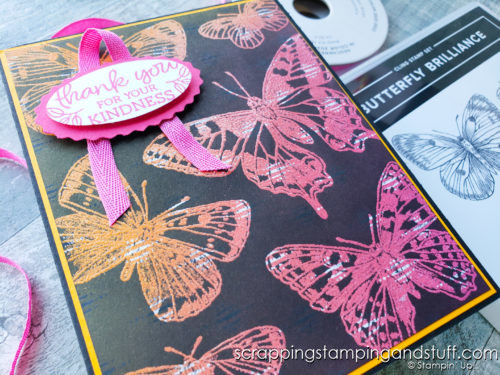
Here’s another look at this project. I just love the contrast of the bright butterflies and the black in between.
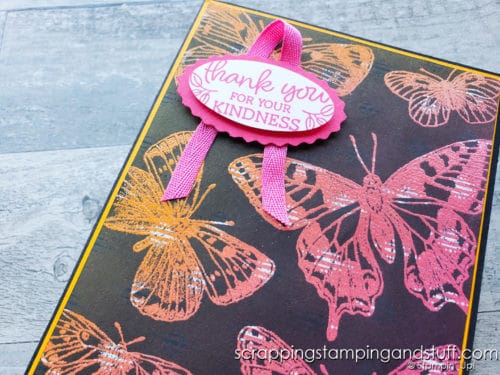
I hope you’re enjoying my project ideas for using the Butterfly Brilliance bundle. I know I’m enjoying bringing these ideas to life. If you try any of my projects for this bundle, leave me a comment with a picture. I’d love to see your work!
Don’t Miss Out!
Please make me your Stampin’ Up! demonstrator! Earn rewards points towards free stamps PLUS a gift when you order. Use host code: EUPGXHR6 PLUS, with your first order, you’ll receive free catalogs in your thank you package!

Order the products I used and make this project yourself!
You Might Also Like:


[…] Highlighting Butterfly Brilliance With The Joseph’s Coat Technique […]