Imagine what our world would be with no color. Imagine what your card projects would be with no color! I’m in the middle of a introduction to card making series, and today I want to talk all about how to add color to your projects with ink. We’ll cover all the basics including ink pads, markers, pencils and more in this Beginner’s Guide To Inks!
Complete Beginner’s Guide To Inks, Markers, And Color Tools Video
Watch along here as I discuss today’s topic (along with a visit to see our 4-H animals!) or keep reading if you prefer!
Let’s begin by talking about inks.
Beginners Guide To Inks
Types Of Inks
If you look around much, you’ll notice there are a lot of types of inks on the market. Pigment ink, dye ink, alcohol ink, permanent ink, etc. It can be confusing! Most card makers use water-based dye inks, which are very user friendly. They are great for many techniques such as watercoloring, and they dry quickly.
Pigment inks are permanent and can be useful for other techniques, but they dry more slowly. I used these inks when I first started stamping and I got frustrated with the slow drying time. Slow drying time led to smearing and fingerprints and this led to a grumpy stamper!
StazOn ink is permanent and great for stamping on things like glass, plastic or fabric. It’s also the type of ink you’ll want to use for watercoloring to prevent the stamped image from bleeding when water is applied. It requires a special cleaner to remove it from your stamps.
Memento ink is perfect when you’re coloring with alcohol markers, or for general, all purpose stamping as well.
In addition to different types of inks, there are a variety of ink pad styles to choose from. Let’s dive into that next.
Ink Pad Options
To use rubber stamps, we need ink pads in the colors of our choice to ink the stamps. There are a lot of ink pad options on the market, so let’s talk about a few of them.
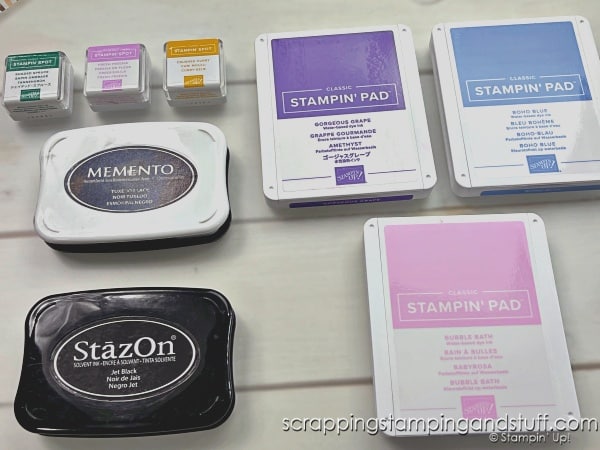
Mini Ink Pads
Mini ink pads are a great way to add a lot of colors to your collection on a budget. The first inks I ever purchased were an assortment pack of mini ink pads. It allowed me to add ten ink colors to my collection at a fraction of the cost of purchasing full size pads.
Cost and space savings are the biggest benefits of using small pads. Some stampers prefer small pads over large ones in general, and especially when using them with a stamping platform. To get started with mini ink pads, you can choose an assortment pack or use uninked pads and order ink refills in the colors of your choice.
Standard Ink Pads
Most ink pads on the market come with a removable lid, and surface area of about 2” x 3”. The most notable thing to mention about these pads, is they should be stored upside down (mini pads should be as well) so the ink is always on the surface when you’re ready to use them.
When purchasing ink pads, I highly suggest getting a brand that is refillable, so you don’t have to purchase a new pad when you’re running low on ink. I’ll share about the option I use below.
Large, Refillable Ink Pads
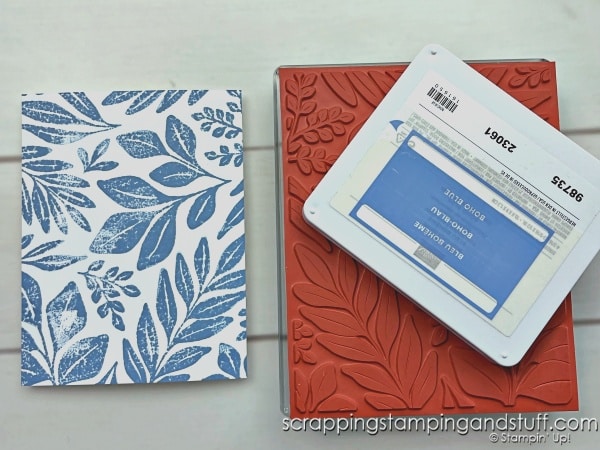
I use Stampin Up stamp pads, and I love them for several reasons. They have a very large surface area, larger than most other pads offer. This makes it very quick and easy to ink my stamps, compared to using smaller pads. They’re made with the color printed on the top, and they come with stickers to label both the front and inside of the pad. This is fantastic, because it makes it easy to identify my colors when they’re stored in my ink storage, and it also makes it easy to tell colors apart when I have several different ink pads open on my craft table at the same time. It’s really frustrating to ink your stamp with the wrong color because you can’t tell your pads apart!
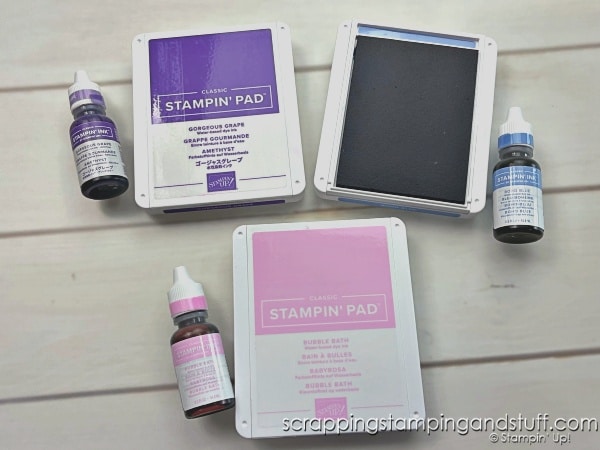
Our stamp pads are one large piece, with a lid that rotates around to the bottom side of the ink pad. I love this because I don’t have lids floating around, getting mixed up, and most likely getting lost in my pile of crafty things!
Once you choose ink pads, you’re ready to begin stamping. Proper inking of your stamp really helps to have a positive experience stamping, so let’s talk about that next.
How To Ink Your Stamp
Let’s look at two different ways to ink your stamp, depending on the size of your stamps and ink pad.
Traditional Way
To ink your stamp the most common way, gently set your stamp on the ink pad. Lift and move it slightly, then set it down again. By tapping the stamp against the pad several times, the stamp should be evenly inked and ready for stamping.
When using Stampin Up ink pads, you do NOT have to press the stamp into the pad. Just set it on the surface gently to avoid overinking.
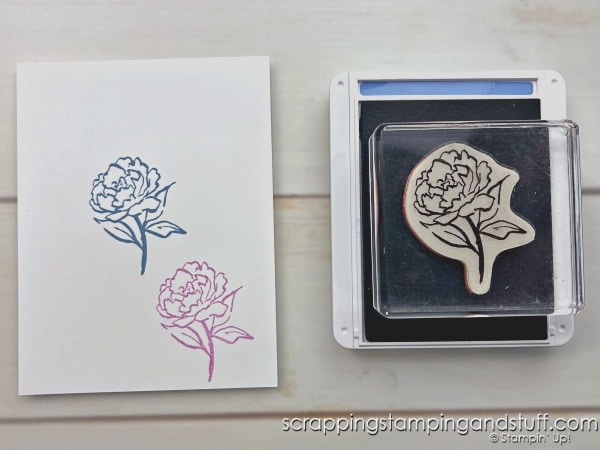
Upside Down Inking
We can also ink a stamp the opposite way. In this case, mount your stamp to the block and lay it on your work surface with the stamp facing upwards. Then flip the ink pad upside down and press it to the stamp several times until fully inked. I like to use this method when I’m using a very large stamp or I’m using a mini ink pad.
This covers the basics for ink pads. Let’s continue on with this Guide To Inks by talking about coloring tools.
Beginner’s Guide To Ink Coloring Tools
The coloring tools I’ll talk about include two types of markers, pencils, and a water brush. Let’s get started.
Water Based Markers
Water based markers are great for adding color to stamped images. You’ll want to use a permanent ink like StazOn to make sure the stamped image doesn’t bleed when you color over top of it.
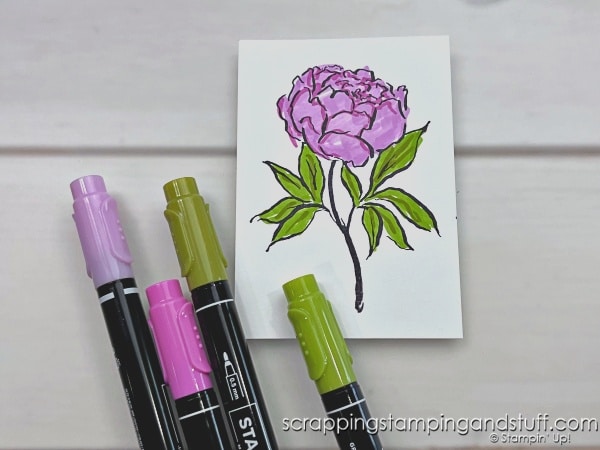
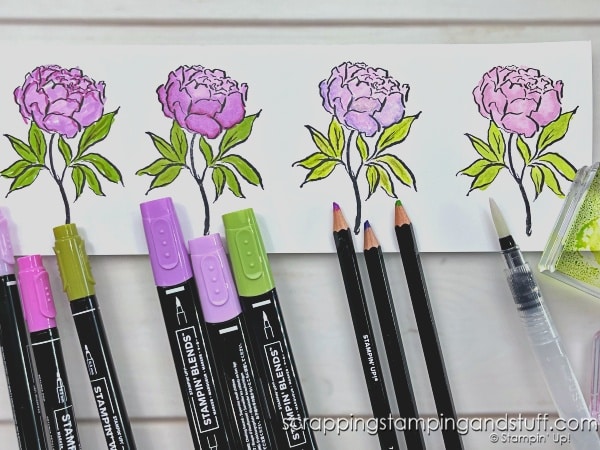
Alcohol Blending Markers
Alcohol markers are a wonderful way to add bright, bold colors, and to add blending and shading to your projects. Make sure to use Memento ink to stamp the images first, so the color doesn’t bleed when you color it.

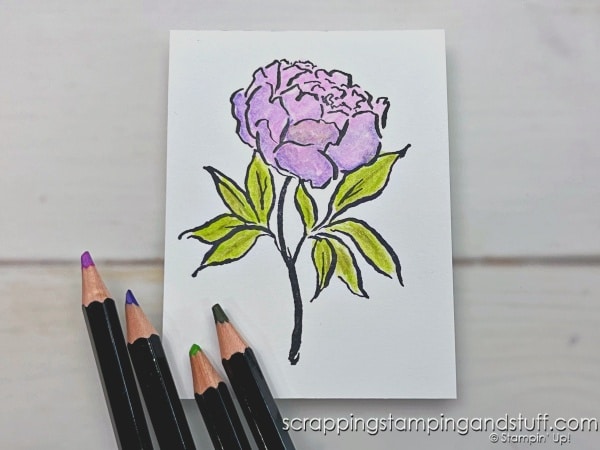
Watercolor Pencils
I love having watercolor pencils as another way to add color to my projects. Pencils are a carefree way to add color, and I find them much more forgiving if I color a bit outside the lines.
In addition, watercolor pencils have capabilities that regular colored pencils do not. They can be used with a blender pen to get a perfectly smooth appearance, or to blend several colors together. In addition, they can be used as normal and then water added with a spritzer or water brush for some fun techniques.
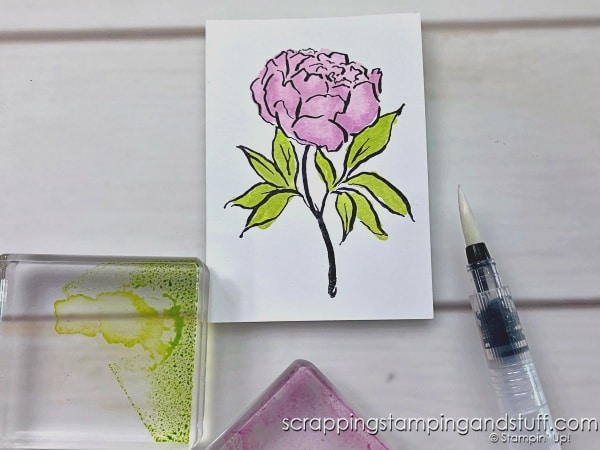
Water Brush
I love using a Water Painter on my projects. It is similar to a paintbrush, but with a handle that holds water in order to make watercoloring quick, easy and mess-free. They can be used for many different techniques, but the most basic way to use them involves picking up a bit of ink with the brush and ‘painting it’ on your project.
This is another carefree way to color. You don’t have to stay inside the lines because it’s watercolor!
Blending Tools
Last but not least, let’s talk about two blending tools – blending brushes and sponge daubers.
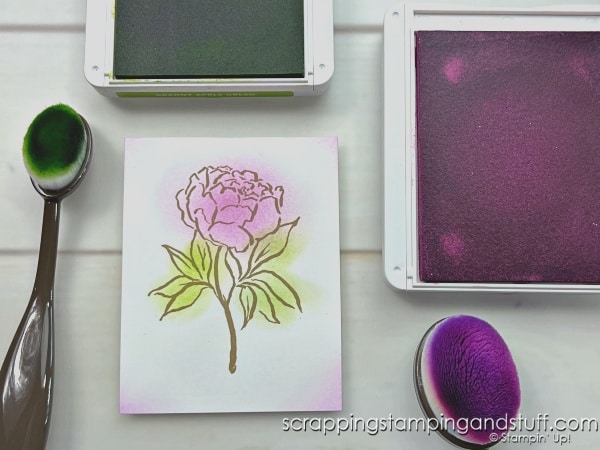
Sponge Daubers
Daubers are a tiny sponge mounted to a plastic tube appropriately sized to slip over your fingertip. They can be used to blend and dab color onto your projects.
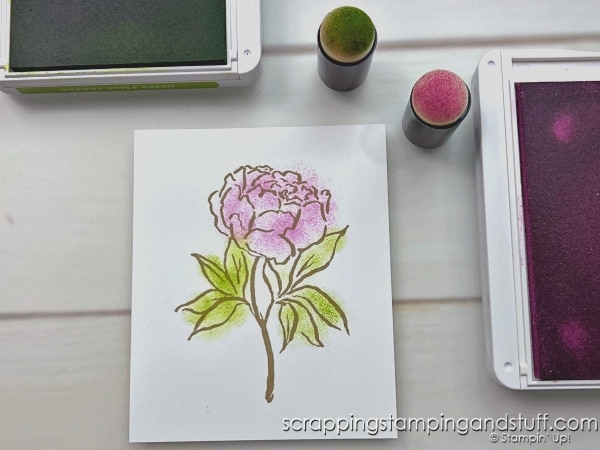
Blending Brushes
Blending brushes are an amazing tool for applying ink softly to a project. To use them, pick up ink onto the brush by lowering it against an ink pad while using a circular motion. Blot excess ink onto scrap paper, then lower the brush towards your project, again using a circular motion. Swirl and apply ink until the color is to your liking. There are so many ways and techniques to use blending brushes, so take a look at more information on them here.
This wraps up my Complete Guide To Inks For Card Making. You can take a look at the products I’ve shared below, or scroll back to the beginning and take a look again if you like!
Supply List
Take a closer look at some of the products I mentioned above using the links below…
Product List


")


Learn To Make Cards
Shop Supplies
Rewards Program
Join My Amazing Team
Thanks for visiting! I hope this introductory guide to inks is helpful in your crafting endeavors!
very nice site. great detailed instructions
I am just starting thank you very much
Sandy
Thank you Sandy! I hope you can find helpful ideas here!