It’s been a little while since I’ve shown you a project kit. If you haven’t used any of our kits before, you should try one out. I am LOVING them! They seem to be getting cuter and cuter! My project today is the Enjoy the Little Things Project Kit that is part of the current Occasions catalog. It will be available through the end of May, so you only have a couple of months to decide if you want to get it or not!
This kit comes with an easel-type display clipboard and all the materials to put together 13 seasonal displays to clip to the board. Here is the end result.
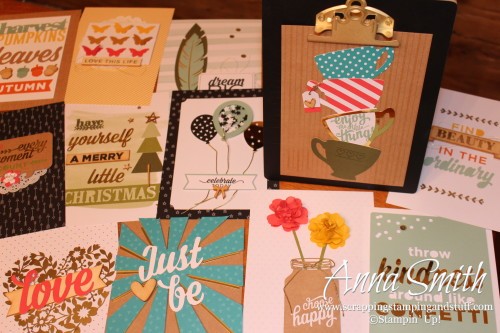
The kit was pretty simple to put together. Most of the displays needed one or two pieces stamped, but for the most part it was just assembly.
Below I’m going to share a few tips for assembling each of the displays. Disclaimer: I did not read the original directions! They’re small and I thought I could figure it out myself. I’m not explaining everything, just a few handy tips to help. My directions may differ from the original ones!
General tips:
- When you open the kit, lay out the background pieces in order from 1-13 (displays are labeled with numbers in the directions). Then punch out all the included pieces and lay them on top of the appropriate background. This will make it MUCH simpler for you. You can pick up one ‘kit’ and put it together, rather than having to sort through all the pieces for each display.
- The kit recommends having quite a few colors of ink. If you are a newbie to stamping and don’t have all the colors, you could get away with just having black and soft suede. Most of the recommended stamping is in black anyway. Any of the other colors could easily be changed to black or brown.
- Have a variety of adhesives on hand. I used all of the following (they’re not all necessary, just helpful): Snail, Fast Fuse, Fine-tip glue pen, Glue Dots, and Stampin’ Dimensionals.
Now, on to a few tips for assembling each display.
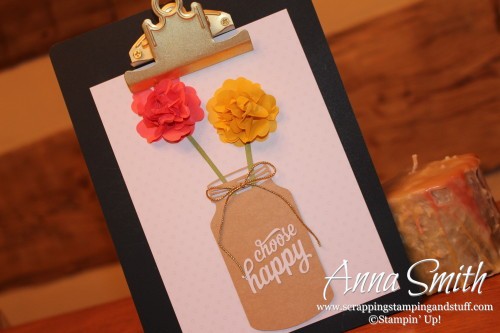
Choose happy
- Weave the green stems through the jar top, then place adhesive on the back of the jar and stems before attaching to the background.
- Stack pink tissue flowers on top of each other and insert a brad through the center and through the background paper as well, to attach it to the background. Crinkle up each flower layer, one at a time until the entire flower is crinkled. Repeat with the yellow flower.
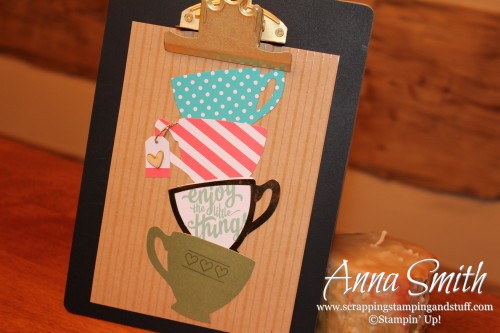
Enjoy the Little Things
- Stamp ‘enjoy the little things’ and the hearts on the green cup.
- To attach the teabag, put the gold trim through the hole, and attach it to the back of the pink striped teacup using glue or a glue dot. Once it’s secure, attach all of the teacups to the background.
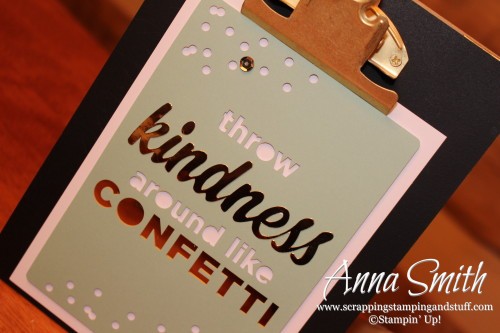
Throw kindness around like confetti
- This one’s pretty simple. The gold behind the word confetti is a gold rectangle that you will attach to the back of the die cut sheet.
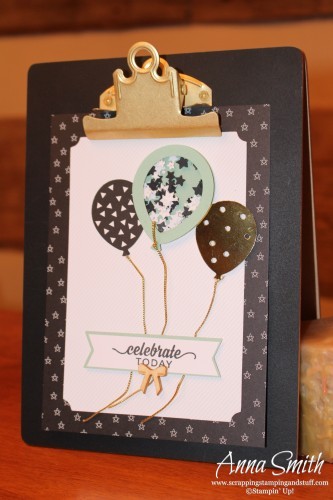
Celebrate today
- Stamp ‘celebrate today.’
- To create the shaker balloon, first attach the mint border/hollow balloon on top of the clear balloon. Place it on your table with the clear piece up and blue piece down. Attach the provided dimensional (thick foam adhesive in the shape of a balloon) on top. Put the punched out stars inside of what you have created. Remove the paper backing from the top of the dimensional piece and place the mint piece on top, colored side down so that it will show through the front.
- Working with the gold cording is a bit frustrating. I would suggest unrolling the entire roll, ‘smoothing’ it by running your hand down the entire piece, and letting it sit for a few days before you attempt working with it. I did not do this, but I think it would help convince it to cooperate. The kinks were pretty kinky if you know what I’m saying.
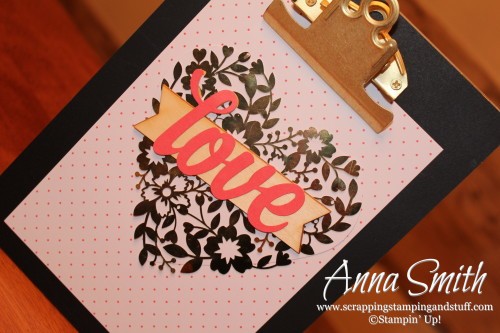
Love
- Attach the gold die cut heart on top of the plain white heart before attaching the rest of it together.
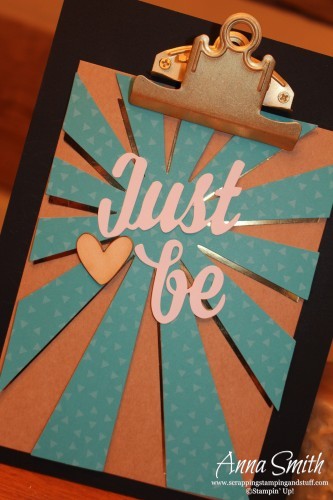
Just be
- I LOVE this one! Attach the gold piece to the back of the bermuda bay piece and make sure the gold is offset enough to show.
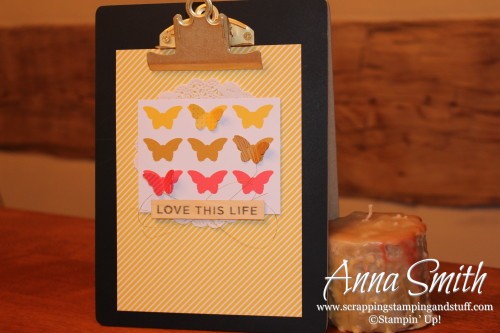
Love this life
- Stamp the three loose butterflies and the wooden embellishment.
- If you need help with the messy thread behind the wooden piece, check out this quick YouTube video I put together.
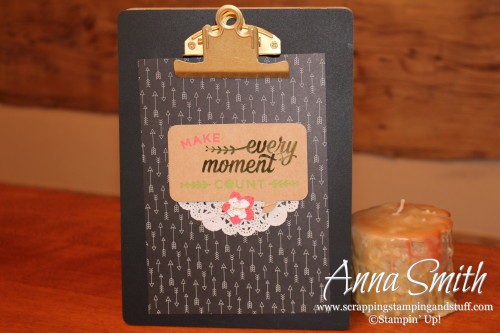
Make every moment count
- Stamp a pattern on top of the pink flower.
- Attach the green and pink cardstock behind the die cut brown piece.
- Cut the doily down so that you have approximately the amount shown.
- Cut a piece of gold thread, thread it through the button holes and tie a bow before attaching the button to the small flower.
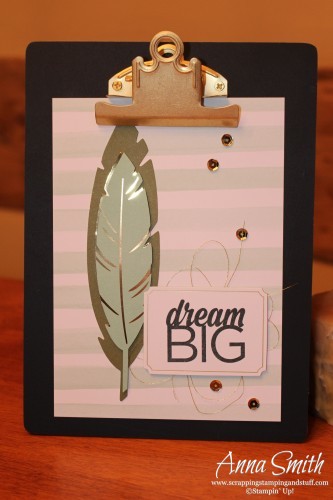
Dream big
- Stamp ‘dream big.’
- Easy!
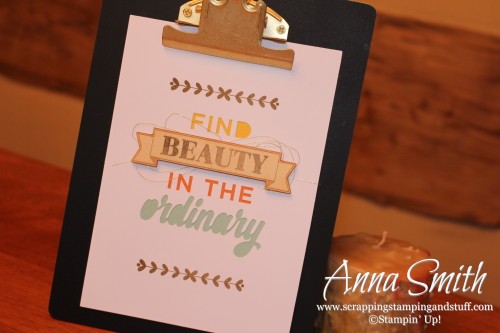
Find beauty in the ordinary
- Stamp ‘beauty’ and the border at the top and bottom using soft suede.
- Attach the yellow, orange and blue piece behind the die cut white sheet.
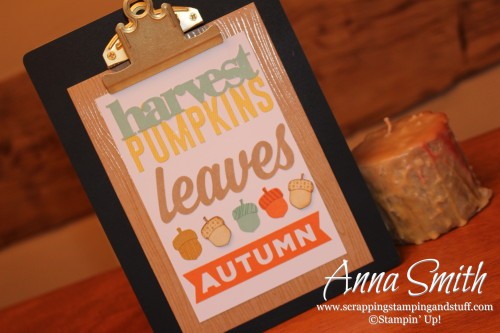
Harvest pumpkins leaves autumn
- Stamp the yellow acorn and the orange and blue acorn tops. You could use soft suede for this if you don’t have all of the ink colors.
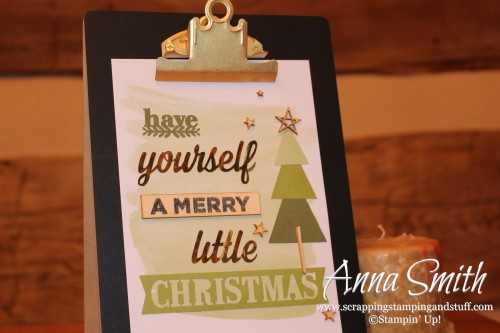
Have yourself a merry little Christmas
- Stamp ‘a merry’ as well as the patterns on top of the tree pieces. I forgot to do that step, so my trees are plain.
This would make a great display in your home or a gift for someone! Use the links below to see the products I used and start your shopping. Use hostess code MMMZNT69 when you order and I will send you a free gift! Even better, sign up for stamp club and you will get free projects and free stamps!
Leave a Reply