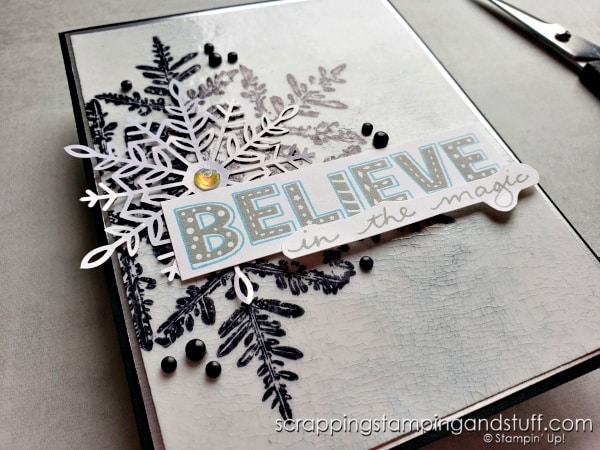
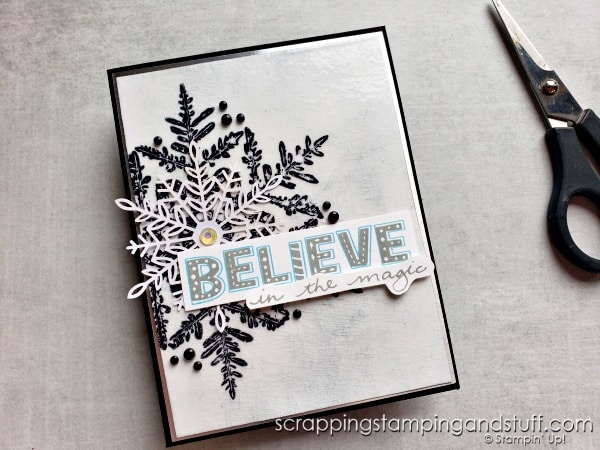
Have you ever heard of the crackled glass technique? I learned this years ago, and I decided it was time to bring it out of my card making tool kit to share it! Take a look at today’s card which I made using this technique and the Stampin Up Snow Crystal stamp set.

Crackled Glass Technique Video
Watch along here to see how to create this card, or keep reading.
Stampin Up Snow Crystal Stamp Set
I’ll briefly mention the large Snow Crystal background stamp that I used on this card. I’m becoming more and more a fan of background stamps, because you can create bold cards like the one I created today.
Crackled Glass Technique
Here’s how I created the background for today’s card. Keep in mind you can do some stamping first or use designer paper for this technique. I chose to use plain white cardstock.

1. Hold a Versamark ink pad upside down and apply ink to the entire piece of cardstock.
2. Sprinkle clear embossing powder over the entire area and remove the excess.
3. Use a heat tool to heat set the powder.
4. Repeat steps 1-3 until you have at least three or up to 5 layers of embossing applied.
5. Put the paper in the freezer for a few minutes.
6. Remove cardstock from the freezer and immediately bend and move the paper to cause the embossing to crack.
7. Optional – Apply ink over the surface using a blending brush. Remove excess with a baby wipe or tissue.
This is a neat technique! Will you try it on one of your upcoming card projects?
Supply List
Here are the supplies I used today.
Product List Learn To Make Cards
Shop Supplies
Rewards Program
Join My Amazing Team
Thanks for visiting to see the crackled glass technique and Stampin Up Snow Crystal stamp set!


[…] This is what I typically do for our Christmas cards. Just insert a 4×6 photo, which you’ve trimmed down to 4×5 1/2, inside your lovely handmade cards. This snowflake card used a really neat technique you can see in this tutorial. […]