• Nav Social Menu

    • Facebook
    • Facebook Group
    • Instagram
    • Pinterest
    • RSS
    • Twitter
    • YouTube

Handmake with Love

Anna Helman | formerly Scrapping, Stamping and Stuff

  • Blog
  • Start Here
    • About Me
    • Learn to Make Cards
    • Why Shop With Me?
    • Testimonials
    • Connect On Social
    • Get Email Updates
    • Stampin’ Up! Giveaway Winners
  • Products
    • Shop Now
    • Catalogs
    • Clearance
    • Why Choose Stampin Up?
    • Paper Pumpkin Kits
    • Product Shares
    • Rewards Program
    • Stamparatus
    • Cut And Emboss Machine
    • Mini Cut And Emboss Machine
    • Blends Alcohol Markers
    • Blending Brushes
  • Ideas
    • Video Tutorials
    • Project Gallery
    • Card Ideas
    • 3D Projects
    • Scrapbooking
    • Tips & Techniques
    • Kits
    • Learn to Make Cards
    • Printable Catalog Tabs
    • Social Media
  • Join
    • Join My Team
    • Stampin Up Demonstrator Resources
  • Classes
    • Classes in the Mail
    • In Person Events
  • Contact
    • Contact
    • Connect On Social

How To Use Texture Paste For Card Making

31 Dec

It’s called embossing paste, texture paste, or just paste. I know it can be intimidating to use new products in your crafting, so today I want to share all about how to use texture paste for card making. Let’s get started!
Stampin Up pastels are the best soft pastels! Click here for 7 ways to use dry pastels on your paper projects! They're so amazing!

What Is Texture Paste

Texture paste is a thick material that can be used to add texture, thickness, and interest to your card making and paper projects. I like to compare it to frosting for cakes…but it’s for paper!

What Is Texture Paste Used For?

Embossing paste is used to add…texture! It can be used on a project background, on one layer of your project, on punches or die cuts, or as an embellishment. There are many ways to do this, so keep reading for more ideas.
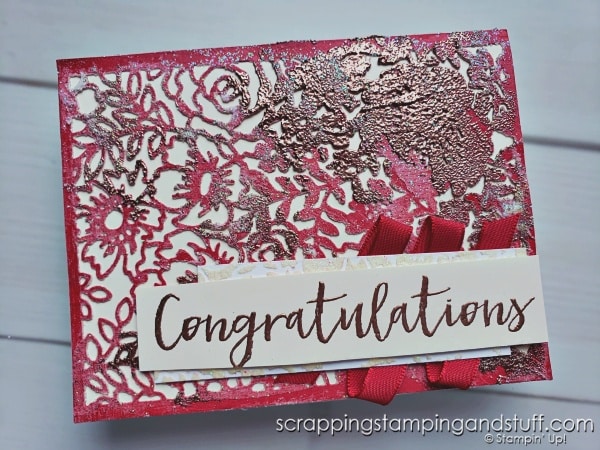
Create stunning cards with embossing paste and embossing folders. Make these cards with the Stampin Up Fond Of Autumn Bundle!

What Other Supplies Are Needed?

To get started with paste, I suggest having palette knives and a silicone craft mat. You might be able to get away with using plastic silverware instead of the palette knives, but it would be challenging to smooth the paste properly. The silicone mat isn’t required either, but it is very helpful!

How To Store Paste

To store paste, screw the lid onto the jar tightly. I leave the foil and foam liner intact, and sometimes I add a piece of waxed paper to create an even tighter seal. If the lid is not screwed on tight, the paste can dry out quickly.

How To Use Texture Paste

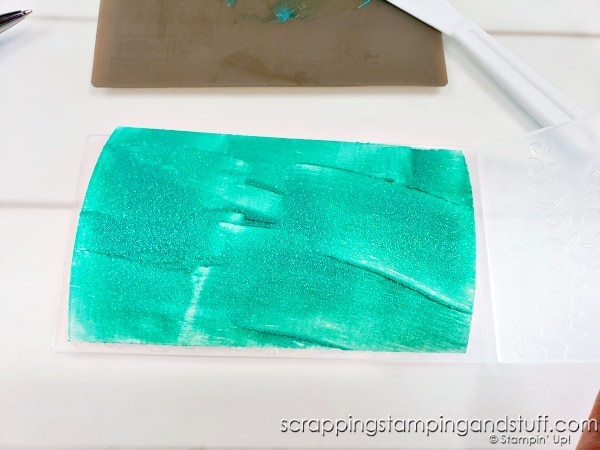
To use embossing paste, get a small amount on a palette knife, and start spreading it onto your project. Pretend you are frosting a cake! You can smooth it, leave it rough, or create any other look you desire.
Create stunning cards with embossing paste and embossing folders. Make these cards with the Stampin Up Fond Of Autumn Bundle!

Can Texture Paste Be Colored?

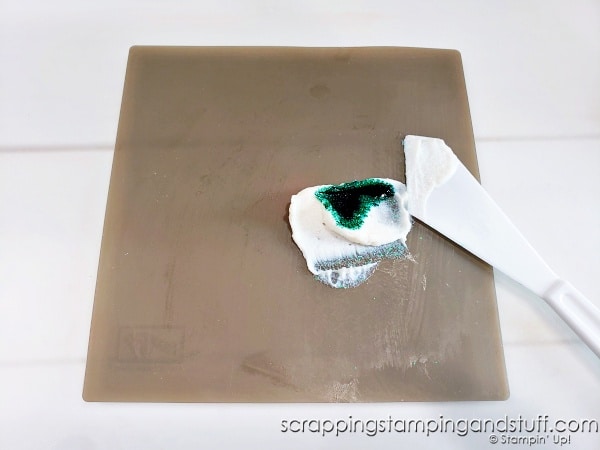
Yes! To add color to paste, place a small amount of paste on your silicone mat, add one or several drops of ink, and mix with a palette knife.
Create stunning cards with embossing paste and embossing folders. Make these cards with the Stampin Up Fond Of Autumn Bundle!

Using Paste With Stencils

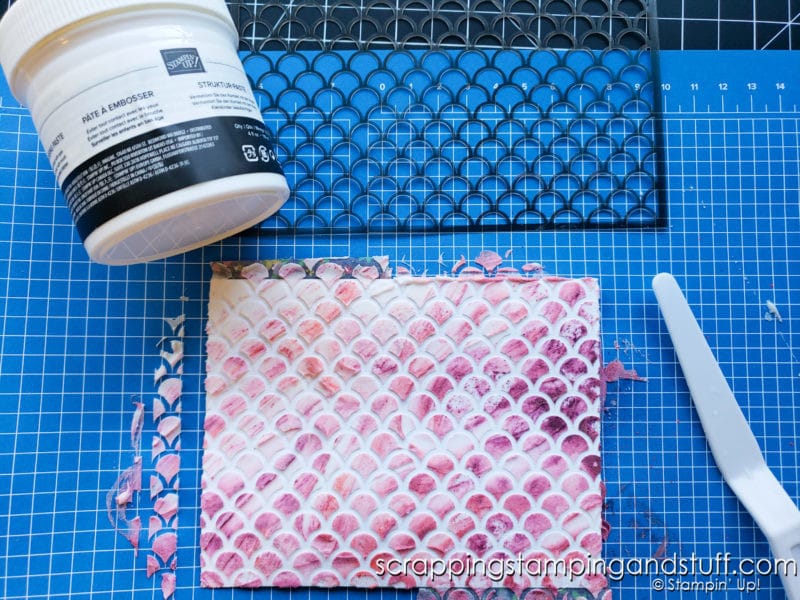
To use paste with stencils, place the stencil over your paper using temporary tape or adhesive. Next, spread paste over the top until the desired area is covered. Use the palette knife to scrape extra paste off the top of the stencil, then carefully remove stencil and allow it to dry.
Learn how to use texture paste for card making! Click for 13 different ways to use embossing paste including with stencils, added colors, and embossing powder.

Texture Paste Techniques

There are so many more techniques that can be used with paste. Here are several! For details on any of these techniques, please watch along with the video below.
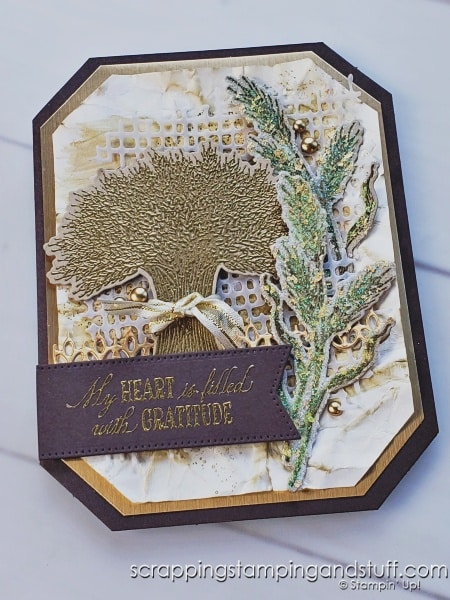
Click to see this stunning card full of techniques, layers, texture and more - featuring the Stampin Up Gathered Wheat bundle.
  • Create A Background
  • Add Interest To Punches And Die Cuts
  • Adding Embossing Powder
  • Add Texture With Burlap Or Other Materials
  • Stamp It
  • Add Sand, Glitter, Or Other Items
  • Add Highlights – Think ‘Snow’ On Trees!
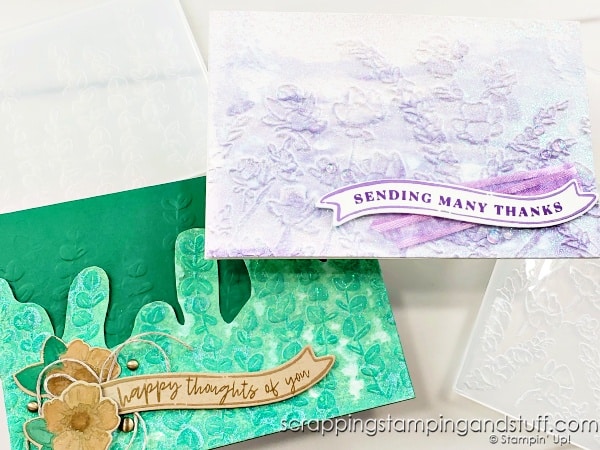
  • Use With Embossing Folders
  • Mix In Pastels
  • Mix In Gilded Leaving

Drying Embossing Paste

You can allow paste to air dry, or use a heat tool to speed the process. The heat tool can cause the paste to ‘puff’ which is a fun technique to try!

How Long Does Paste Take To Dry?

Paste can take about 3 to 25 minutes to dry, depending on the thickness of paste used.

How To Clean Up Embossing Paste

Tools need to be cleaned up quickly! Paste can start to dry in a short amount of time, and paste is extremely difficult to remove once dry. I like to clean up tools using warm, soapy water and a stiff scrub brush. A helpful tip is to keep a bowl of water at your craft space, and place supplies in it until you have time to clean them completely.

Seaside Bay Card Samples

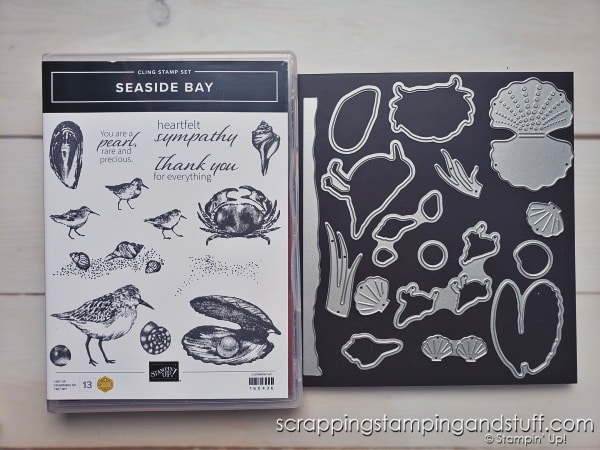
The cards I created for today’s video feature the Stampin Up Seaside Bay stamp and die bundle. Take a look at the cards I created using this bundle and embossing paste:
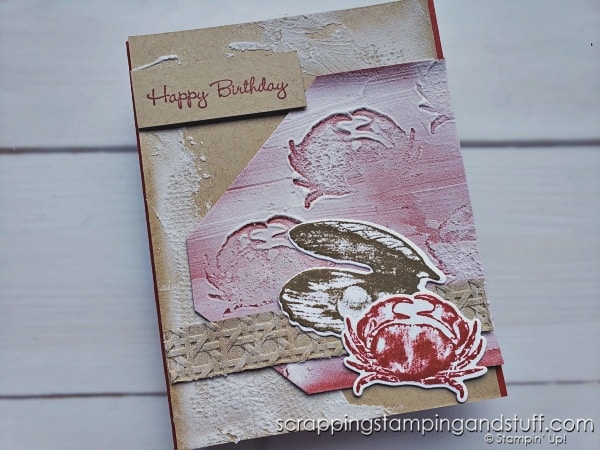
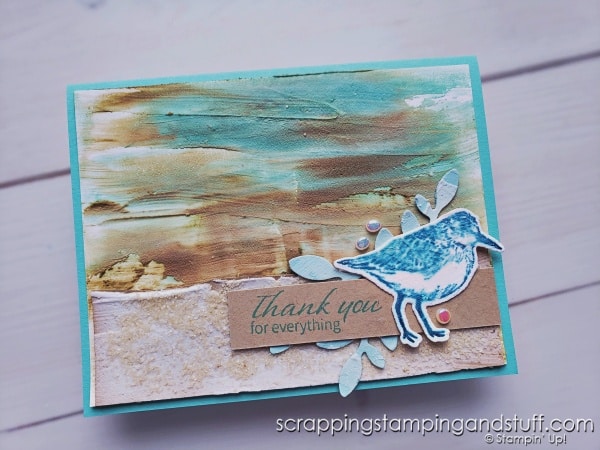
Learn how to use texture paste for card making! Click for 13 different ways to use embossing paste including with stencils, added colors, and embossing powder.

This is such a neat bundle, and I thought it was perfect for playing with paste!
Learn how to use texture paste for card making! Click for 13 different ways to use embossing paste including with stencils, added colors, and embossing powder.

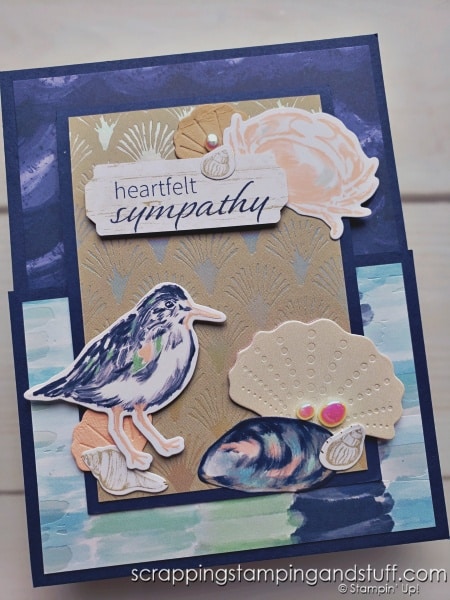
Just for fun, here is a card sample created with this bundle (but no texture paste).
Learn how to use texture paste for card making! Click for 13 different ways to use embossing paste including with stencils, added colors, and embossing powder.

How To Use Texture Paste For Card Making Video

Watch along here to learn more and to see many of the techniques mentioned above!

Get started with embossing paste today! Order your supplies below!

Get Your Supplies Here

Product List
Embossing Paste
Embossing Paste
[141979]
Shimmery White Embossing Paste
[145645]
Shimmery White Embossing Paste
[145645]
Palette Knives
Palette Knives
[142808]
Silicone Craft Sheet
[127853]
Bough Punch
Bough Punch
[157711]
Go To Greetings Cling Stamp Set (English)
[158763]
Add All to Cart

Learn To Make Cards
Shop Supplies
Rewards Program
Join My Amazing Team

Thanks for visiting to learn how to use texture paste for card making!

Sharing is caring!

Filed Under: Gallery, Tutorials Tagged With: 2023 January Mini Catalog, cane weave embossing folder, embossing paste, technique

Previous Post: « Stampin Up Fragrant Flowers & 5 Heat Embossing Techniques
Next Post: Stampin Up Perfectly Detailed & Blending Brush Techniques »

Reader Interactions

Comments

  1. Karen in Florida says

    December 31, 2022 at 4:08 PM

    Excellent video, Anna!
    Another thing I never thought about is adding embossing power to the paste. Your card turned out beautiful! Thanks for sharing!!
    Happy New Year!

    Reply
    • Anna Helman says

      January 2, 2023 at 11:33 AM

      Thank you, happy new year!

      Reply

Leave a Reply Cancel reply

Your email address will not be published. Required fields are marked *

Recipe Rating


Primary Sidebar

Anna Helman

Independent Stampin' Up!® Demonstrator

  • Email
  • Facebook
  • Facebook Group
  • Instagram
  • Pinterest
  • RSS
  • Twitter
  • YouTube
Shop Stampin' Up!
Stampin' Up! catalogs
get updates
join Stampin' Up!
Stampin' Up! Rewards
Stampin' Up! special offers
Stampin' Up! clearance
Stampin' Up! 2025-2026 Annual Catalog
May 6, 2025 - May 4, 2026
View Online | Shop Online

Blog Archive

Categories

Footer

Important Links

  • Home
  • Shop Now
  • Get Updates
  • Join My Team
  • Rewards
  • Specials
  • Catalogs
  • Clearance

Anna Helman, Independent Stampin' Up!® Demonstrator

  • Email
  • Facebook
  • Facebook Group
  • Instagram
  • Pinterest
  • RSS
  • Twitter
  • YouTube

Get Ideas, Inspiration, and Special Offers!

Sign up to receive updates in your inbox

Thank you!

Please check your email for a special offer! 

.
All content on this blog is the property of Anna Helman, Stampin' Up!® Independent Demonstrator. Classes, services and projects offered here are not endorsed by Stampin' Up!® Projects, videos, photos, ideas and articles are shared for personal use only and may not be removed, duplicated or copied without permission. All artwork © Stampin' Up!®

Copyright © 2025 Anna Helman, handmake with love · Site Design by Catherine Carroll