• Nav Social Menu

    • Facebook
    • Facebook Group
    • Instagram
    • Pinterest
    • RSS
    • Twitter
    • YouTube

Handmake with Love

Anna Helman | formerly Scrapping, Stamping and Stuff

  • Blog
  • Start Here
    • About Me
    • Learn to Make Cards
    • Why Shop With Me?
    • Testimonials
    • Connect On Social
    • Get Email Updates
    • Stampin’ Up! Giveaway Winners
  • Products
    • Shop Now
    • Catalogs
    • Clearance
    • Why Choose Stampin Up?
    • Paper Pumpkin Kits
    • Product Shares
    • Rewards Program
    • Stamparatus
    • Cut And Emboss Machine
    • Mini Cut And Emboss Machine
    • Blends Alcohol Markers
    • Blending Brushes
  • Ideas
    • Video Tutorials
    • Project Gallery
    • Card Ideas
    • 3D Projects
    • Scrapbooking
    • Tips & Techniques
    • Kits
    • Learn to Make Cards
    • Printable Catalog Tabs
    • Social Media
  • Join
    • Join My Team
    • Stampin Up Demonstrator Resources
  • Classes
    • Classes in the Mail
    • In Person Events
  • Contact
    • Contact
    • Connect On Social

Heat Embossing On Paper

1 Oct

My hope in creating this papercrafting blog is that it can be your one-stop shop for learning all things papercrafting…and I’m slowly working on building up my collection of resources here. Today I want to talk about a classic technique for card making, and that is heat embossing. We’ll talk about what it is, materials needed, and how to emboss paper. If you’ve never tried embossing before, I think you will want to!

Learn how to emboss paper for beautiful, raised glossy elements on your card and other paper paper craft projects!

What Is It?

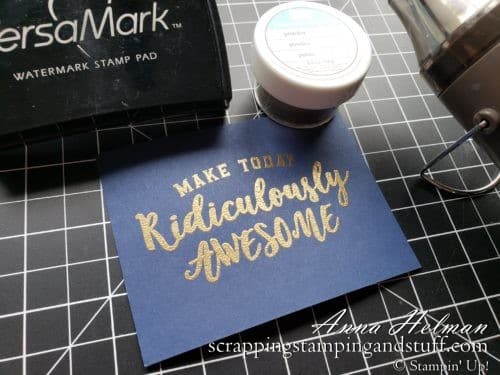
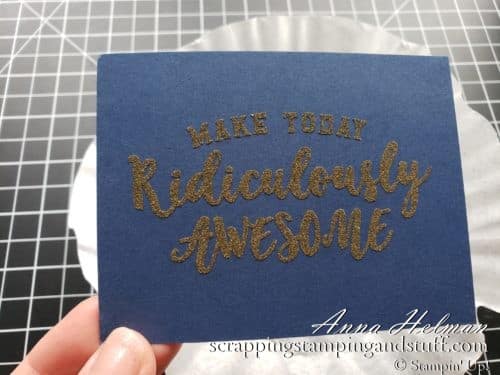
Heat embossing is a technique that allows you to create raised, glossy accents on your cards and other paper craft projects. This is done by stamping with Versamark ink, sprinkling powder over the top, and then heat setting the powder.

I’ll mention that there is another type of embossing in papercrafting, and that is dry embossing. This type of embossing uses a plastic folder and the Stampin Cut And Emboss Machine to add texture to the paper. Learn more about dry embossing here.

Learn how to dry emboss paper! This is part 5 of my introduction to the Stampin Cut And Emboss Machine, an amazing tool from Stampin Up.

But like I said, today we are talking about heat embossing!

Benefits Of This Technique

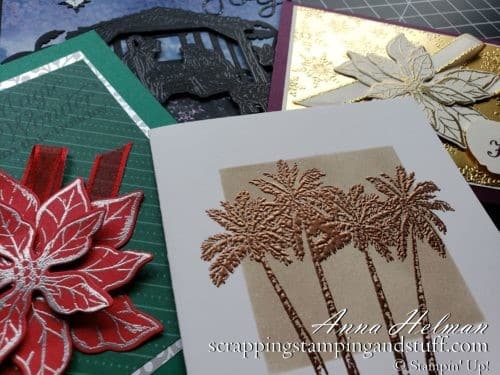
The addition of raised, glossy accents adds a special element to your projects. By using gold, silver, or other metallic powder, you also get the addition of some glitz and glam.

Learn how to emboss paper for beautiful, raised glossy elements on your card and other paper paper craft projects!

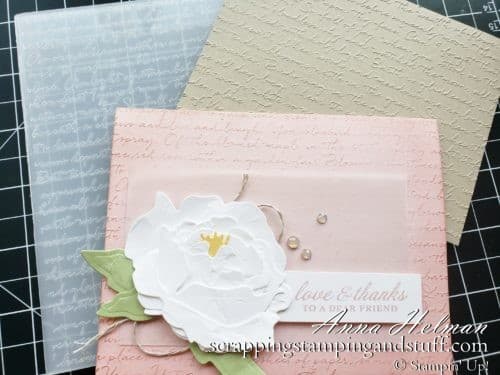
Using embossing also allows the use of special techniques. You can watercolor over embossed areas using water painters. You can use clear embossing over designer paper or other designs, then sponge ink over the top of the clear embossing. The result is that the embossed areas resist ink and other areas absorb it. Many other techniques are possible as well.

Materials Needed

To heat emboss paper, you will need Versamark ink, an embossing buddy, embossing powder, a heat tool, and a coffee filter or scrap paper.

Learn how to emboss paper for beautiful, raised glossy elements on your card and other paper paper craft projects!

Instructions

Here are the instructions for heat embossing!

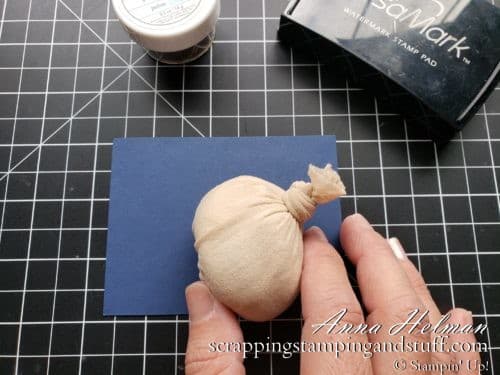
First, gently rub an embossing buddy over the top of your paper. This will remove any static and moisture that might cause excess embossing powder to cling to the paper.

Learn how to emboss paper for beautiful, raised glossy elements on your card and other paper paper craft projects!

Ink your stamp with Versamark ink.

Learn how to emboss paper for beautiful, raised glossy elements on your card and other paper paper craft projects!

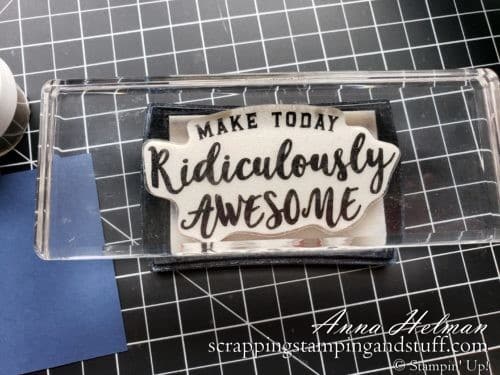
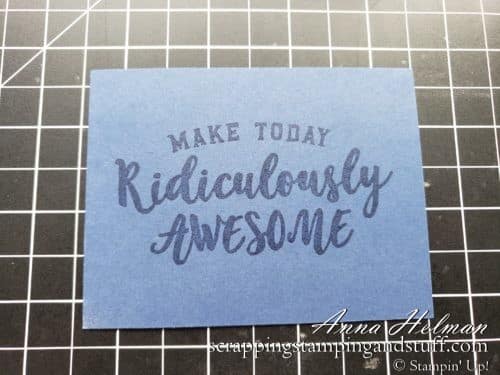
Next, stamp onto cardstock.

Learn how to emboss paper for beautiful, raised glossy elements on your card and other paper paper craft projects!

Over top of a coffee filter, leftover container, or scrap paper, sprinkle embossing powder over the stamped areas.

Learn how to emboss paper for beautiful, raised glossy elements on your card and other paper paper craft projects!

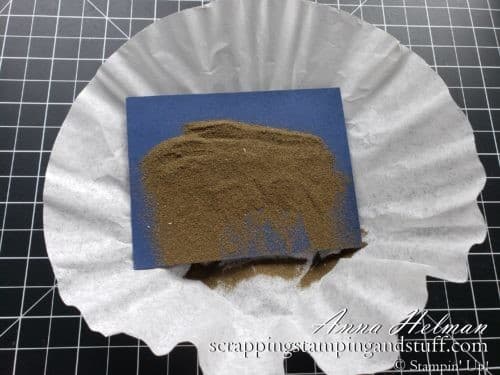
Shake off the excess.

Learn how to emboss paper for beautiful, raised glossy elements on your card and other paper paper craft projects!

If excess powder clings to the paper, turn the paper over, and flick it gently on the back side with your finger.

Learn how to emboss paper for beautiful, raised glossy elements on your card and other paper paper craft projects!

If excess powder still remains, use a small paintbrush to remove it.

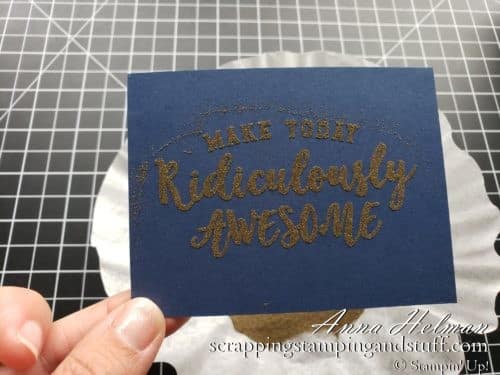
Lastly, use a heat tool to heat the powder until it melts. I typically hold my heat tool about 2″ from the paper. Below you can see the center area has begun to melt.

Learn how to emboss paper for beautiful, raised glossy elements on your card and other paper paper craft projects!

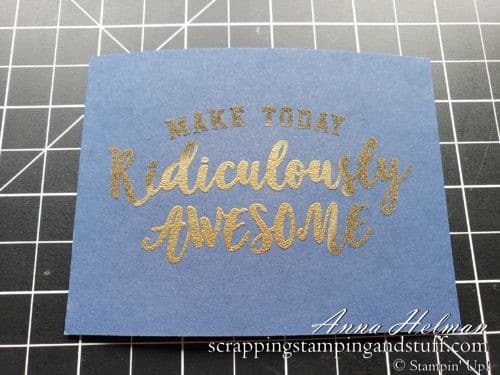
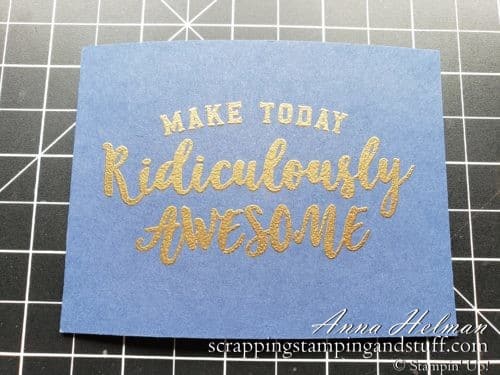
Continue using the heat tool until the entire area is glossy. When done, let it set for a few seconds until it cools down.

Learn how to emboss paper for beautiful, raised glossy elements on your card and other paper paper craft projects!

Video Tutorial

Heat embossing is such a neat technique! Would you like to learn more or watch along as I show exactly how to do it? Watch here!

I hope you enjoyed today’s tutorial, and I hope you’ll try this technique out soon!

Don’t Miss Out!

Please make me your Stampin’ Up! demonstrator!  Earn rewards points towards free stamps PLUS a gift when you order using October host code: FZR7RJZY. PLUS, with your first order, you’ll receive free catalogs in your thank you package!

Stampin Up Hostess Rewards Customer Loyalty Free Gift With Order

Sign Up For My Upcoming Virtual Card Classes!

Order the products I used and make this project yourself!

Ridiculously Awesome Cling Stamp Set

Ridiculously Awesome Cling Stamp Set
[152512]

Versamark Pad

Versamark Pad
[102283]

Gold Stampin' Emboss Powder

Gold Stampin’ Emboss Powder
[109129]

Heat Tool (Us And Canada)

Heat Tool (Us And Canada)
[129053]

You May Also Like:

What Is Die Cutting?

How To Emboss Paper


Sharing is caring!

Filed Under: Learn to Stamp, Tutorials Tagged With: technique, video tutorial

Previous Post: « September 2020 Paper Pumpkin Kit And Alternative Ideas
Next Post: How To Make A DIY Embossing Buddy »

Reader Interactions

Trackbacks

  1. This Leaf Stamping Technique Is A Must-Try For Fall Cards says:
    October 30, 2020 at 5:02 AM

    […] slimline card?! Its natural simplicity is just amazing! I inked the leaf with Versamark ink, then heat embossed it with gold embossing powder. I used the Woodland embossing folder to create that beautiful […]

    Reply
  2. Mini Cut And Emboss Machine By Stampin Up says:
    January 5, 2021 at 8:50 AM

    […] The embossing performed by this machine is called dry embossing, not to be confused with heat embossing. […]

    Reply
  3. Stampin Up Gorgeous Leaves Makes Beautiful Natural Cards says:
    August 5, 2021 at 5:00 AM

    […] Heat Embossing […]

    Reply
  4. Heat Embossing Tips & New Stampin Up Embossing Additions Tool Kit says:
    June 28, 2022 at 5:00 AM

    […] If you’re new to heat embossing, you may want to take a look here where I explain all about how to heat emboss. […]

    Reply
  5. Stampin Up Soft Seedlings & 20 Ways To Use It!  says:
    October 18, 2022 at 5:00 AM

    […] I love heat embossing! Learn more about heat embossing here. […]

    Reply
  6. Stampin Up Brightest Glow & A Paper Folded Christmas Tree says:
    October 29, 2022 at 5:00 AM

    […] to create the lovely background for this card. Also, the greeting stamps were perfect to create the heat embossed tag on the […]

    Reply
  7. Stampin Up Fragrant Flowers & 5 Heat Embossing Techniques says:
    December 29, 2022 at 5:00 AM

    […] Heat embossing uses clear Versamark ink, over which embossing powder is sprinkled, then heat set, to create raised glossy accents on cards. To learn all about heat embossing, take a look here. […]

    Reply

Leave a Reply Cancel reply

Your email address will not be published. Required fields are marked *

Recipe Rating


Primary Sidebar

Anna Helman

Independent Stampin' Up!® Demonstrator

  • Email
  • Facebook
  • Facebook Group
  • Instagram
  • Pinterest
  • RSS
  • Twitter
  • YouTube
Shop Stampin' Up!
Stampin' Up! catalogs
get updates
join Stampin' Up!
Stampin' Up! Rewards
Stampin' Up! special offers
Stampin' Up! clearance
Stampin' Up! 2025-2026 Annual Catalog
May 6, 2025 - May 4, 2026
View Online | Shop Online

Blog Archive

Categories

Footer

Important Links

  • Home
  • Shop Now
  • Get Updates
  • Join My Team
  • Rewards
  • Specials
  • Catalogs
  • Clearance

Anna Helman, Independent Stampin' Up!® Demonstrator

  • Email
  • Facebook
  • Facebook Group
  • Instagram
  • Pinterest
  • RSS
  • Twitter
  • YouTube

Get Ideas, Inspiration, and Special Offers!

Sign up to receive updates in your inbox

Thank you!

Please check your email for a special offer! 

.
All content on this blog is the property of Anna Helman, Stampin' Up!® Independent Demonstrator. Classes, services and projects offered here are not endorsed by Stampin' Up!® Projects, videos, photos, ideas and articles are shared for personal use only and may not be removed, duplicated or copied without permission. All artwork © Stampin' Up!®

Copyright © 2025 Anna Helman, handmake with love · Site Design by Catherine Carroll