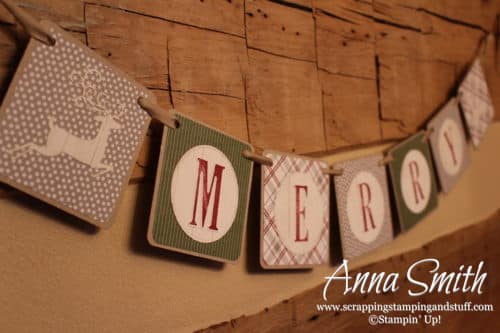
Ho ho ho, Merry Christmas!! You know one of the things that makes me the happiest at Christmastime? My Christmas decorations. Am I the only one? I am a homebody to start with, and my seasonal decorations add a sense of warmth and coziness while I’m enjoying time at home. It helps that I have made many of my decorations, so I’m also surrounded by much of my handiwork. Hopefully you’ve been following along the last few days and you know that I’m in the middle of 12 Days of Handmade Gift Ideas. Today’s project is a very nice seasonal decoration to help surround you or a loved one with warmth and coziness while enjoying time at home. It’s a Christmas banner.
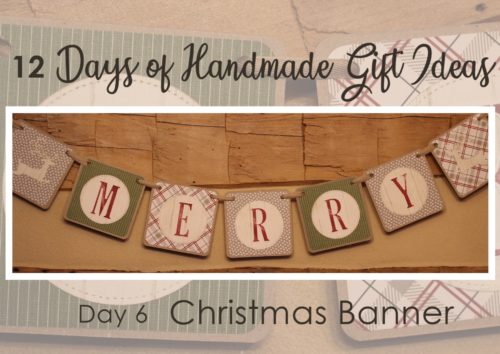
Before I get any further, I want to mention that you could make one of these banners for any season or occasion. It could say winter, family, blessings, farmhouse, or anything that you like! Don’t let my Christmas banner make you think this is only for Christmas! Even better, you could make a reversible banner with letters on both sides for two different seasons or occasions!
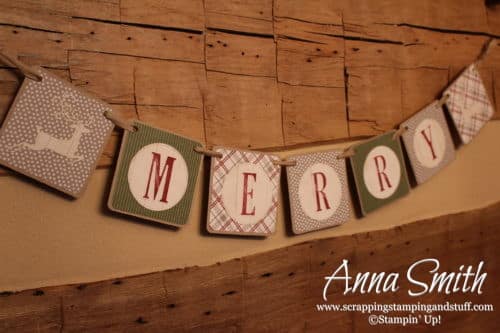
I made this banner using our Festive Farmhouse designer paper because 1. I love the paper pack 2. Everything farmhouse is in style right now and 3. I live in a farmhouse where the farmhouse style was cool before farmhouse style was cool, therefore, Festive Farmhouse paper fits right in with my decor. If you don’t like this style, use a different designer paper pack!
Here’s how I made the banner.
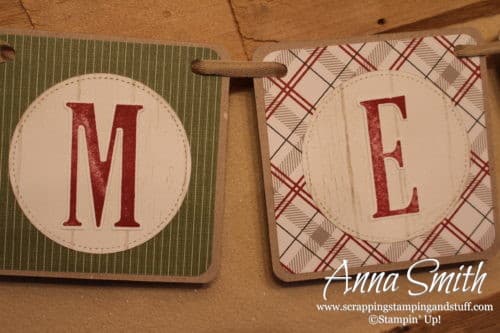
- I used chipboard that comes in our designer paper packs for the background of each banner piece. I cut the chipboard down to 4″ x 4″ pieces and rounded the corners. I cut Festive Farmhouse paper prints 3 3/4″ x 3 3/4″, rounded the corners, and placed them on top of the chipboard pieces. Then I used a standard hole punch to punch holes near the top corners.
- I used the Stitched Shapes framelits to cut circles out of white cardstock. I embossed them with the Pinewood Planks embossing folder, lightly sponged over top with Sahara Sand ink, and attached them to the chipboard pieces.
- I stamped letters from the Letter For You stamp set with Cherry Cobbler ink onto white cardstock, then cut them out using the Large Letters framelits. Then I attached them to the chipboard pieces.
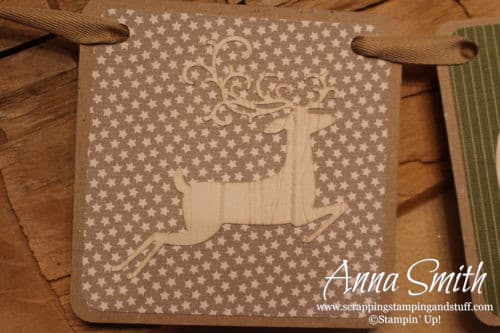
- I die cut two deer from white cardstock using the Detailed Deer thinlits. I flipped one over (so they could face each other), embossed them using the Pinewood Planks embossing folder, and sponged them with Sahara Sand ink. Then I attached them.
- I used Crumb Cake 3/8″ Classic Weave Ribbon to weave through the chipboard pieces.
This was pretty simple, and it really makes a statement on my kitchen wall. For a few years now I have had a gorgeous fall banner that I made using a Paper Pumpkin kit from long ago, and when I take it down I always think I need a Christmas banner to hang. Problem solved! Yes, I’m keeping my banner for myself and not gifting it!!
Thanks for stopping in! Subscribe to my blog to make sure you don’t miss the last 6 days of handmade gift ideas!
Please make me your Stampin’ Up! demonstrator!
-
- Please use hostess code 2794VXDR when you order.
- Check out my current Project in the Mail, Christmas Traditions!
- Keep track of your Stampin’ Rewards and earn free stamps from me!
- When you order $150 or more, you’ll earn hostess credit through Stampin’ Up!
Order the products I used and make this project yourself!


Leave a Reply