Today I’m answering my most-asked question…What are the lines on your trimmer? I created these lines on my trimmer several years ago to make it easy to cut card bases and mats. I’ll explain how they work and how you can do this yourself below!
First I’ll share the video I created.
What Are The Lines On My Trimmer Video?
This video walks you through all the details. In it, I explain why I created these lines and show exactly how to use them. I highly recommend watching it for the full explanation.
How Do The LInes Work?
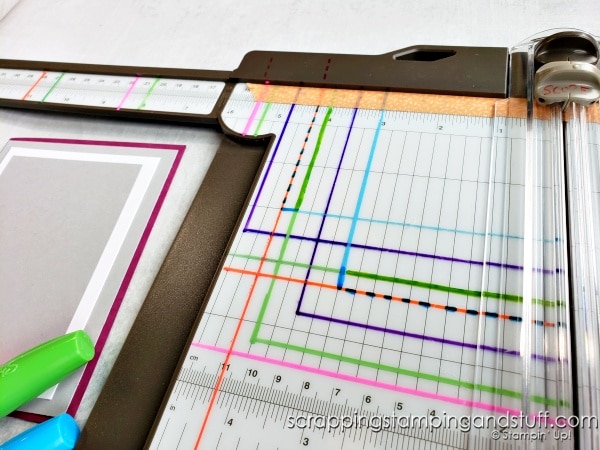
The lines are color coded, and they work to show you where to line up your paper to cut card bases or card mats.

Let’s talk about scoring cardstock for card bases first. I like to score a full sheet, then cut it in half to create two card bases. The dashed marks at the very top (they’re hard to see – look closely on the dark gray border at the top) are for scoring. Lay your paper horizontally at the 5 1/2″ mark or vertically at the 4 1/4″ dashed mark, and score. Next, turn your paper 90 degrees to cut. For long skinny card bases, line up using the orange lines. For standard card bases, line up using the pink lines.
Make sense so far? If not, you’ll want to watch along with the video.
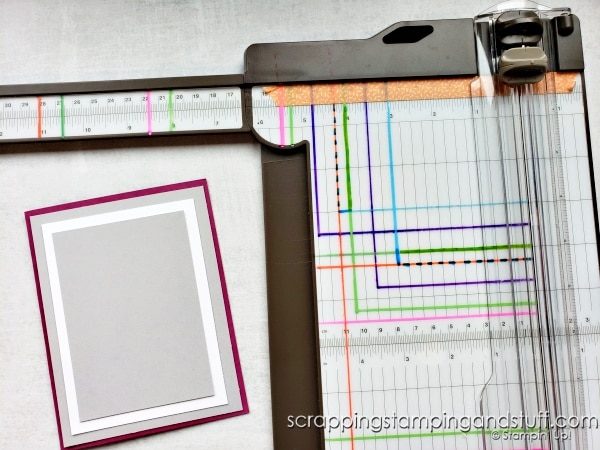
Now let’s talk about card mats. The green lines are to show how I create standard card front pieces which measure 4″ x 5 1/4″. First, lay an 8 1/2″ x 11″ piece of cardstock horizontally at the 10 1/2″ mark. Cut. Turn vertically, line up at 8″ and cut. Now you’ll cut this piece in half vertically, then in half horizontally by lining up and cutting at the 5 1/4″ and 4″ marks. The point of this is not to use the measurements at all, but just to line up at the colored lines at those measurements. All of these marks are show in green, making it easy to remember which lines to use for these card front pieces.
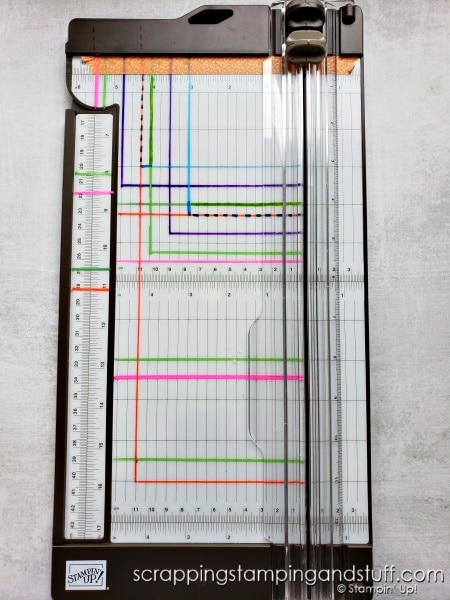
For smaller mats, use purple and blue lines. Purple lines will create a mat that is 1/2″ smaller (and leaves a 1/4″ border) than the green line card fronts. This piece will measure 3 1/2″ x 4 3/4″ when cut. Blue lines will create a mat that is 1/2″ smaller than purple, and will measure 3″ x 4 1/4″. The blue lines overlap the orange lines and have dashed marks in two areas.
Downfall To Marking Trimmer
The first time I marked my trimmer, I used Sharpie marker, but soon found out it rubbed off. I replaced the lines with Sharpie oil-based paint marker, BUT the downfall of this is I can no longer see exactly where the black lines of the trimmer are. Keep this in mind if you’re considering marking your trimmer.
Materials Needed To Mark Trimmer
To mark lines on your trimmer, you’ll need the following:
- Ruler
- Paint markers
- Baby wipes to clean up if you make a mistake
I found the Sharpie oil-based markers online, but I know Menards sells them in-store.
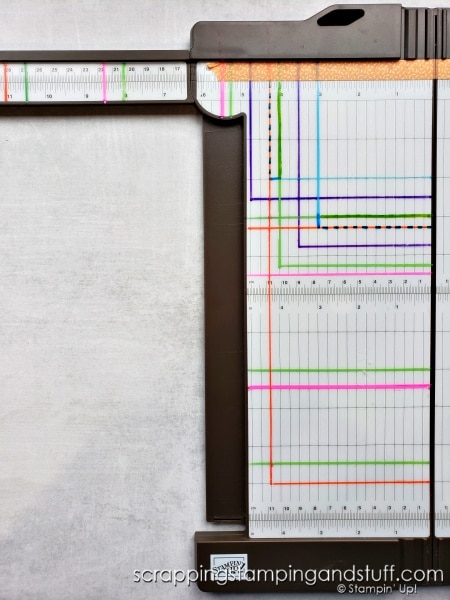
Measurements
Here are the colors and measurements shown on my trimmer, along with closer photos showing what it looks like:
- Pink: 5 1/2″ wide by 8 1/2″ tall, 8 1/2″ wide by 5 1/2″ tall
- Orange: 4 1/4″ wide by 11″ tall, 11″ wide by 4 1/4″ tall
- Green: 8″ wide by 10 1/2″ tall, 10 1/2″ wide by 8″ tall, 4″ wide by 5 1/4″ tall, 5 1/4″ wide by 4″ tall
- Purple: 3 1/2″ wide x 4 3/4″ tall, 4 3/4″ wide by 3 1/2″ tall
- Blue: 3″ wide by 4 1/4″ tall, 4 1/4″ wide by 3″ tall
Stampin Up Trimmer
Would you like more information about the Stampin Up trimmer? Take a look at the information I shared about my trimmer here. If you’re interested, you can order this trimmer below. Don’t forget extra blades!
Product List

Learn To Make Cards
Shop Supplies
Rewards Program
Join My Amazing Team
Thanks for visiting to learn about these crazy lines on my trimmer! Do you think these lines would work for you? Comment at the bottom and let me know!
I love this idea ❣️ Thank you for sharing
Great, I’m glad it’s helpful!
Do you have instructions on how to use a ruler when making lines. I have the sharpie paint oil based markers but I have problems with the lines bleeding.
I couldn’t find your link on how to draw lines on the trimmer.
Thank you
Thank you SO much for both the video and instructions! I’ve been working too hard and making too many mistakes since I began scrapbooking!
This is why I joined! You explain in a soothing voice and make sense, thank you.
I love this idea, I am one of those people who has a difficult time reading a ruler. It takes longer to find the measurements than make the card. So, Thank you.
You’re very welcome, I’m glad it is helpful for you!
I was watching your video on the trimmer and very intrigued by it. I love it and love the way you did it. I’m trying to do my trimmer the same way but when I was watching the video, the numbers are really hard to see where you put your marks or different colored marks I was wondering if you would might be able to make that a little bit clear so I could see it better and know where to put my marks at for sure I don’t want to screw it up.
I would appreciate it thank you very much
Debbie
Hello Debbie,
If you go back to the post on my website, the detentions are in the post. They are all written down so you don’t have to try and find the measurements from the video.