• Nav Social Menu

    • Facebook
    • Facebook Group
    • Instagram
    • Pinterest
    • RSS
    • Twitter
    • YouTube

Handmake with Love

Anna Helman | formerly Scrapping, Stamping and Stuff

  • Blog
  • Start Here
    • About Me
    • Learn to Make Cards
    • Why Shop With Me?
    • Testimonials
    • Connect On Social
    • Get Email Updates
    • Stampin’ Up! Giveaway Winners
  • Products
    • Shop Now
    • Catalogs
    • Clearance
    • Why Choose Stampin Up?
    • Paper Pumpkin Kits
    • Product Shares
    • Rewards Program
    • Stamparatus
    • Cut And Emboss Machine
    • Mini Cut And Emboss Machine
    • Blends Alcohol Markers
    • Blending Brushes
  • Ideas
    • Video Tutorials
    • Project Gallery
    • Card Ideas
    • 3D Projects
    • Scrapbooking
    • Tips & Techniques
    • Kits
    • Learn to Make Cards
    • Printable Catalog Tabs
    • Social Media
  • Join
    • Join My Team
    • Stampin Up Demonstrator Resources
  • Classes
    • Classes in the Mail
    • In Person Events
  • Contact
    • Contact
    • Connect On Social

Use Your Paper Stash With 7 Ways To See Both Sides of Your Designer Paper!

18 Jan

How much designer paper do you have in your stamping collection? A little? A lot? Most card makers admit they have more paper than they need, and today I want to share a lot of ideas for how to use that paper! Not only that, I’m specifically sharing ideas for ways to see both sides of your designer paper. I’ve featured many of the Sale-a-bration items that you can get for free right now with a $50+ order. Take a look!

Click for 7 ideas of ways to see both sides of your designer paper! Use these tricks and use up your paper stash!

Ways To See Both Sides Of Your Designer Paper

Let’s start looking at these techniques.

Click for 7 ideas of ways to see both sides of your designer paper! Use these tricks and use up your paper stash!

1. Regular Card Base

This technique is simple – just replace your card base with a piece of designer paper. I cut my paper to 5 1/2″ x 8 1/2″ and scored it in the center at 4 1/4″.

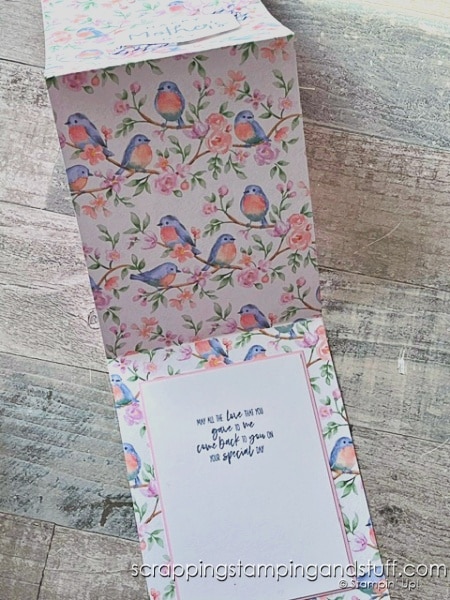
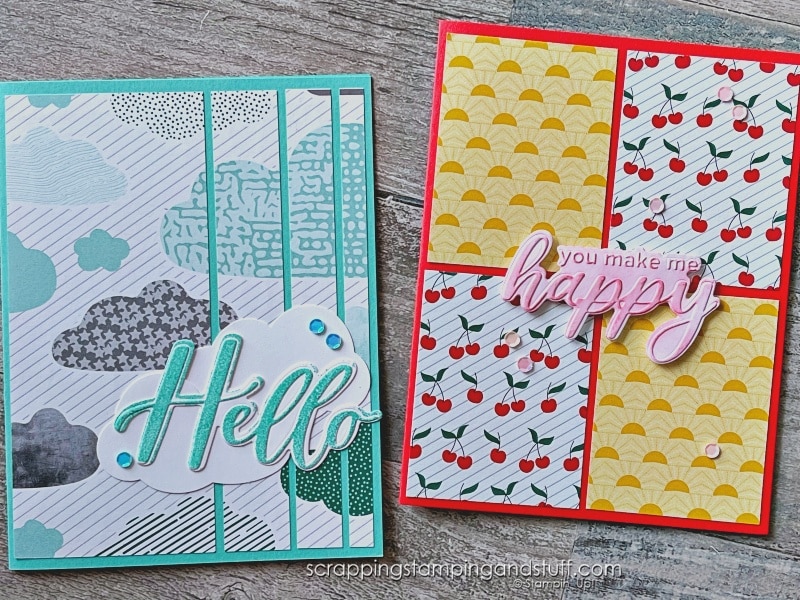
Here is the front of the card…

Click for 7 ideas of ways to see both sides of your designer paper! Use these tricks and use up your paper stash!

…and here is the inside. The paper used on this card is from the Sunny Days pack and you can get it free right now with a $50 order! Keep reading for more details.

Click for 7 ideas of ways to see both sides of your designer paper! Use these tricks and use up your paper stash!

2. Z-Fold Card Base

To do this, use a piece of 4 1/4″ x 11 1/2″ designer paper, and a second piece that measures 4 1/4″ x 5 1/2″. Score the longer piece at 5 1/2″ and 11″. Assemble as shown in today’s video, and decorate as desired!

Click for 7 ideas of ways to see both sides of your designer paper! Use these tricks and use up your paper stash!

Here’s what this card looks like opened up.
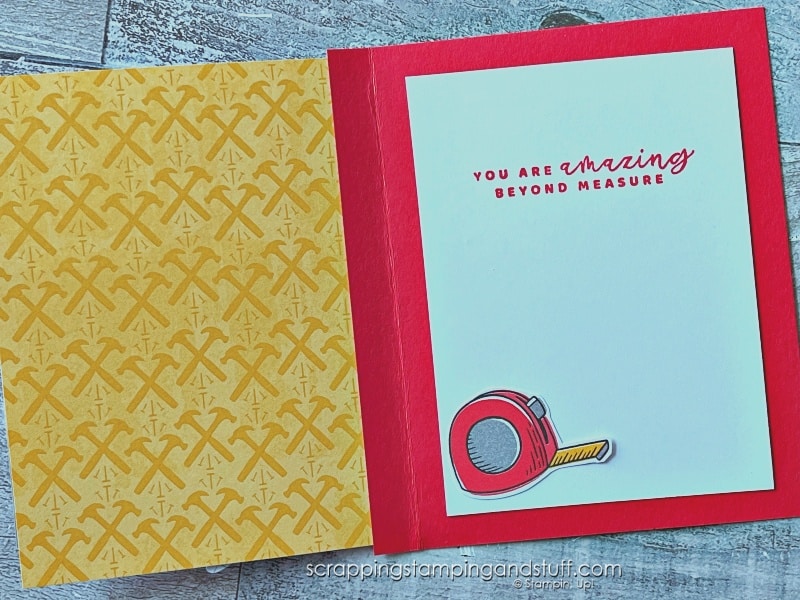
3. Front Flap Only

This card uses cardstock for the back of the card and designer paper for the front flap. Here are the dimensions: cardstock 4 3/4″ x 5 1/2″ (with the 4 3/4″ edge at the top, score at 4 1/4″) and designer paper measuring either 4″ x 5 1/4″ or 4 1/4″ x 5 1/2″ (you choose depending on if you want the designer paper to cover the entire front or leave a border around the edge).

Here is the card front…

Click for 7 ideas of ways to see both sides of your designer paper! Use these tricks and use up your paper stash!

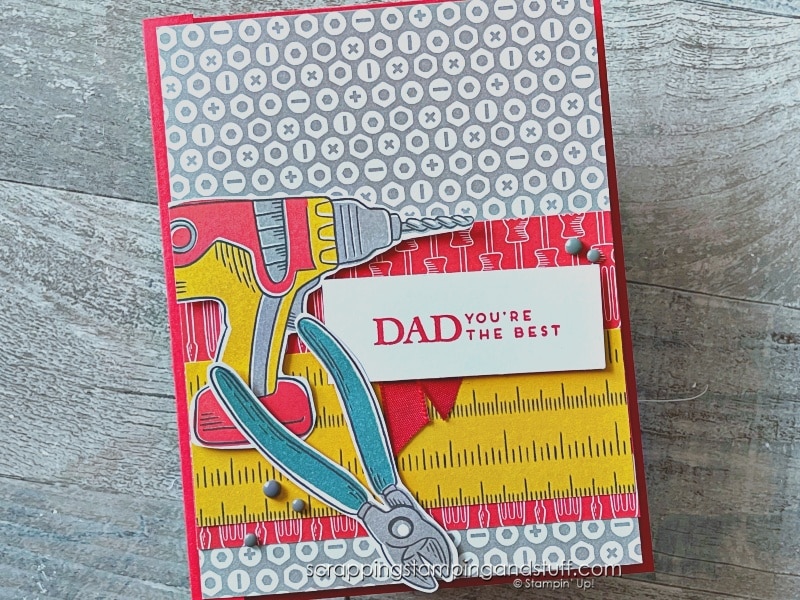
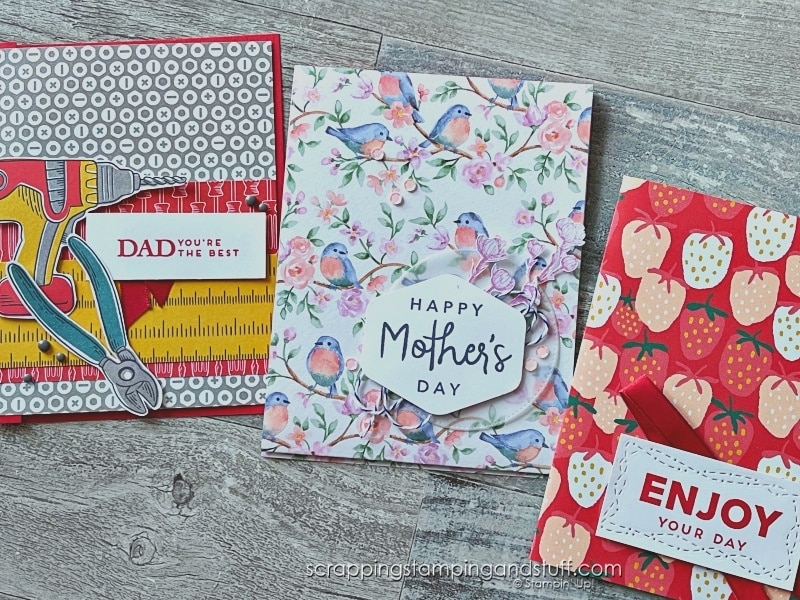
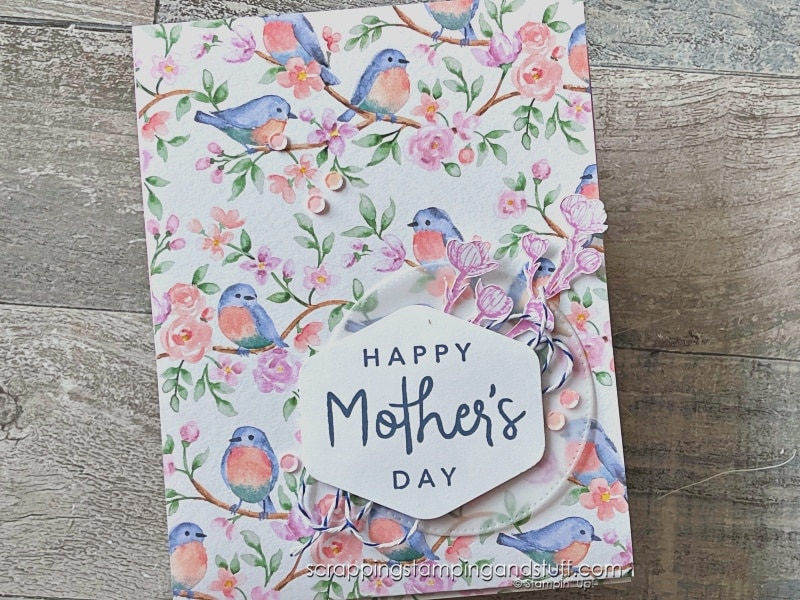
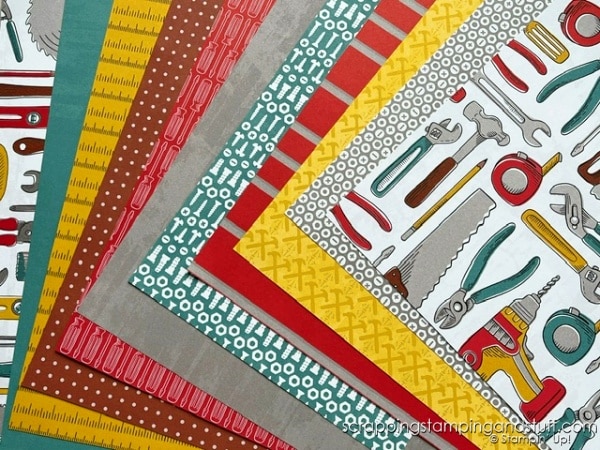
…and here is the inside. The paper on this card is from the Trusty Toolbox pack.

Click for 7 ideas of ways to see both sides of your designer paper! Use these tricks and use up your paper stash!

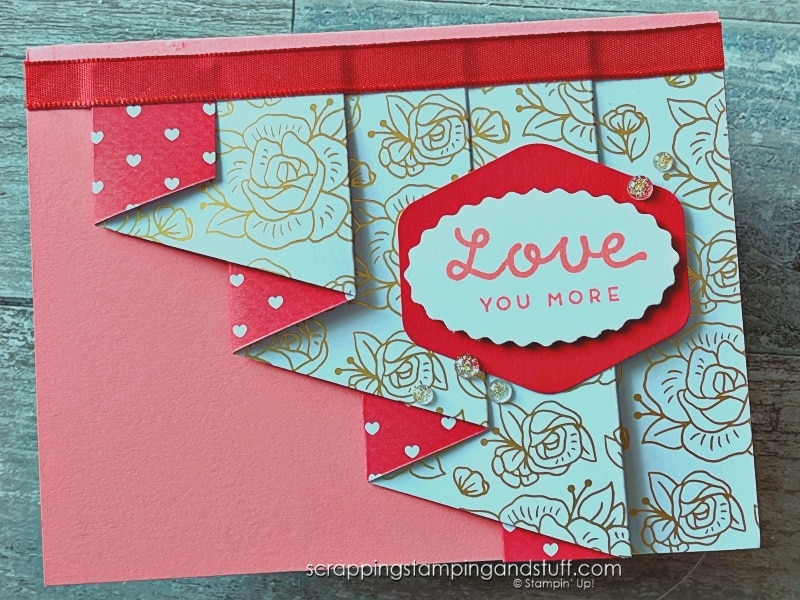
4. Drapery Fold Technique

This is a technique I shared more about here. Start with a piece of designer paper measuring 6″ x 12″ and score at 1″, 3″, 4″, 6″, 7″, 9″, and 10″. Then use your trimmer to cut at an angle as shown in the video to create two separate pieces. Fold these and attach to your card as desired. This card features Most Adored designer paper.

Click for 7 ideas of ways to see both sides of your designer paper! Use these tricks and use up your paper stash!

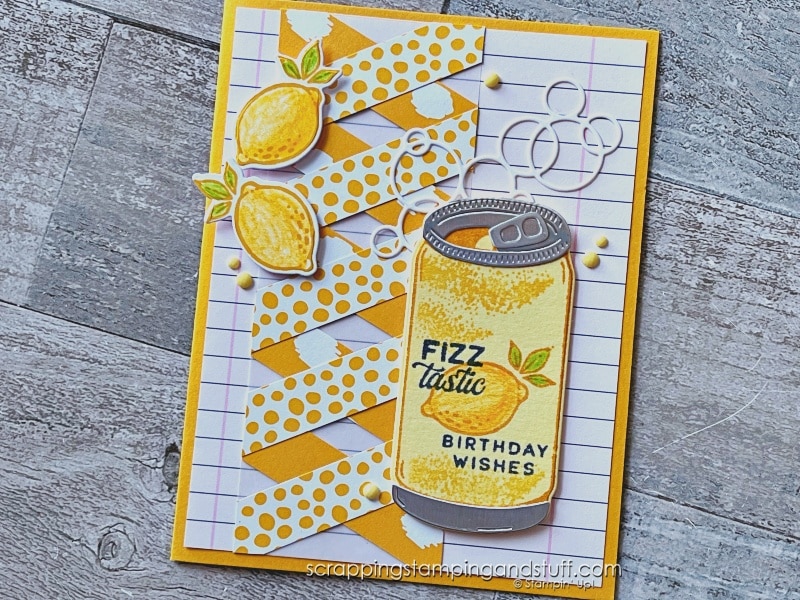
5. Criss Cross Technique

For this design, you’ll need two strips of paper measuring 1/2″ x 12″ and a piece of cardstock measuring 2″ x 5 1/2″, scored at 1/2″, 1 1/2″, 2 1/2″, 3 1/2″, and 4 1/2″. Add the strips as shown in the video.

Click for 7 ideas of ways to see both sides of your designer paper! Use these tricks and use up your paper stash!

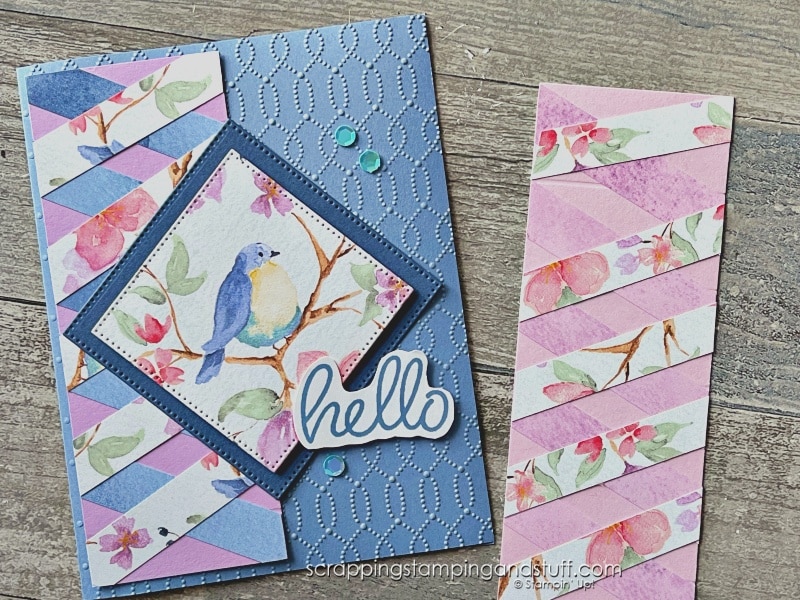
I used this same design on this card, featuring the Simply Sparkling stamp and die set. Cute, isn’t it?!
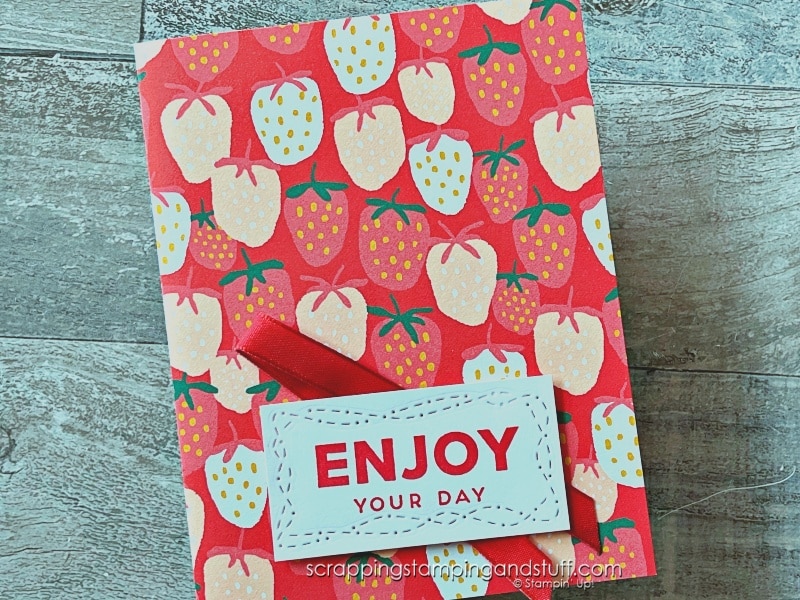
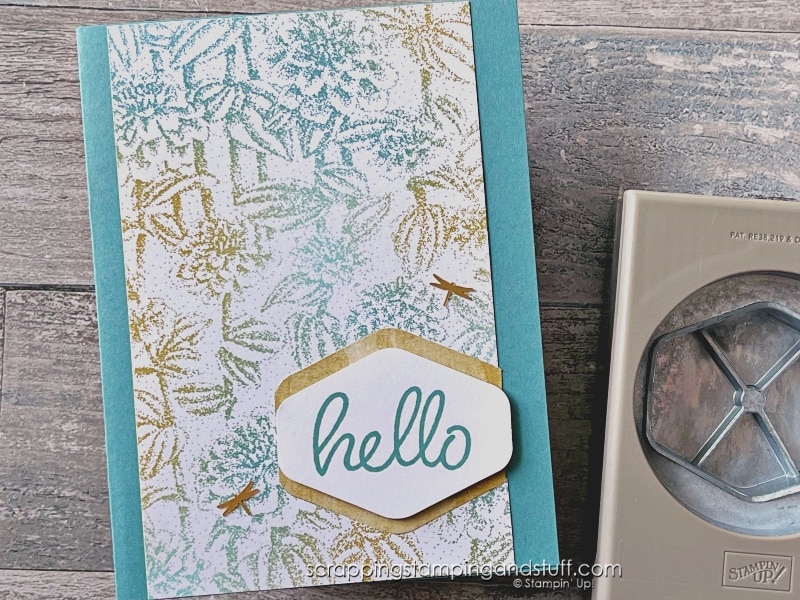
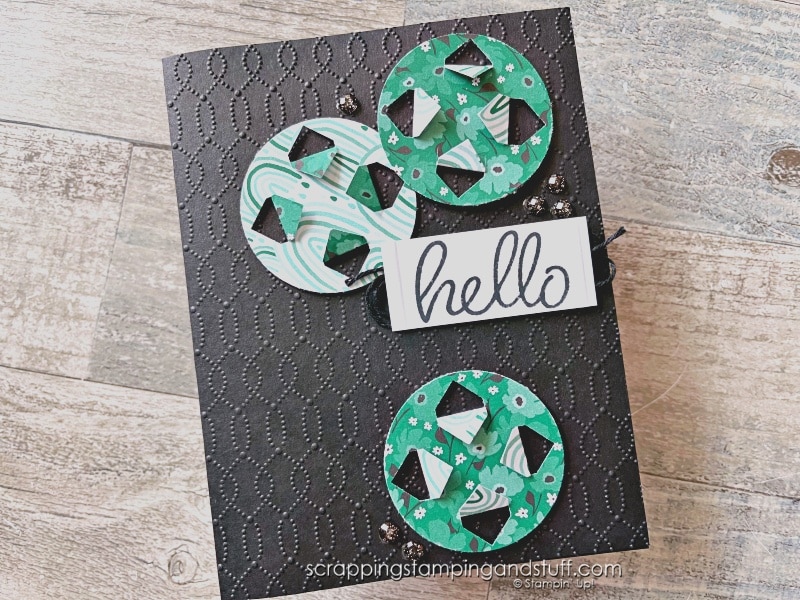
Click for 7 ideas of ways to see both sides of your designer paper! Use these tricks and use up your paper stash!

6. Punch Hack

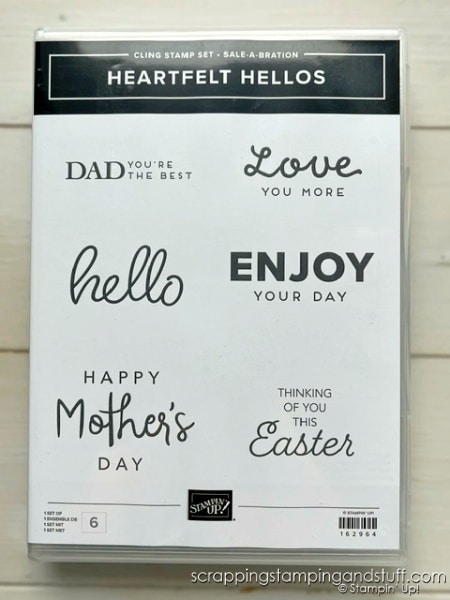
For this card, simply use the Heartfelt Hexagon punch to punch a piece out of the Softly Stippled designer paper, then flip it over to show the contrast from the back side. Then add the greeting on top. This greeting is from the Heartfelt Hellos stamp set which is free right now with a $50 order.

Click for 7 ideas of ways to see both sides of your designer paper! Use these tricks and use up your paper stash!

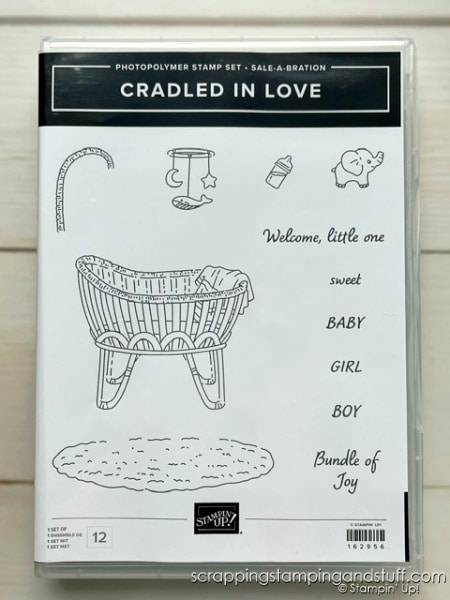
I discovered another punch trick as well. This was a fun surprise as I started playing with my punches. I punched partway through the paper with the Inked & Tiled punches, then folded in the corners. What a fun technique! This one uses the Cradled In Love stamps, a Sale-a-bration reward item.

Click to see a punch hack you've never seen!

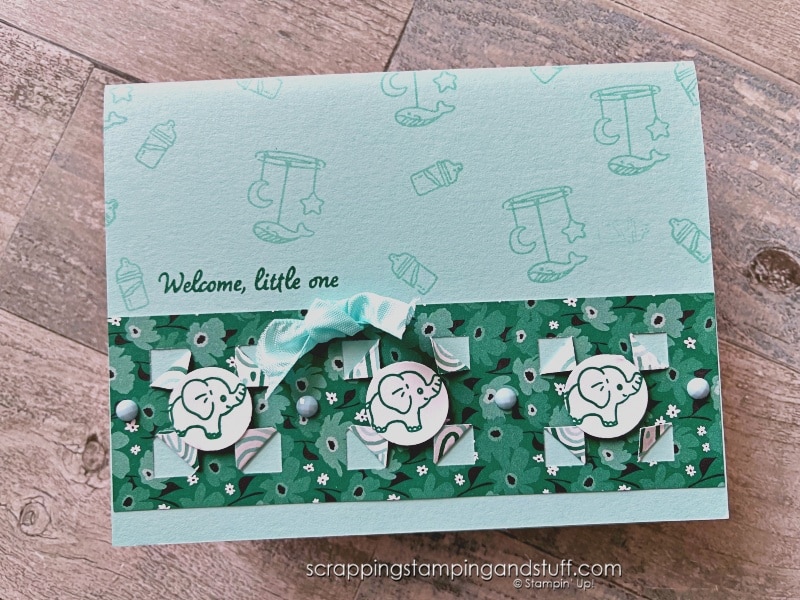
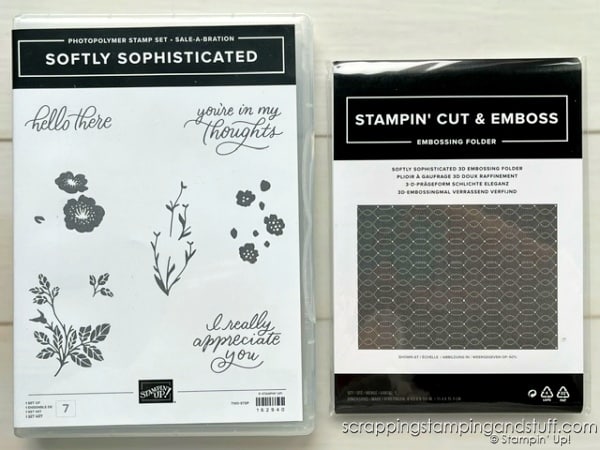
This card uses the same punch technique along with the Softly Sophisticated embossing folder, another reward item option.

Click to see a punch hack you've never seen!

7. Panel Cards

I love to create panel cards with designer paper. Just trim your paper into sections, and then flip some of them over to see both sides! Get more panel card ideas here.

Click for 7 ideas of ways to see both sides of your designer paper! Use these tricks and use up your paper stash!

Features Products

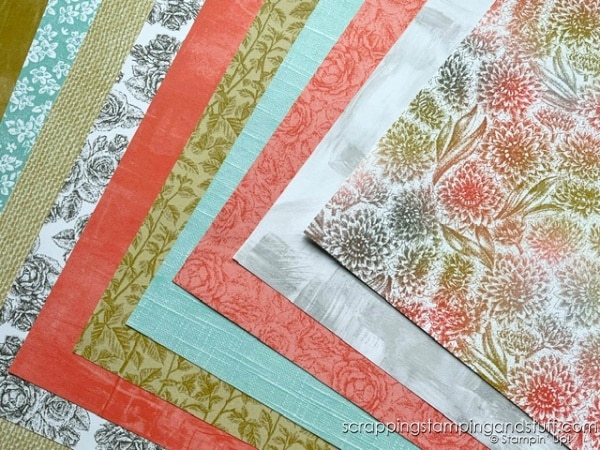
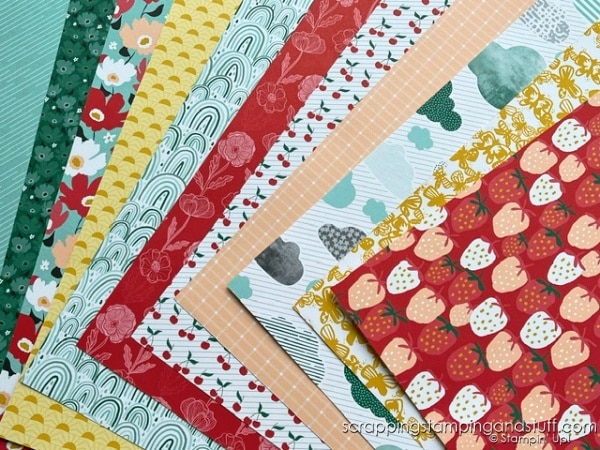
The products I used on most of the cards above are available free right now during Sale-a-bration with any $50+ order. Let’s take a look at them.

Softly Stippled Designer Paper

Stampin Up Sale-a-bration 2024 - Free Gift With $50 Purchase Softly Stippled Designer Paper

Sunny Days Paper

Stampin Up Sale-a-bration 2024 - Free Gift With $50 Purchase Sunny Days Designer Paper

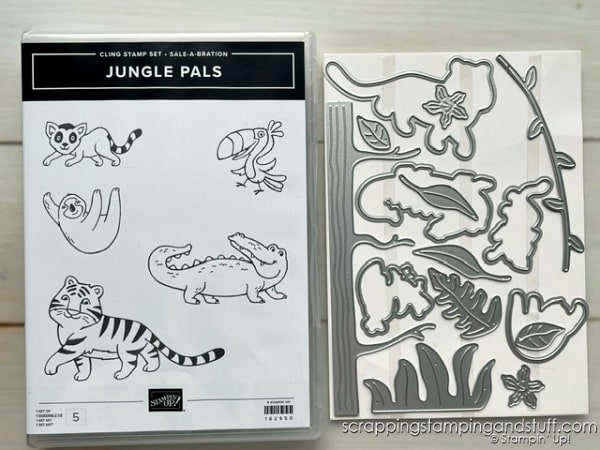
Jungle Pals Stamps And/Or Dies

Stampin Up Sale-a-bration 2024 - Free Gift With $150 Purchase Jungle Pals Stamp And Die Set

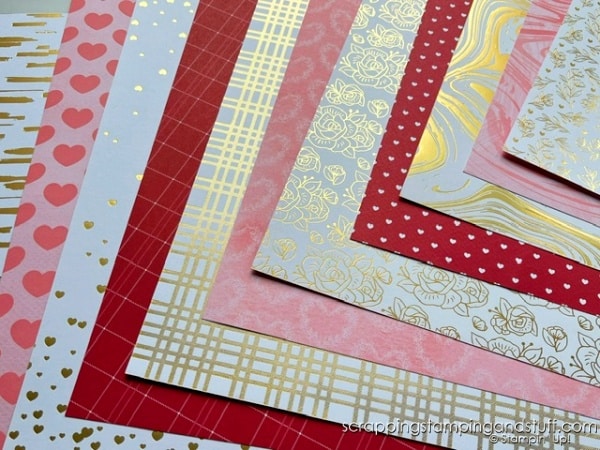
Adoring Hearts Paper
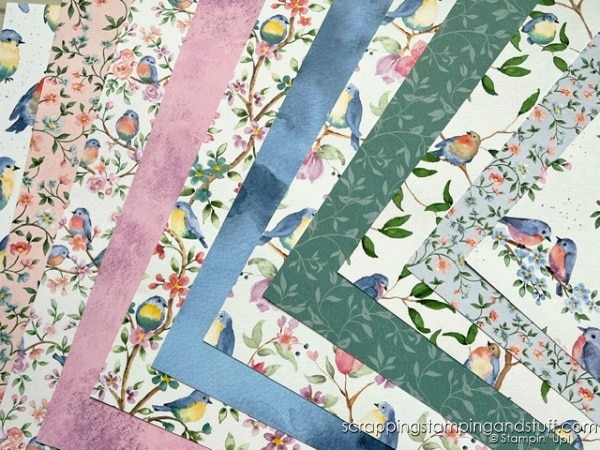
Stampin Up Sale-a-bration 2024 - Free Gift With $50 Purchase Most Adored Designer Paper

Flight & Airy Paper

Stampin Up Sale-a-bration 2024 - Free Gift With $50 Purchase Flight & Airy Designer Paper Pack

Trusty Toolbox Paper

Stampin Up Sale-a-bration 2024 - Free Gift With $50 Purchase Trusty Toolbox Designer Paper
Click for 7 ideas of ways to see both sides of your designer paper! Use these tricks and use up your paper stash!

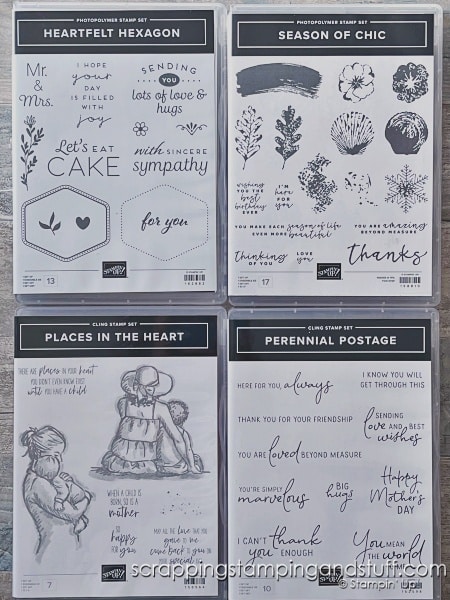
Heartfelt Hellos Stamps

Stampin Up Sale-a-bration 2024 - Free Gift With $50 Purchase Heartfelt Hellos Stamp Set

Softly Sophisticated Bundle

Stampin Up Sale-a-bration 2024 - Softly Sophisticated Stamp Set & Embossing Folder Free With $100 Purchase

Cradled In Love Stamp Set

Stampin Up Sale-a-bration 2024 - Free Gift With $50 Purchase Cradled In Love Stamp Set

It’s a great time to shop, since you can choose from these amazing reward items!

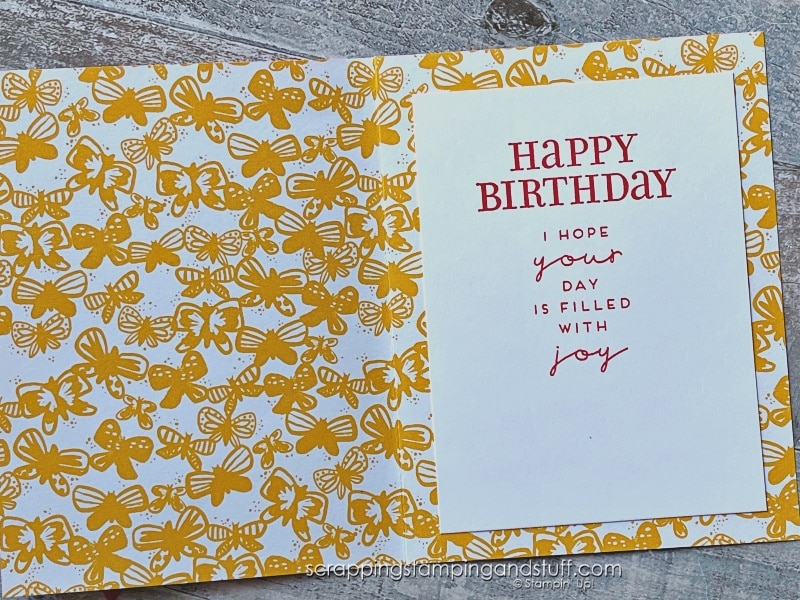
Recommended Greeting Stamps

In today’s video, I shared a few greeting stamps that I really like to use on the insides of cards. Do you ever find it hard to find greetings for card insides? These are a few of my favorites.

Click for 7 ideas of ways to see both sides of your designer paper! Use these tricks and use up your paper stash!

Designer Paper Techniques Video

Watch along here for more details on the card ideas and paper techniques shared above! Stick around until the end to hear more about the special diet I’ve been on for over a year now. It has been life changing for people with SO many physical and mental problems!

Materials List

If you want to get some of the free items during Sale-a-bration, don’t wait to shop! Use the links below.

Product List
Sunny Days 12" X 12" (30.5 X 30.5 Cm) Designer Series Paper
[162974]
Trusty Toolbox 12" X 12" (30.5 X 30.5 Cm) Designer Series Paper
[162978]
Flight & Airy 12" X 12" (30.5 X 30.5 Cm) Designer Series Paper
[162977]
Most Adored 12" X 12" (30.5 X 30.5 Cm) Specialty Designer Series Paper
[162976]
Softly Stippled 12" X 12" (30.5 X 30.5 Cm) Designer Series Paper
[162975]
Heartfelt Hellos Cling Stamp Set (English)
[162964]
Cradled In Love Photopolymer Stamp Set (English)
[162956]
Celebrate With Tags Cling Stamp Set (English)
[159974]
Gone Fishing Photopolymer Stamp Set (English)
[161535]
Trusty Tools Photopolymer Stamp Set (English)
[163274]
Perennial Postage Cling Stamp Set (English)
[162598]
Season Of Chic Photopolymer Stamp Set (English)
[158810]
He's All That Cling Stamp Set (English)
[159071]
Places In The Heart Cling Stamp Set (English)
[158964]
Stitched With Whimsy Dies
[155314]
Stylish Shapes Dies
Stylish Shapes Dies
[159183]
Softly Sophisticated Bundle (English)
[162947]
Stampin' Cut & Emboss Machine
[149653]
Heartfelt Hexagon Punch
[162888]
Double Oval Punch
Double Oval Punch
[154242]
Inked & Tiled Punch Pack
[161167]
1-3/4" (4.4 Cm) Circle Punch
[119850]
Iridescent Foil Gems
[162842]
Real Red & Garden Green 3/8" (1 Cm) Ribbon Combo Pack
[159577]
Brushed Brass Butterflies
[158136]
Add All to Cart

Thanks for visiting to see these ways to see both sides of your designer paper!

Learn To Make Cards
Shop Supplies
Rewards Program
Join My Amazing Team

Sharing is caring!

Filed Under: Cards, Gallery Tagged With: all occasion card ideas, designer paper, fun fold, sale-a-bration 2024

Previous Post: « Stampin Up Thoughtful Moments & A New Way To Emboss
Next Post: Bokeh Technique For Card Making »

Reader Interactions

Comments

  1. Tammie DeVane says

    January 24, 2024 at 9:19 AM

    Loved your video–wish it could have been longer. Demo a little more. I enjoy your “health talks”! They are very Good. I appreciate you taking the time to do them.

    Reply
  2. Tammie DeVane says

    January 24, 2024 at 9:20 AM

    Forgot to ask, what alphabet did you use to make the “Handsome tool card”?
    Thanks

    Reply

Leave a Reply Cancel reply

Your email address will not be published. Required fields are marked *

Recipe Rating


Primary Sidebar

Anna Helman

Independent Stampin' Up!® Demonstrator

  • Email
  • Facebook
  • Facebook Group
  • Instagram
  • Pinterest
  • RSS
  • Twitter
  • YouTube
Shop Stampin' Up!
Stampin' Up! catalogs
get updates
join Stampin' Up!
Stampin' Up! Rewards
Stampin' Up! special offers
Stampin' Up! clearance
Stampin' Up! 2025-2026 Annual Catalog
May 6, 2025 - May 4, 2026
View Online | Shop Online

Blog Archive

Categories

Footer

Important Links

  • Home
  • Shop Now
  • Get Updates
  • Join My Team
  • Rewards
  • Specials
  • Catalogs
  • Clearance

Anna Helman, Independent Stampin' Up!® Demonstrator

  • Email
  • Facebook
  • Facebook Group
  • Instagram
  • Pinterest
  • RSS
  • Twitter
  • YouTube

Get Ideas, Inspiration, and Special Offers!

Sign up to receive updates in your inbox

Thank you!

Please check your email for a special offer! 

.
All content on this blog is the property of Anna Helman, Stampin' Up!® Independent Demonstrator. Classes, services and projects offered here are not endorsed by Stampin' Up!® Projects, videos, photos, ideas and articles are shared for personal use only and may not be removed, duplicated or copied without permission. All artwork © Stampin' Up!®

Copyright © 2025 Anna Helman, handmake with love · Site Design by Catherine Carroll