Welcome friends. I’m glad you’ve stopped in today to see a simple technique for changing up your card projects, which is to create decorative edges on the front flap of the card. There are a few different ways to do this, and I’ll share them below.
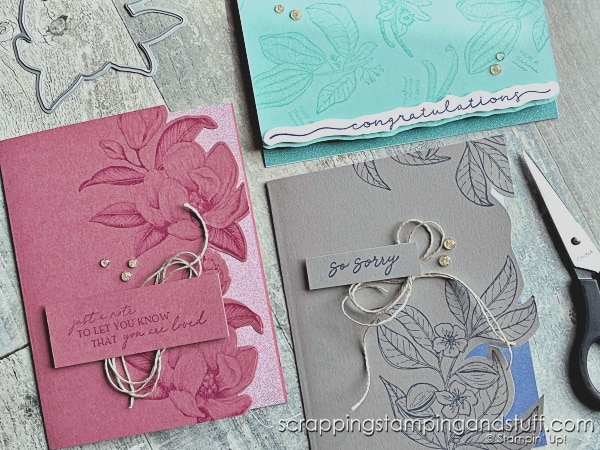
Creating Decorative Card Edges
There are several ways to create unique edges on your cards. Here are a few ideas.
One way to create nice edges is to use a die set created for this purpose. Another way is to use a standard die, but only to cut part of it out. Watch along with today’s video for more details on this.

Another idea is to lay a die cut on top of your project, and use it as a guide to trim a nice edge.
My last and simplest way to create pretty edges is to stamp the front, and then use it as a guide to trim around with scissors.
After You’ve Trimmed…
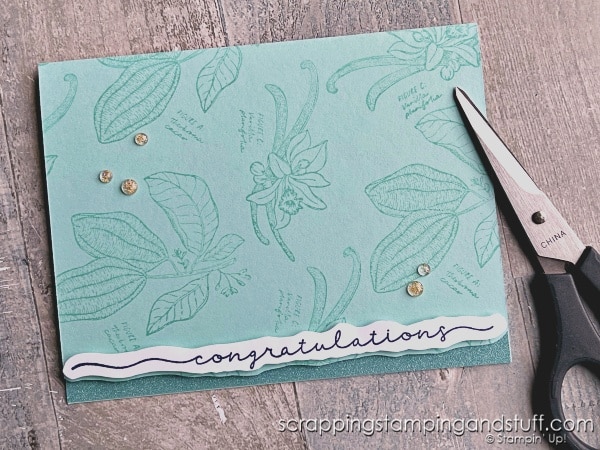
After you have created a nice edge, you can leave it as is, or add a bit more detail to make it stand out more. Here are a few more ideas to try.
Lay a strip of paper attached to the inside of the card, to make the decorative edge stand out more.
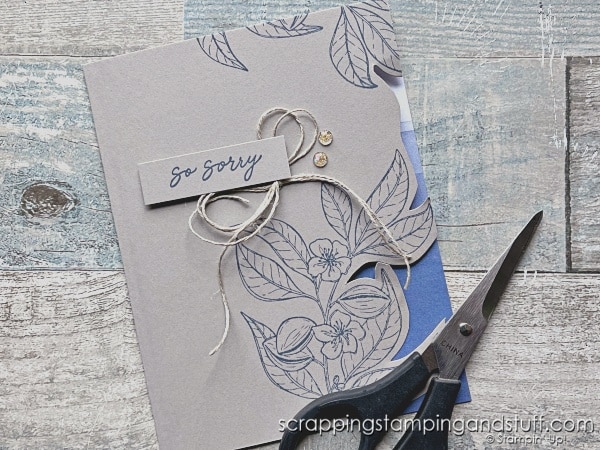
Add a piece of paper, attached to the front, behind the trimmed edge.
Use the trimmed piece as a guide. This can be attached to the inside flap, or used as a guide to trim another piece to add.
Creating Decorative Card Edges Video
Watch along here to learn more about this technique and these cards!
Materials List
Take a look at the supplies I used here!
Product List")
")

")
")


 Specialty Paper")


Learn To Make Cards
Shop Supplies
Rewards Program
Join My Amazing Team
Thanks for visiting for ideas on creating decorative card edges!
Anna, This is such a beautiful and creative technique! Thank you for the inspiration!
Very pretty cards! Love the technique you shared, very unique.
Thank you for sharing your creative ideas! I always learn so much from you and I appreciate how simple and easy your cards are ! Also, thank you for your messages at the end of your videos.