Welcome to Cardmaking 101 Lesson 9: Stamping blocks for cardmaking! If you are new to stamping, want to learn how to make beautiful cards and other paper projects, or you have some experience but want to go back to the basics, then these Cardmaking 101 lessons should be of help! Today we will talk about using acrylic blocks for stamping as well as the amazing Stamparatus stamping platform. Let’s get started!
Stamping Blocks For Cardmaking
First, let’s talk about basic acrylic blocks. When you purchase stamps, they come in ‘cling’ red rubber stamps or ‘photopolymer’ which are the clear stamps. In either case, you need something to mount your stamps to in order to stamp with them! They go by a lot of names…clear blocks, acrylic blocks, stamping blocks, but regardless of what you call them, this is what we’re talking about!
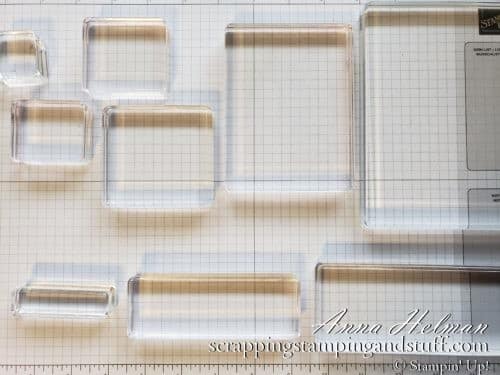
Stampin Up sells acrylic blocks in nine different sizes and shapes, shown above. They are named by letters from A (the smallest on the top left) to I (the long narrow block on the bottom right). Our blocks are superior to any other stamping block I have ever used. The edges are nicely rounded and fit well to the grip of your hand. They also have a nice curved groove in the side which is perfect to make them easy, and comfortable to hold.
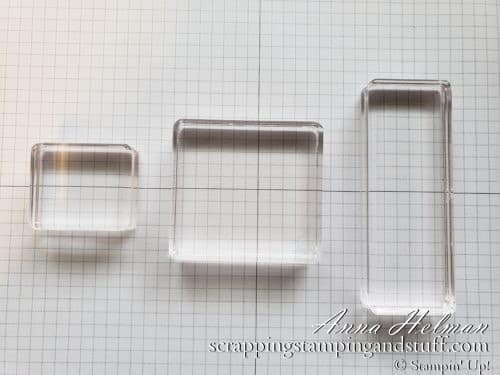
For beginning stampers who are learning how to stamp, you may not want to purchase all of the blocks at one time. If you have to choose just a few blocks, I might recommend B, D, and H shown below, but really it just depends on how large your stamps are.
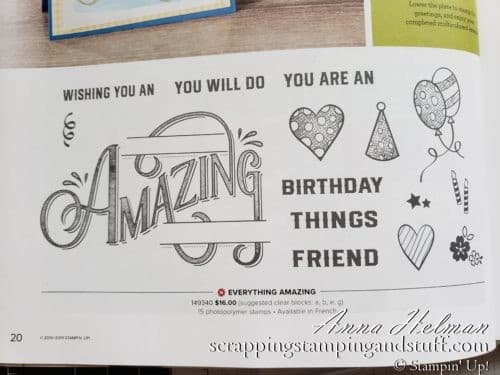
Let’s look at the Everything Amazing stamp set shown below as an example. It includes one large stamp, along with several sizes of smaller stamps. But how do you know which sizes of blocks you will need?

That’s easy! Stampin Up recommends which sizes of blocks to use. In our catalogs, it shows up under the name of the stamp set, just after the price. For this set, the suggested blocks are A, B, E, and G. If you are doing your shopping online, you can see the recommended block sizes in the stamp set description.
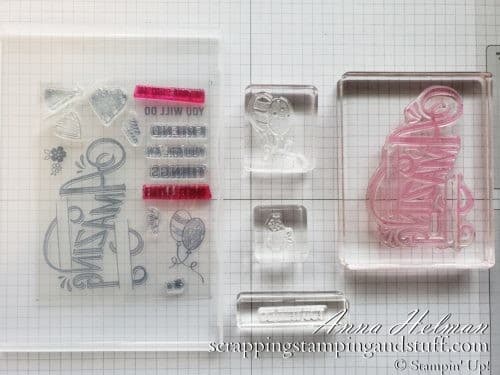
Below you can see that I have pulled out the recommended block sizes and mounted stamps to them, showing how well they fit.
So let’s say you want to do some stamping but you don’t have the exact block sizes recommended. What then? You can always bump up a size to the next larger block, but you cannot use a block that is too small for your stamp. See the stamps below? They are mounted to blocks that are quite a lot larger than needed. These blocks will work to stamp, but there are some inconveniences that come along with using blocks that are too large. I’ll explain further…
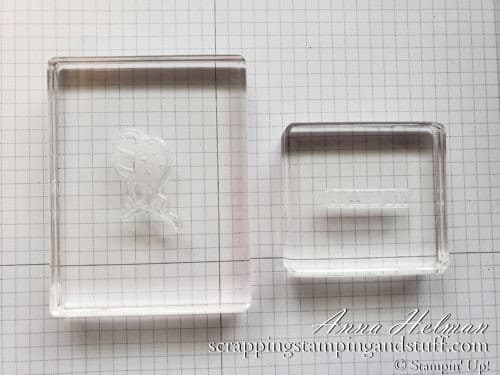
When you ink a stamp that is very small compared to the block, it is easy to wobble the block and end up with ink on the block. Then you get inky fingers and everything gets messy!
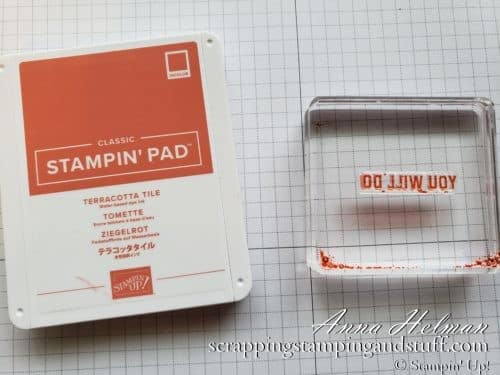
Another problem when you have excess ink on the block is that it can end up on your project when you stamp. See that extra line above and below the word ‘congratulations’ below? That happens a lot more often when you’re using blocks that are too large for your stamps (or also if you press too hard when you ink your stamp, which I also did in this example).
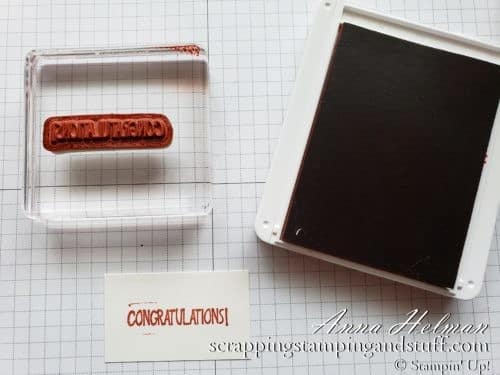
The point is, it’s really nice to have a block that is just the right size for your stamp. So that’s a basic introduction to acrylic blocks! Choose a few sizes to begin with, and add to them as your stamp collection grows. Or, you can go all in and get all of our blocks in a bundle at a discounted price.
I will quickly mention that we have a storage case for our blocks, which is awesome to keep them organized and protected. Blocks can be scratched if not cared for properly, so the case keeps this from happening. In addition, you will want to keep your blocks clean which can be done very well with our amazing Simply Shammy.
Ok, let’s move on to the bestest, most awesomest, improved version of a stamping block…the Stamparatus!
Stamparatus Stamping Platform
The Stamparatus is a stamping platform that makes it so easy to stamp neatly and precisely. Here you can see what it looks like. It includes two clear plates, one on the top and one on the right, which rotate inwards to lay on top of the platform. These are the surfaces to which you mount your stamps. Let’s take a closer look!
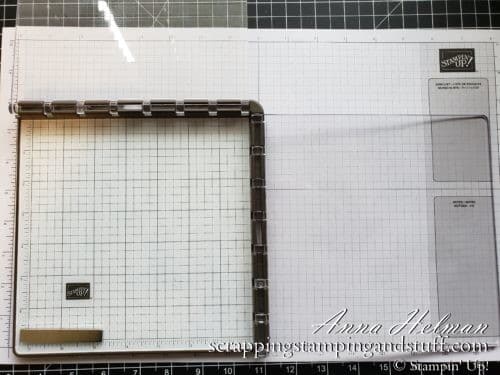
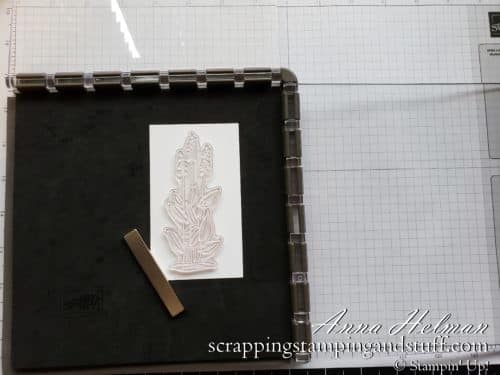
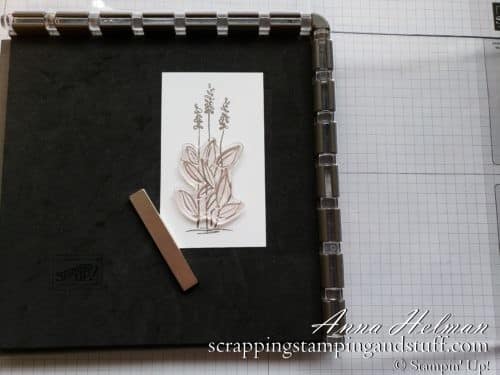
I’m going to walk you through how to use the Stamparatus. In the photo below, you can see that I have placed a piece of cardstock onto the base along with a magnet to hold it in place. Then, I laid my stamp in the desired location, with the flat side of the stamp upward.
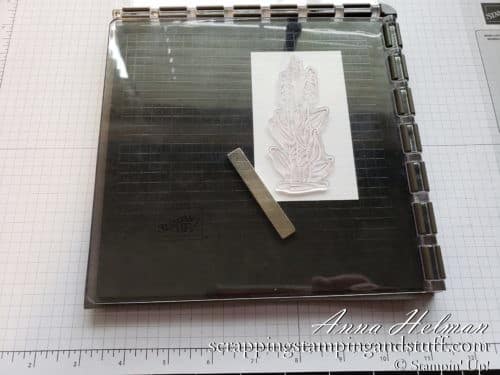
Next, I rotated the plate on the right over and pressed it to adhere to the stamp.
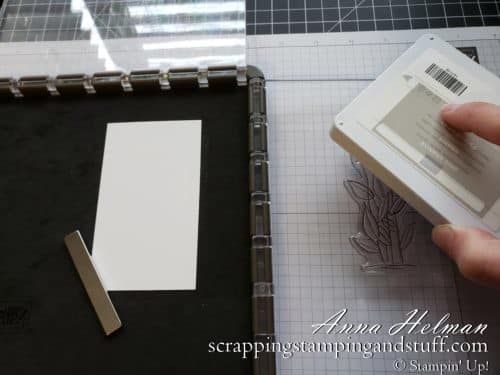
I opened the plate back up, and then used an ink pad to ink the stamp.
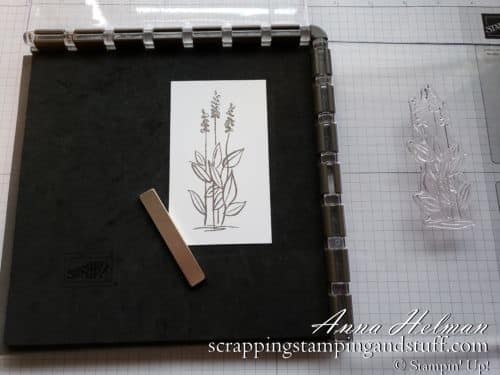
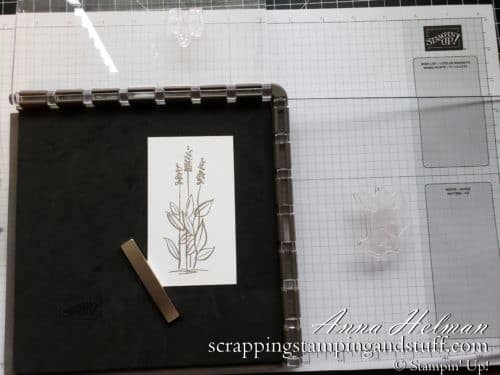
I rotated the plate back over and pressed firmly to stamp the image. Perfect placement!
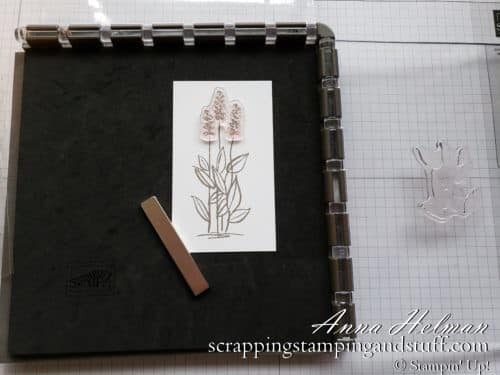
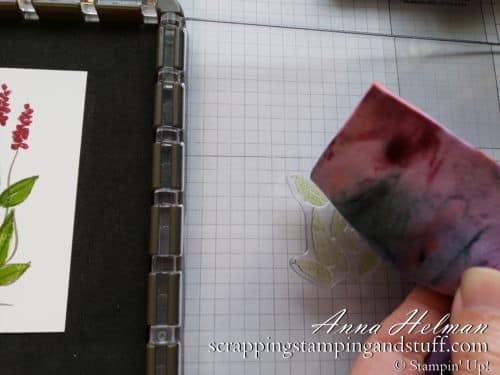
Now we need to add color to the leaves and flowers on this image. Here I laid the leaf stamp in the desired location.
I rotated the right plate over to pick up the stamp. Then I laid the flower stamp in the desired location.
This time I flipped the top plate down to pick up the flower stamp.
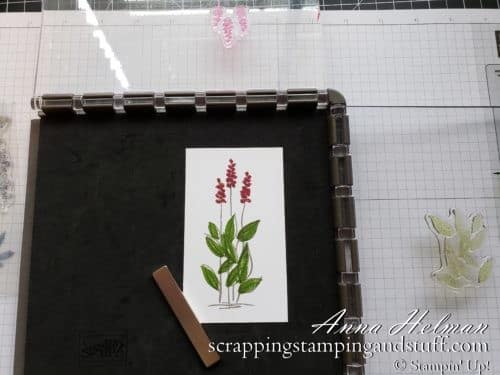
First I inked the leaf stamp and stamped with it. Then I inked the flower stamp and stamped with it. Lovely isn’t it? And they were stamped in just the right spot! No more wobbles or smudges!
To clean up, I highly recommend the Simply Shammy, which you can learn more about here.
There you have it! I hope this helped you learn about stamping blocks for cardmaking as well as an upgraded version of stamping blocks – the Stamparatus! You can order using the links below and please contact me with any questions!
Please make me your Stampin’ Up! demonstrator and order from me using the product links at the bottom!
- With your first order, you’ll receive a FREE annual catalog from me! Seasonal catalogs are also mailed to regular customers.
- You’ll earn free gifts or free stamps through my Stampin’ Rewards customer loyalty program!
- When you order $150 or more, you’ll earn hostess credit through Stampin’ Up!
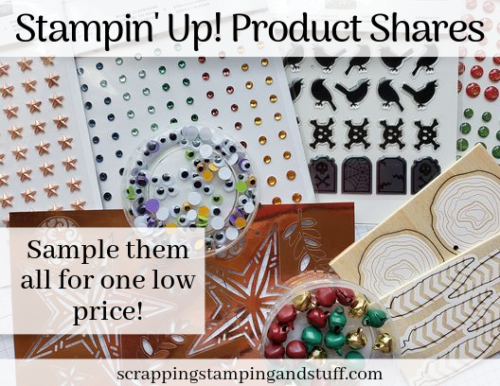
- Sample all of the papers, ribbons, and embellishments that Stampin Up has to offer with Product Shares.
- Check out my current Project in the Mail, Tags Tags Tags (shown below)!

Order the products I used and make this project yourself!


Leave a Reply