Stampin Up is releasing new packaging for stamps and dies. Beginning with our current release of new products, this change will be phased in over the next several months. I want you to know what to expect, and how to make modifications to the new packaging if you don’t love it. Let’s talk about it!
Stampin Up New Packaging For Stamps & Dies Video
Watch along here as I talk about the new changes, as well as some general ideas for organizing your stamps and dies.
New Vs. Old Packaging
Let’s talk briefly about the old packaging and compare it to the new.
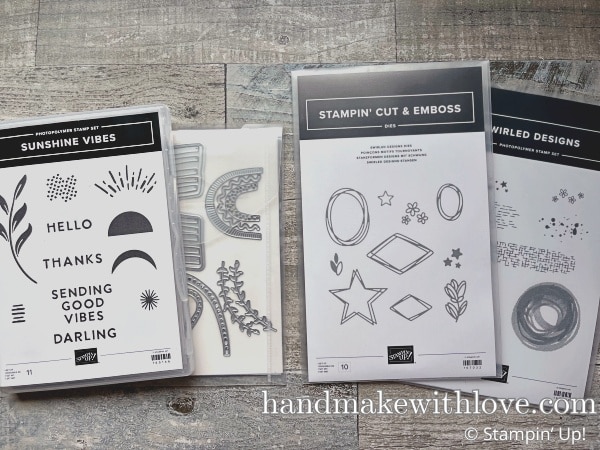
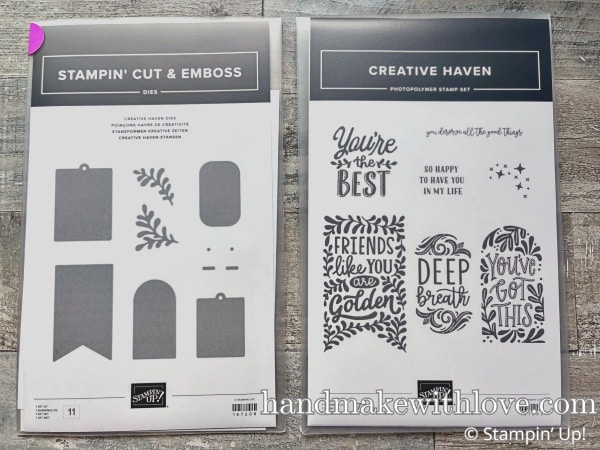
The old packaging for dies was a durable, clear plastic envelope, with dies inserted and attached to a piece of cardboard. The new die packaging is very similar, but instead of different die sets being in different size envelopes, all envelopes will be 5 5/8″ wide by 9″ tall. A new feature is that die artwork is now printed on the front of the packages.
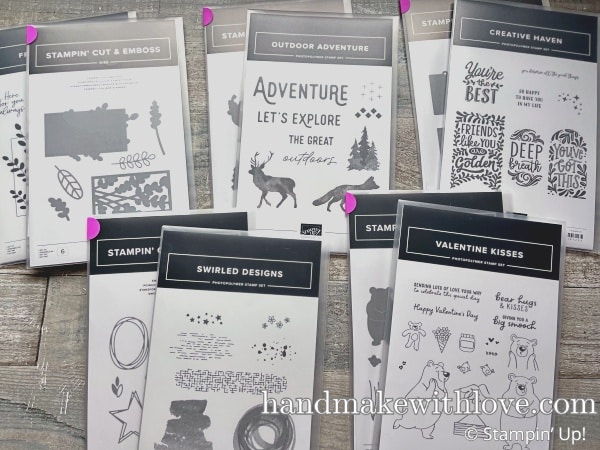
The old packaging for stamps was a plastic case, similar to a DVD case, with stamp artwork printed on both the front and inside of the package. The new packaging for stamps is a clear plastic envelope, similar to that used for our dies in the past, with artwork printed on the front only. These envelopes are the same size as the die envelopes, measuring 5 5/8″ wide by 9″ tall. The stamps are inserted into the envelope between two layers of thin plastic, the same as in the past.
Don’t Like It? Purchase Cases And Keep Your Same Organization System
The biggest advantage of using the cases for stamps in the past was being able to put them on a shelf and see from the side what was in each case. I want to mention up front, if you absolutely do not like the new packaging and want to be able to see your stamps from the side, you will be able to purchase our clear stamp cases in packages of four, and you can continue putting your stamps into these cases.
On the other hand, if you love the new envelopes and want to switch over your old stamps to the new system, you’ll also be able to order these new envelopes in sets of ten. I have links at the bottom for both the plastic sleeves and the stamp cases.
Change Can Be Hard!
For some of us, this change isn’t a big deal. For others it is! I know many of you have bookcases that are the perfect size for your stamp cases and you love being able to see the stamps from the side. If you have bookcases and the shelves aren’t tall enough for the new packages, an easy solution would be to turn them sideways on the shelf. If you still want to know what’s inside of them by looking from the side, you can either purchase stamp cases and continue using them, or keep reading below for another tip.
A Helpful Suggestion
I don’t mind the new change, but I was struggling with the stamps in one way. I like to be able to lay my stamps on top of the printed artwork to 1. see where to put the stamps back on the plastic sheet and 2. make sure they were all in place before putting the set back on the shelf. Because the new stamps don’t have the artwork printed on the inside in the same arrangement as the stamps come in the package, I was struggling to know how to put them back on the sheet and make sure I had all of them in place.
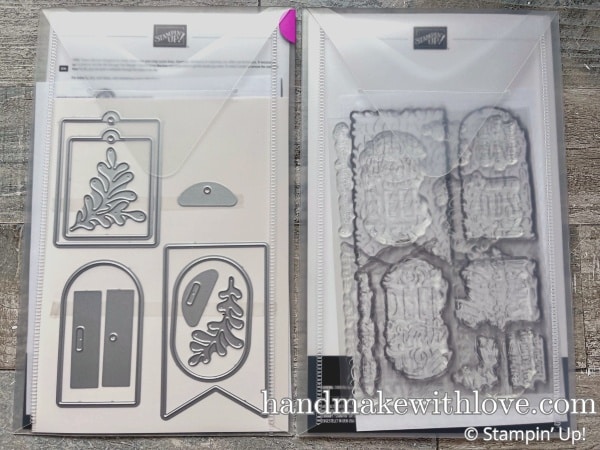
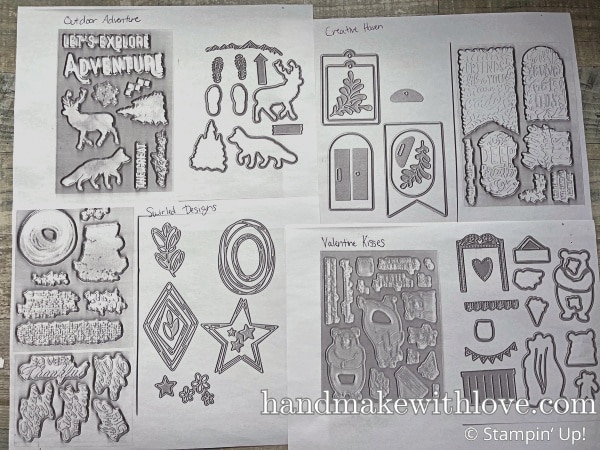
Here’s an easy solution. From now on when I get my new stamps and dies, before I use them, I’m going to lay the stamps and dies side by side on my printer/copier and make a print out of how they’re arranged. I cut them apart and inserted them into the stamp and die cases, so now I know how to put them away easily and check to make sure they’re all included.
If you don’t have a copier, you could also ink up all the stamps at once (while still on the plastic sheet) and stamp them onto paper to achieve the same result.
Ideas For Organization
-When using a stamp and die bundle, I also struggled with knowing which envelope was for stamps and which one was for dies without flipping them over and checking. I put a colored sticker on the corner of the die sets to be able to distinguish them from the stamps.
-Do you still want to know what’s in each package by looking at them from the side? An idea is to use the Keeping Tabs punch to create tabs, or just create your own tabs, and label each case with what’s inside.
-Want to make it easy to keep your stamp and die bundles together? Use a rubber band to hold them together.
General Ideas For Organizing Stamps and Dies
Now that we won’t be able to see what’s inside the stamp cases from the side, how to organize them becomes more important. I feel like the two most common ways to organize stamps are either alphabetically or categorically. By category, you could organize by holidays, birthdays, sets for men, animals, children, sentiment stamps, etc. Then when you’re searching for a set, you go to the appropriate category and flip through them to find what you want.
Alphabetically is another good option. I know many of you keep a notebook with all of your stamp and die artwork inside, to be able to flip through and find what you want, then you go to your shelf and get the correct set. If you keep a notebook, I think the easiest way to organize stamps and dies on your shelf is alphabetically.
Would you like more ideas for organizing stamps and dies? Take a look here or find general craft room organization ideas here.
Order Cases Here
Here are the links to purchase envelopes or stamp cases, along with that handy punch you can use to add tabs to your cases (or anything else) if you choose.
Product List![Stamp & Die Organizers [ 167772 ]](https://assets1.tamsnetwork.com/images/EC042017NF/167772s.jpg "Stamp & Die Organizers [ 167772 ]")
![Clear-Mount Stamp Cases [ 119105 ]](https://assets1.tamsnetwork.com/images/EC042017NF/119105s.jpg "Clear-Mount Stamp Cases [ 119105 ]")
![Keeping Tabs Punch [ 163538 ]](https://assets1.tamsnetwork.com/images/EC042017NF/163538s.jpg "Keeping Tabs Punch [ 163538 ]")
I hope this helps you to be prepared for the Stampin Up new stamp and die packaging along with ideas to make it work for you!
Thanks for all your suggestions, but I do not the new stamp “envelopes “. I will stick to the plastic cases. I store my stamp sets in a DVD rack-lots of them, and I can walk right up to them and read them without turning my head.