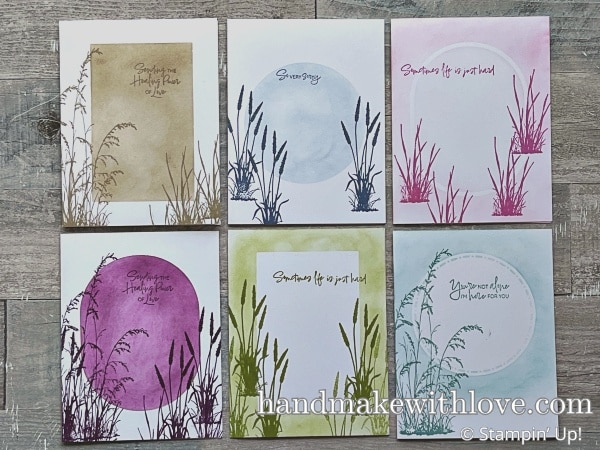
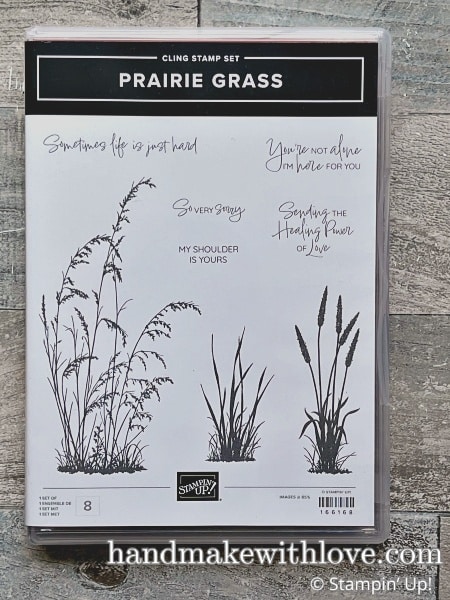
Hi friends and thanks for being here today. I have a quick and simple technique to share with you that uses die cuts and blending brushes to create beautiful, one-layer cards. I’ve decorated these cards with the Stampin Up Prairie Grass stamp set. Let’s take a look at them!
Blended Frame Technique Video Tutorial
Watch along here to learn about this simple technique!
Blended Frame Technique
Using this technique on your card projects is simple. First, you’ll need to create some die cuts using basic shape dies. You’ll want to keep both the die cut itself and the outer piece, as shown below.
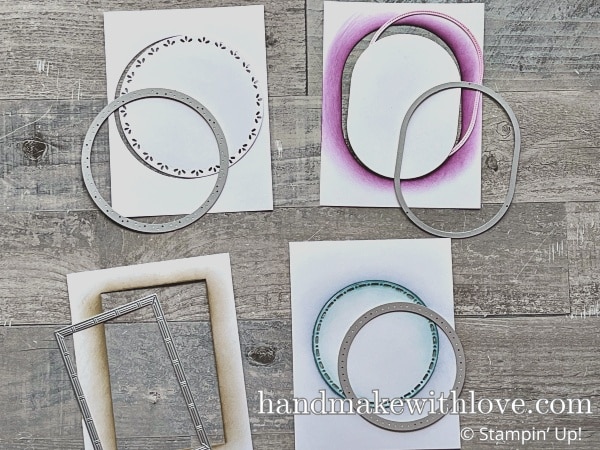
Next, put some removable adhesive on the back side of the die cuts and reverse pieces. I used Multipurpose Glue and allowed it to dry. Once dry, I patted them on my shirt a few times to pick up a bit of lint, so they wouldn’t be so sticky they would tear my paper.
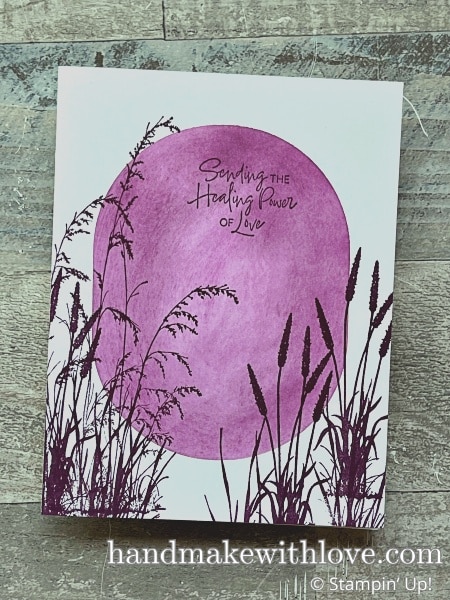
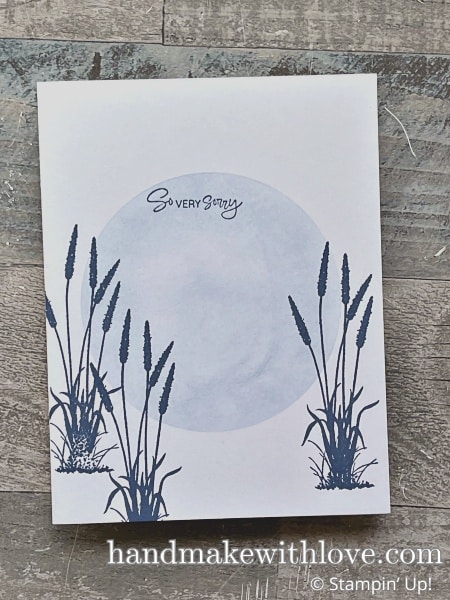
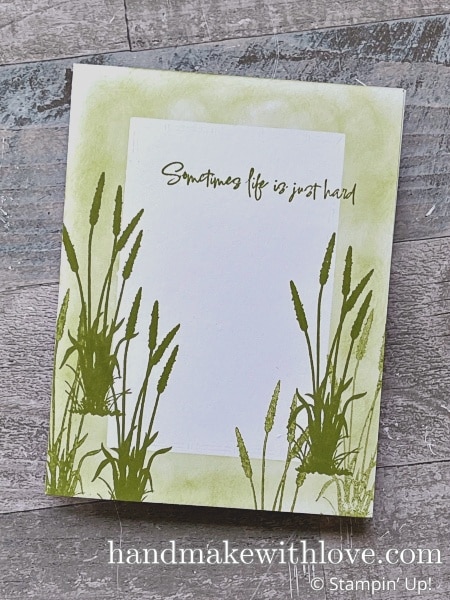
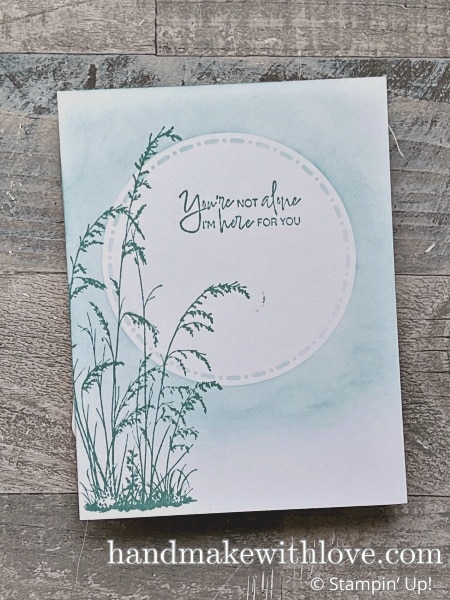
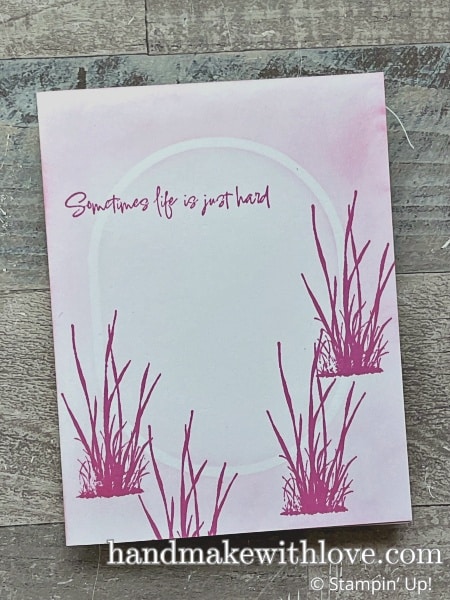
Then, I laid a die cut over top of a white card base and chose a color to blend with my blending brushes. The one below uses Crumb Cake.
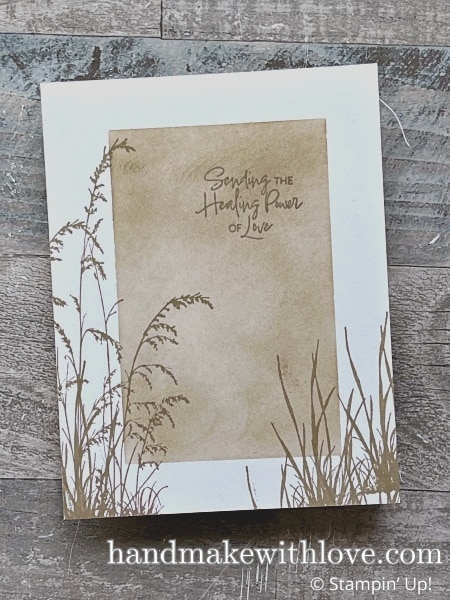
Next, I stamped some silhouette stamps and added a greeting.
These cards come together so quickly!
Here’s one using Mossy Meadow ink.
This one uses Lost Lagoon. As you can see, I kept my cards monochromatic, but you could blend one or several colors on the background and stamp with different colors.
This last card uses Berry Burst ink.
Here you can see the Prairie Grass stamp set that I used to decorate these cards. I thought this technique was perfect to use with these nice silhouette stamps.
Supply List
Take a look at the supplies I used, and order using the links below!
Product List![Prairie Grass Cling Stamp Set (English) [ 166168 ]](https://assets1.tamsnetwork.com/images/EC042017NF/166168s.jpg "Prairie Grass Cling Stamp Set (English) [ 166168 ]")
![Textured Notes Dies [ 165555 ]](https://assets1.tamsnetwork.com/images/EC042017NF/165555s.jpg "Textured Notes Dies [ 165555 ]")
![Spotlight On Nature Dies [ 163580 ]](https://assets1.tamsnetwork.com/images/EC042017NF/163580s.jpg "Spotlight On Nature Dies [ 163580 ]")
![Impressions Abloom Dies [ 165610 ]](https://assets1.tamsnetwork.com/images/EC042017NF/165610s.jpg "Impressions Abloom Dies [ 165610 ]")
![Stampin' Cut & Emboss Machine [ 149653 ]](https://assets1.tamsnetwork.com/images/EC042017NF/149653s.jpg "Stampin' Cut & Emboss Machine [ 149653 ]")
![Blending Brushes [ 153611 ]](https://assets1.tamsnetwork.com/images/EC042017NF/153611s.jpg "Blending Brushes [ 153611 ]")
![Multipurpose Liquid Glue [ 110755 ]](https://assets1.tamsnetwork.com/images/EC042017NF/110755s.jpg "Multipurpose Liquid Glue [ 110755 ]")
![Basic White 8 1/2" X 11" Thick Cardstock [ 159229 ]](https://assets1.tamsnetwork.com/images/EC042017NF/159229s.jpg "Basic White 8 1/2\" X 11\" Thick Cardstock [ 159229 ]")
![Lost Lagoon Classic Stampin' Pad [ 161678 ]](https://assets1.tamsnetwork.com/images/EC042017NF/161678s.jpg "Lost Lagoon Classic Stampin' Pad [ 161678 ]")
![Mossy Meadow Classic Stampin' Pad [ 147111 ]](https://assets1.tamsnetwork.com/images/EC042017NF/147111s.jpg "Mossy Meadow Classic Stampin' Pad [ 147111 ]")
![Crumb Cake Classic Stampin' Pad [ 147116 ]](https://assets1.tamsnetwork.com/images/EC042017NF/147116s.jpg "Crumb Cake Classic Stampin' Pad [ 147116 ]")
![Blackberry Bliss Classic Stampin' Pad [ 147092 ]](https://assets1.tamsnetwork.com/images/EC042017NF/147092s.jpg "Blackberry Bliss Classic Stampin' Pad [ 147092 ]")
![Berry Burst Classic Stampin' Pad [ 147143 ]](https://assets1.tamsnetwork.com/images/EC042017NF/147143s.jpg "Berry Burst Classic Stampin' Pad [ 147143 ]")
![Misty Moonlight Classic Stampin' Pad [ 153118 ]](https://assets1.tamsnetwork.com/images/EC042017NF/153118s.jpg "Misty Moonlight Classic Stampin' Pad [ 153118 ]")
![Bone Folder [ 102300 ]](https://assets1.tamsnetwork.com/images/EC042017NF/102300s.jpg "Bone Folder [ 102300 ]")
![Paper Trimmer [ 152392 ]](https://assets1.tamsnetwork.com/images/EC042017NF/152392s.jpg "Paper Trimmer [ 152392 ]")
Learn To Make Cards
Shop Supplies
Rewards Program
Join My Amazing Team
Thanks for visiting to see this simple technique and the Stampin Up Prairie Grass stamp set!
Leave a Reply