• Nav Social Menu

    • Facebook
    • Facebook Group
    • Instagram
    • Pinterest
    • RSS
    • Twitter
    • YouTube
  • Blog
  • Start Here
    • About Me
    • Learn to Make Cards
    • Why Shop With Me?
    • Testimonials
    • Connect On Social
    • Get Email Updates
    • Stampin’ Up! Giveaway Winners
  • Products
    • Shop Now
    • Catalogs
    • Clearance
    • Why Choose Stampin Up?
    • Paper Pumpkin Kits
    • Product Shares
    • Rewards Program
    • Stamparatus
    • Cut And Emboss Machine
    • Mini Cut And Emboss Machine
    • Blends Alcohol Markers
    • Blending Brushes
  • Ideas
    • Video Tutorials
    • Project Gallery
    • Card Ideas
    • 3D Projects
    • Scrapbooking
    • Tips & Techniques
    • Kits
    • Learn to Make Cards
    • Printable Catalog Tabs
    • Social Media
  • Join
    • Join My Team
    • Stampin Up Demonstrator Resources
  • Classes
    • Classes in the Mail
    • In Person Events
  • Contact
    • Contact
    • Connect On Social

Handmake with Love

Anna Helman | formerly Scrapping, Stamping and Stuff

Don’t Like The New Glue Dots? DO THIS!

19 May

As a fellow crafter, I believe you will reply ‘Amen’ when I say that adhesives can make or break your crafting experience. Do you agree? Great adhesives can make life so much better, and not great adhesives can be SO frustrating! In addition, knowing tips and tricks for using great adhesives can be tremendously helpful. Recently I shared my 10 favorite tips for using Glue Dots, and I heard some great feedback from you. I also heard that as a whole, you are not a fan of how Glue Dots changed how they wrap the dots recently. If you are frustrated with this change, take a look below because I found a simple solution that makes the new Glue Dots so much easier to use!

Are you frustrated with the change Glue Dots made in how they wrap the rolls of adhesive? If so, try this quick trick to make them more user friendly!

Fix Your Glue Dots Video

If you’re frustrated with the new Glue Dot rolls, watch this video and then try this yourself!

Best Tips For Glue Dots

Did you miss my recent post where I shared my favorite tips for using Glue Dots? If so, take a look at it here.

Are you frustrated with the change Glue Dots made in how they wrap the rolls of adhesive? If so, try this quick trick to make them more user friendly!

What’s The Problem?

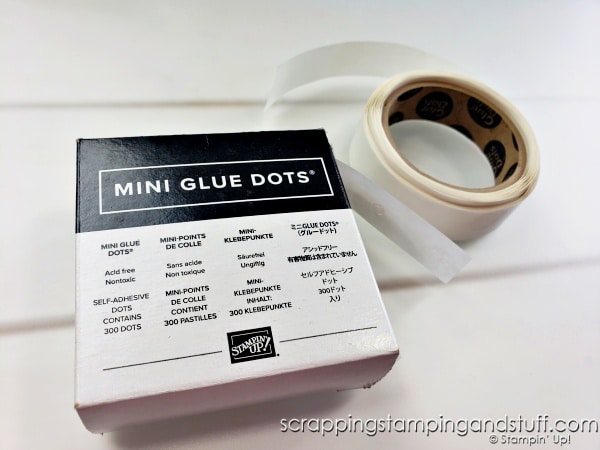
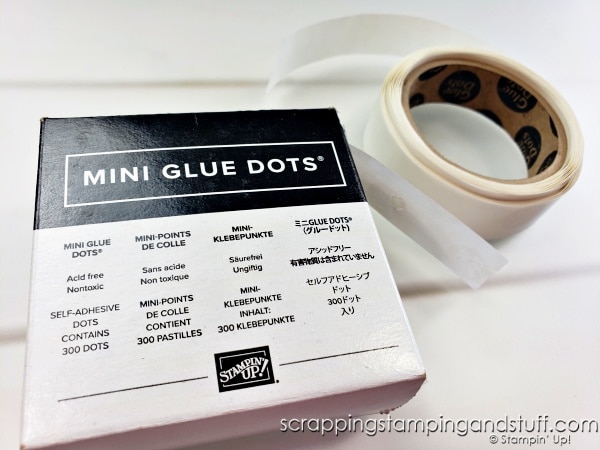
If you’re wondering what the problem is with Glue Dots, the answer is that recently they began wrapping the rolls the reverse direction as they used to. In the past, the dots stayed on the roll when you removed the paper at the end. Now when you remove the paper at the end, the dots are attached to it, not the roll. This may not sound like a big change, but it doesn’t work nearly as well and can be very frustrating!

Fix Your Glue Dots!

Here’s what I did to make my Glue Dots much more user friendly!

Trim a small portion from the top of the side of the box.

Place the roll back inside, with the end of the roll coming through the opening.

Are you frustrated with the change Glue Dots made in how they wrap the rolls of adhesive? If so, try this quick trick to make them more user friendly!

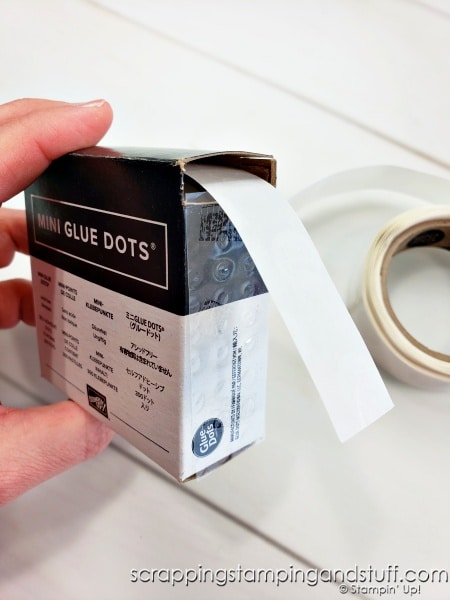
Close the box. Tape it shut.

Add non-stick plastic (from a sheet of gems) to the side of the box to prevent dots from sticking to it.

Are you frustrated with the change Glue Dots made in how they wrap the rolls of adhesive? If so, try this quick trick to make them more user friendly!

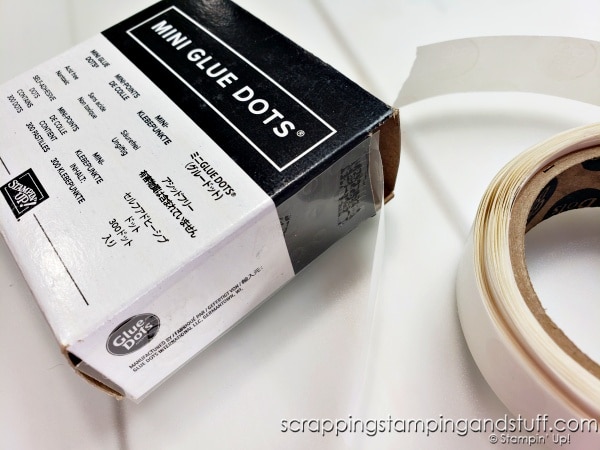
That’s it! Pretty simple, but makes them work so much better!

Need Some Glue Dots? Order Here

Product List
Mini Glue Dots
Mini Glue Dots
[103683]
Paper Snips
Paper Snips
[103579]
Rhinestone Basic Jewels
[144220]

Learn To Make Cards
Shop Supplies
Rewards Program
Join My Amazing Team

Thanks for stopping in for today’s card making tip!

Sharing is caring!

Filed Under: Gallery, Learn to Stamp Tagged With: cardmaking tips and tricks

Previous Post: « Complete Guide To Using Watercolor Pencils For Card Making
Next Post: Stampin Up He’s All That & 5 Quick Cards For Men »

Reader Interactions

Comments

  1. Deb says

    May 19, 2022 at 7:30 AM

    Oh Boy thank you for sharing this!! I recently just used the mini glue dots and thought to myself something was different but couldn’t quite place my finger on it and here you are sharing your tip to help with the change!!

    Thank You for ALL your tips and videos!!

    Much appreciated,
    Deb

    Reply
  2. Lori Trumpler says

    October 27, 2022 at 7:07 PM

    I bought the glue dots from stampin up because I wanted them on the outside of the roll but now they are on the inside.

    Reply

Leave a Reply Cancel reply

Your email address will not be published. Required fields are marked *

Recipe Rating


Primary Sidebar

Anna Helman

Independent Stampin' Up!® Demonstrator

  • Email
  • Facebook
  • Facebook Group
  • Instagram
  • Pinterest
  • RSS
  • Twitter
  • YouTube
Shop Stampin' Up!
Stampin' Up! catalogs
get updates
join Stampin' Up!
Stampin' Up! Rewards
Stampin' Up! special offers
Stampin' Up! clearance
Stampin' Up! 2025-2026 Annual Catalog
May 6, 2025 - May 4, 2026
View Online | Shop Online

Blog Archive

Categories

Footer

Important Links

  • Home
  • Shop Now
  • Get Updates
  • Join My Team
  • Rewards
  • Specials
  • Catalogs
  • Clearance

Anna Helman, Independent Stampin' Up!® Demonstrator

  • Email
  • Facebook
  • Facebook Group
  • Instagram
  • Pinterest
  • RSS
  • Twitter
  • YouTube

Get Ideas, Inspiration, and Special Offers!

Sign up to receive updates in your inbox

Thank you!

Please check your email for a special offer! 

.
All content on this blog is the property of Anna Helman, Stampin' Up!® Independent Demonstrator. Classes, services and projects offered here are not endorsed by Stampin' Up!® Projects, videos, photos, ideas and articles are shared for personal use only and may not be removed, duplicated or copied without permission. All artwork © Stampin' Up!®

Copyright © 2025 Anna Helman, handmake with love · Site Design by Catherine Carroll