• Nav Social Menu

    • Facebook
    • Facebook Group
    • Instagram
    • Pinterest
    • RSS
    • Twitter
    • YouTube

Handmake with Love

Anna Helman | formerly Scrapping, Stamping and Stuff

  • Blog
  • Start Here
    • About Me
    • Learn to Make Cards
    • Why Shop With Me?
    • Testimonials
    • Connect On Social
    • Get Email Updates
    • Stampin’ Up! Giveaway Winners
  • Products
    • Shop Now
    • Catalogs
    • Clearance
    • Why Choose Stampin Up?
    • Paper Pumpkin Kits
    • Product Shares
    • Rewards Program
    • Stamparatus
    • Cut And Emboss Machine
    • Mini Cut And Emboss Machine
    • Blends Alcohol Markers
    • Blending Brushes
  • Ideas
    • Video Tutorials
    • Project Gallery
    • Card Ideas
    • 3D Projects
    • Scrapbooking
    • Tips & Techniques
    • Kits
    • Learn to Make Cards
    • Printable Catalog Tabs
    • Social Media
  • Join
    • Join My Team
    • Stampin Up Demonstrator Resources
  • Classes
    • Classes in the Mail
    • In Person Events
  • Contact
    • Contact
    • Connect On Social

Cardmaking Tip – Create A Punch Ring

2 Apr

Are you ready for a simple craft room organization tip? I enjoy sharing tips, and I love the response I get when I share them. Today’s tip is to create a punch ring. What is this exactly, you might be asking? Let’s talk about it.

Create a punch ring to save time when stamping! Use it to decide which punch to use with a sentiment stamp and also to line up multi-piece stamps for punching!

Create A Punch Ring Video

Watch along here or keep reading to learn about today’s tip.

What Is A Punch Ring?

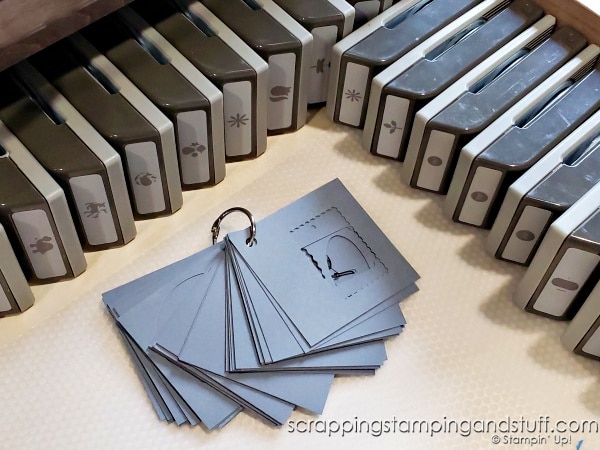
A punch ring is a collection of cardstock pieces attached together with a ring that includes sample ‘punch out negatives’ of all the punches you have in your collection. It is extremely useful for several reasons which I’ll share below.

Create a punch ring to save time when stamping! Use it to decide which punch to use with a sentiment stamp and also to line up multi-piece stamps for punching!

Next I’ll share how you can create one of these yourself.

How To Create A Punch Ring

You can create a punch ring by doing the following:

Create a punch ring to save time when stamping! Use it to decide which punch to use with a sentiment stamp and also to line up multi-piece stamps for punching!

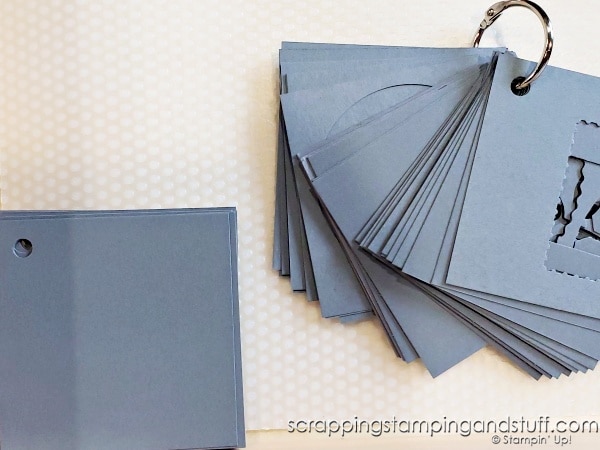
1. Cut 3″x 3″ pieces of cardstock, so that you have enough for all the punches in your collection.

2. Use a hole punch to punch a small hole in one corner. This will become the top left corner.

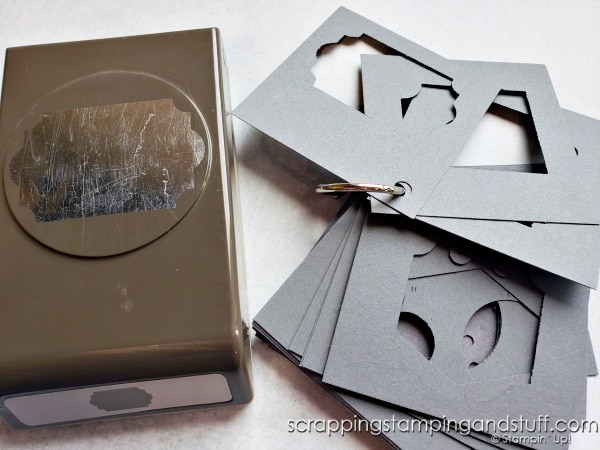
3. Punch through one piece of cardstock with one of your punches. Repeat until you’ve punched a piece for each of your punches.

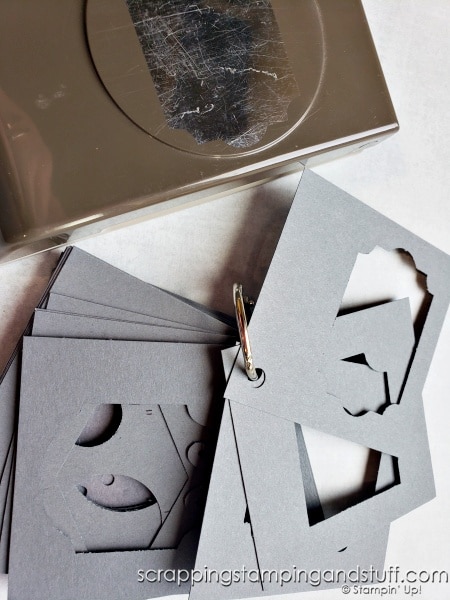
4. Organize them into the order you want them on the ring. I have mine organized with tags and labels first, circles second, and other assorted punches at the back. You could even create two or three different rings to keep your categories separate if you like.

5. Attach them to the ring.

Create a punch ring to save time when stamping! Use it to decide which punch to use with a sentiment stamp and also to line up multi-piece stamps for punching!

How To Use It

I use my punch ring in three main ways.

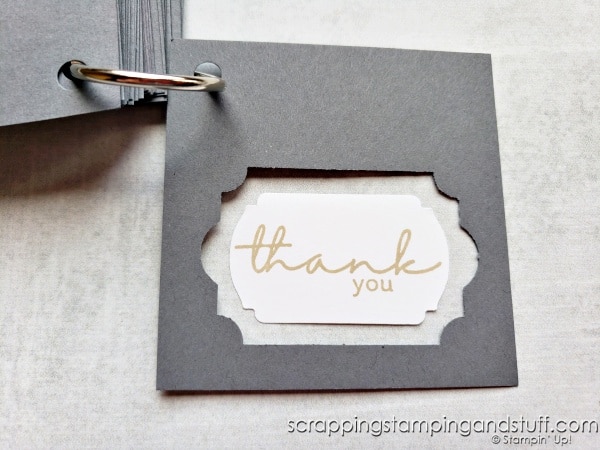
Determine Which Punch To Use For A Sentiment

When you have stamped a sentiment and are deciding which punch to use to punch it out, you can lay it under the templates to decide which one looks best.

Create a punch ring to save time when stamping! Use it to decide which punch to use with a sentiment stamp and also to line up multi-piece stamps for punching!

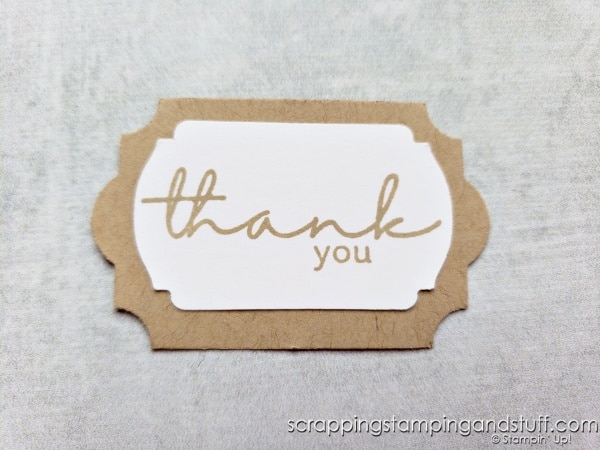
Determine Layering For Punches

When you want to layer punches, use the already punched sentiment and lay it with the templates to see which punch would look good behind it.

Create a punch ring to save time when stamping! Use it to decide which punch to use with a sentiment stamp and also to line up multi-piece stamps for punching!

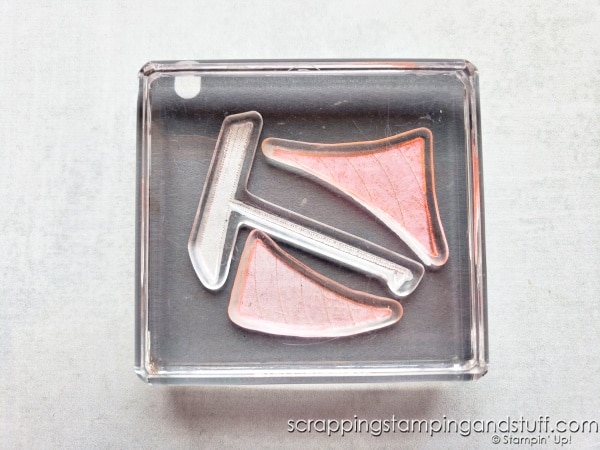
Lining Up Builder Punches

When you want to stamp and punch using builder punches, use the template to line up your stamps before attaching them to the block. You can get more details on this in today’s video or in my builder punch blog post here.

Create a punch ring to save time when stamping! Use it to decide which punch to use with a sentiment stamp and also to line up multi-piece stamps for punching!

Do You Love Stamping Tips?

Find many of my tips & tricks here!

Learn To Make Cards
Shop Supplies
Rewards Program
Join My Amazing Team

Thanks for visiting to learn how a punch ring can help you with your crafty projects!

Sharing is caring!

Filed Under: Gallery, Learn to Stamp Tagged With: cardmaking hacks, cardmaking tips and tricks, craft room organization, tips and tricks

Previous Post: « Top 25 Favorite Retiring Products – Get Them Before They’re Gone!
Next Post: Ghiradelli Treat Holders For A Crowd »

Reader Interactions

Leave a Reply Cancel reply

Your email address will not be published. Required fields are marked *

Recipe Rating


Primary Sidebar

Anna Helman

Independent Stampin' Up!® Demonstrator

  • Email
  • Facebook
  • Facebook Group
  • Instagram
  • Pinterest
  • RSS
  • Twitter
  • YouTube
Shop Stampin' Up!
Stampin' Up! catalogs
get updates
join Stampin' Up!
Stampin' Up! Rewards
Stampin' Up! special offers
Stampin' Up! clearance
Stampin' Up! 2025-2026 Annual Catalog
May 6, 2025 - May 4, 2026
View Online | Shop Online

Blog Archive

Categories

Footer

Important Links

  • Home
  • Shop Now
  • Get Updates
  • Join My Team
  • Rewards
  • Specials
  • Catalogs
  • Clearance

Anna Helman, Independent Stampin' Up!® Demonstrator

  • Email
  • Facebook
  • Facebook Group
  • Instagram
  • Pinterest
  • RSS
  • Twitter
  • YouTube

Get Ideas, Inspiration, and Special Offers!

Sign up to receive updates in your inbox

Thank you!

Please check your email for a special offer! 

.
All content on this blog is the property of Anna Helman, Stampin' Up!® Independent Demonstrator. Classes, services and projects offered here are not endorsed by Stampin' Up!® Projects, videos, photos, ideas and articles are shared for personal use only and may not be removed, duplicated or copied without permission. All artwork © Stampin' Up!®

Copyright © 2025 Anna Helman, handmake with love · Site Design by Catherine Carroll