• Nav Social Menu

    • Facebook
    • Facebook Group
    • Instagram
    • Pinterest
    • RSS
    • Twitter
    • YouTube

Handmake with Love

Anna Helman | formerly Scrapping, Stamping and Stuff

  • Blog
  • Start Here
    • About Me
    • Learn to Make Cards
    • Why Shop With Me?
    • Testimonials
    • Connect On Social
    • Get Email Updates
    • Stampin’ Up! Giveaway Winners
  • Products
    • Shop Now
    • Catalogs
    • Clearance
    • Why Choose Stampin Up?
    • Paper Pumpkin Kits
    • Product Shares
    • Rewards Program
    • Stamparatus
    • Cut And Emboss Machine
    • Mini Cut And Emboss Machine
    • Blends Alcohol Markers
    • Blending Brushes
  • Ideas
    • Video Tutorials
    • Project Gallery
    • Card Ideas
    • 3D Projects
    • Scrapbooking
    • Tips & Techniques
    • Kits
    • Learn to Make Cards
    • Printable Catalog Tabs
    • Social Media
  • Join
    • Join My Team
    • Stampin Up Demonstrator Resources
  • Classes
    • Classes in the Mail
    • In Person Events
  • Contact
    • Contact
    • Connect On Social

Attaching Detailed Die Cuts With Your Tape Runner – Cardmaking Hack!

14 Aug

Do you struggle attaching detailed die cuts to your cards, scrapbook pages and other paper projects? If so, I have a really handy tip to share today that will save you time and frustration. Let’s get to it!

Did you know you can attach detailed die cuts with your tape runner?! Click here for this amazing die cutting hack!

Video Tutorial

If you want to cut to the chase and watch along as I explain how to attach detailed die cuts with your Seal or other tape runner, then watch along here!

What do you think? Will this tip work for you?

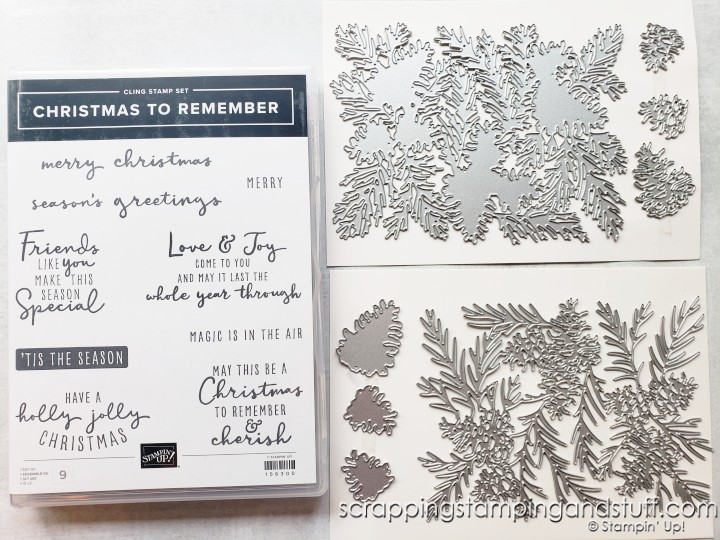
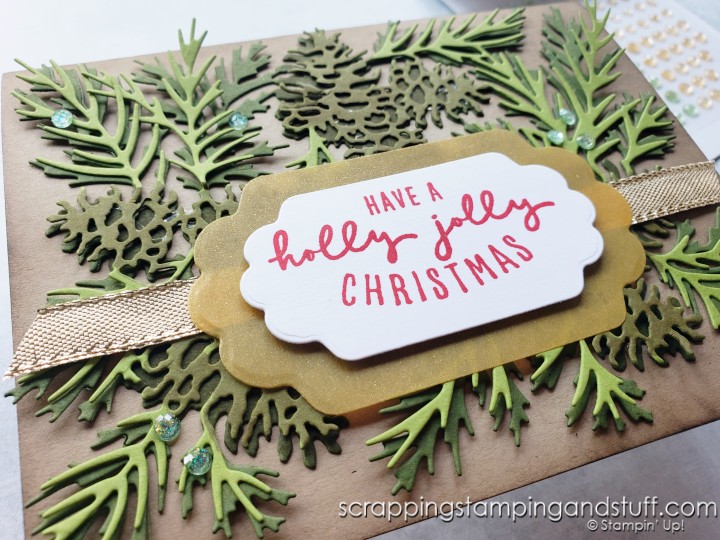
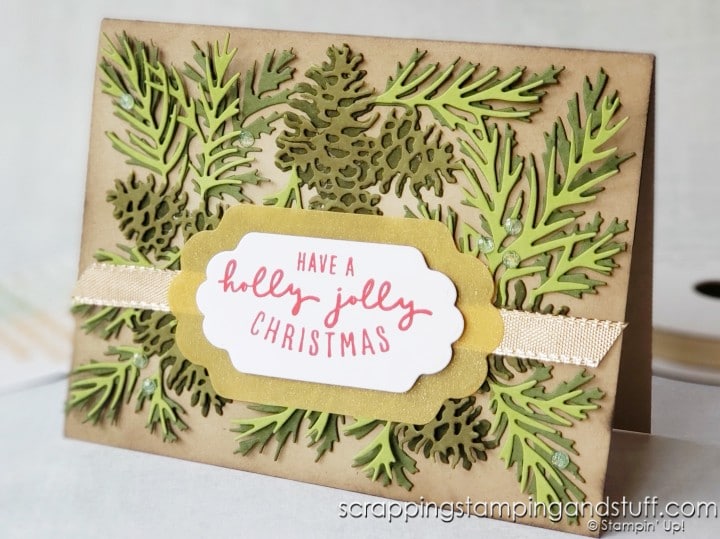
Featured Bundle – Christmas To Remember

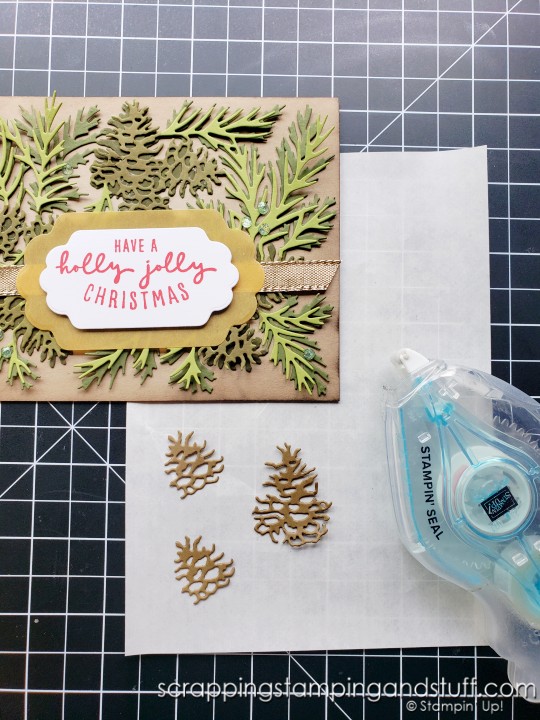
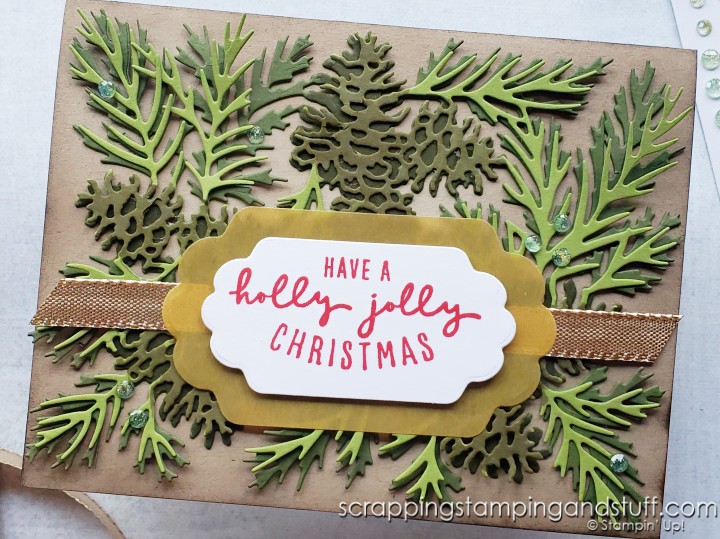
If you’re curious where this beautiful pine die cut came from on today’s card, here is the bundle I used. It’s called Christmas To Remember from Stampin Up. I have an ordering link lower on this page if you want to create some gorgeous pine branches for your projects as well.

Did you know you can attach detailed die cuts with your tape runner?! Click here for this amazing die cutting hack!

Attaching Detailed Die Cuts With Your Tape Runner

Here’s how to attach these detailed die cuts using your tape runner.

First, you need some type of non-stick surface. I used one of the label sheets from a new cling stamp set, after the labels and extra paper had been removed. You could also use a Silicone Craft Sheet or a paper from a pack of rhinestones or other sticky gems, after they have been removed.

Did you know you can attach detailed die cuts with your tape runner?! Click here for this amazing die cutting hack!

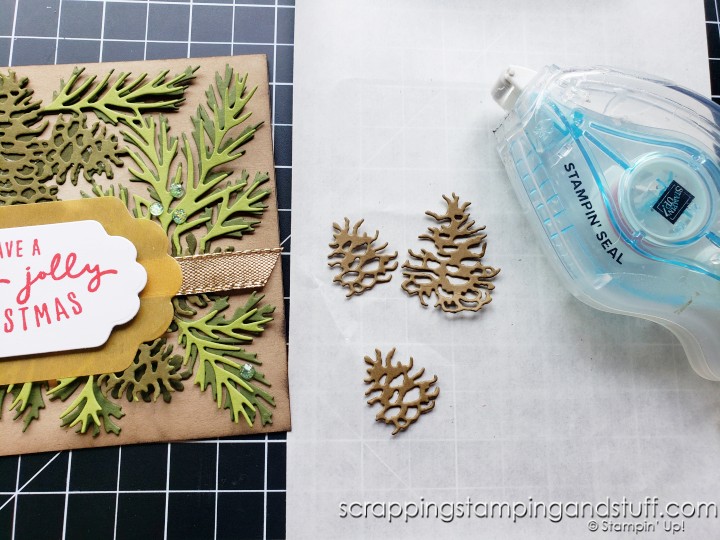
Next, lay your die cut upside down on the non-stick side of the paper.

Did you know you can attach detailed die cuts with your tape runner?! Click here for this amazing die cutting hack!

Gently roll your Seal or other tape runner across some of the more ‘sturdy’ parts of the die cut.

Did you know you can attach detailed die cuts with your tape runner?! Click here for this amazing die cutting hack!

Lift up the die cut from your work surface. If any tape shows through to the front side, use your fingers to gently roll it inwards so that it lays behind the paper.

Did you know you can attach detailed die cuts with your tape runner?! Click here for this amazing die cutting hack!

Lay on your project and press to adhere.

That’s it! Quick and easy. To see exactly how this works, make sure to watch along with the video above.

Materials Used

Here are the products I used today along with ordering links:

Product List
Stampin' Seal
Stampin' Seal
[152813]
Seasonal Labels Dies
[156299]
Christmas To Remember Bundle (English)
[156806]
Did you know you can attach detailed die cuts with your tape runner?! Click here for this amazing die cutting hack!

Learn To Make Cards
Shop Supplies
Rewards Program
Join My Amazing Team

Thanks for visiting! I hope this saves you a ton of time attaching detailed die cuts to your projects!

Sharing is caring!

Filed Under: Gallery, Learn to Stamp Tagged With: cardmaking hacks, cardmaking tips and tricks, learn to stamp

Previous Post: « Stampin Up Watercolor Shapes For Simple One Layer Cards
Next Post: Meme Monday! »

Reader Interactions

Comments

  1. Johanna says

    August 14, 2021 at 8:22 AM

    Great tip, thanks for sharing.
    Johanna

    Reply
    • Anna Helman says

      August 23, 2021 at 12:43 PM

      You’re welcome!

      Reply

Leave a Reply Cancel reply

Your email address will not be published. Required fields are marked *

Recipe Rating


Primary Sidebar

Anna Helman

Independent Stampin' Up!® Demonstrator

  • Email
  • Facebook
  • Facebook Group
  • Instagram
  • Pinterest
  • RSS
  • Twitter
  • YouTube
Shop Stampin' Up!
Stampin' Up! catalogs
get updates
join Stampin' Up!
Stampin' Up! Rewards
Stampin' Up! special offers
Stampin' Up! clearance
Stampin' Up! 2025-2026 Annual Catalog
May 6, 2025 - May 4, 2026
View Online | Shop Online

Blog Archive

Categories

Footer

Important Links

  • Home
  • Shop Now
  • Get Updates
  • Join My Team
  • Rewards
  • Specials
  • Catalogs
  • Clearance

Anna Helman, Independent Stampin' Up!® Demonstrator

  • Email
  • Facebook
  • Facebook Group
  • Instagram
  • Pinterest
  • RSS
  • Twitter
  • YouTube

Get Ideas, Inspiration, and Special Offers!

Sign up to receive updates in your inbox

Thank you!

Please check your email for a special offer! 

.
All content on this blog is the property of Anna Helman, Stampin' Up!® Independent Demonstrator. Classes, services and projects offered here are not endorsed by Stampin' Up!® Projects, videos, photos, ideas and articles are shared for personal use only and may not be removed, duplicated or copied without permission. All artwork © Stampin' Up!®

Copyright © 2025 Anna Helman, handmake with love · Site Design by Catherine Carroll